


Quick Facts:
- Topic: Overlanding mistakes beginners make before their first trip
- Mistakes covered: 10
- Most expensive mistake: Exceeding your vehicle’s gross weight rating
- Cheapest fix: A CAT scale weigh-in, roughly $12 to $15
- Most dangerous mistake: Using a tow ball as a recovery point
- First upgrade most overlanders should make: All-terrain tires with reinforced sidewalls
- Skill level: Beginner to first-year overlander
- Best for: Anyone building a rig before their first overlanding trip
13 min read
In This Guide
- Overview
- The 10 Overlanding Mistakes Beginners Make at a Glance
- Mistake 1: Spending Thousands on Mods Before Trip One
- Mistake 2: Buying a Rooftop Tent Before You Need One
- Mistake 3: Exceeding Your Vehicle’s Weight Rating
- Mistake 4: Running the Wrong Tires
- Mistake 5: Skipping or Misusing Recovery Gear
- Mistake 6: Skipping the Fuel Range Calculation
- Mistake 7: Zero Water Planning
- Mistake 8: The Overpacking Trap
- Mistake 9: Skipping Pre-Trip Maintenance
- Mistake 10: No Navigation or Communication Backup
- Beginner Habits vs. Experienced Overlander Habits
- Final Verdict
- FAQ: Overlanding Mistakes Beginners Make
Overview
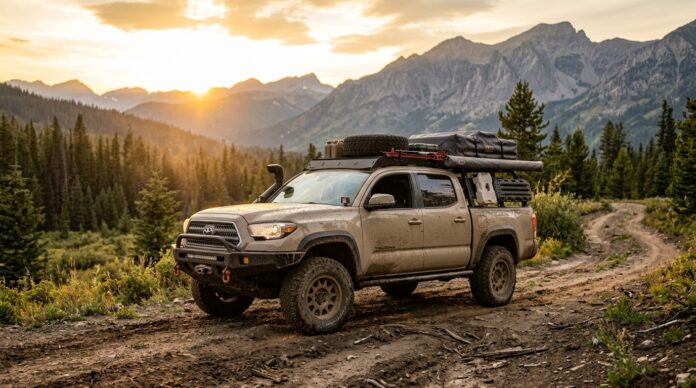
Overlanding mistakes beginners make almost always trace back to spending money in the wrong order. Social media rewards a finished rig: the lift kit, the rooftop tent, the fridge, the winch. A trail rewards something different. It rewards a rig matched to the driver’s real needs. New overlanders often spend $15,000 to $30,000 on a build before testing a single dirt road. Later, they learn most of it solved a problem they never had.
This guide breaks down the ten most expensive overlanding beginner mistakes and what each one costs. Every figure traces back to a recent 4wdTALK video, which pulled real repair bills and real recovery costs from the overlanding community. This piece cross-checks those numbers against additional forum and community data below.
None of this requires a decked-out rig or a six-figure budget. One rider took a 22-year-old vehicle, worth less than many bicycles, to the same remote destinations overlanders dream about. Judgment beats budget every time. The list below flags first time overlanding tips at each point where beginner judgment usually breaks down and shows how to fix it before it costs real money.
Video: “10 Overlanding Mistakes Beginners Make (Costing Thousands),” 4wdTALK.
The 10 Overlanding Mistakes Beginners Make at a Glance
Common overlanding mistakes cluster around three things: spending order, weight, and planning. The table below lists all ten at a glance, with a rough cost for getting each one wrong.
| Mistake | What It Costs You |
|---|---|
| Modding before trip one | Up to 80% more than a needs-based build |
| Buying a rooftop tent too soon | $1,500 to $4,000 for unused gear |
| Exceeding your GVWR | $2,000-plus in axles, brakes, and frame damage |
| Running the wrong tires | $1,000-plus mobile tire calls, $500 to $1,500 recovery jobs |
| Skipping or misusing recovery gear | Serious injury risk, multi-day rescue waits |
| No fuel range calculation | 20% to 40% less range than the dash predicts |
| Zero water planning | Dehydration risk, contaminated supply |
| Overpacking “in case” gear | 500 to 1,000 lb of dead weight |
| Skipping pre-trip maintenance | $300 to $4,000 in preventable repairs |
| No navigation or comms backup | No rescue coordination if something goes wrong |
Mistake 1: Spending Thousands on Mods Before Trip One
Overspending on modifications is the biggest money pit in overlanding. Nearly every beginner falls into it at least once, especially early in a build. Social feeds make a six-inch lift, full armor, and a long accessory list look mandatory. None of it matters before anyone even reaches a forest road. In reality, 90% of overlanding driving happens on normal pavement. A build optimized for the remaining 10% makes the daily 90% more expensive, less comfortable, and worse on fuel.
Buy These Before Any Mods: The Beginner Trio

X-BULL New Recovery Traction Tracks Sand Mud Snow Track Tire Ladder…


Every added modification also adds weight. Weight compounds every other mistake on this list, from GVWR overloads to a shortened fuel range. The r/overlanding community, for example, backs this up directly. One thread on modification priorities argues the first mod should go toward driver skill and recovery training, not the vehicle itself.
The fix costs nothing beyond patience. Run three to five trips on a stock vehicle with gear already owned. Let the trail identify real gaps instead of guessing from a build thread. According to the source video, this habit typically cuts total spend by 80% compared to a mod-everything-first approach. As a result, it produces a rig matched to actual trips instead of an Instagram feed. The real cost of getting into overlanding breaks down typical budget tiers for a closer look.
Mistake 2: Buying a Rooftop Tent Before You Need One
A rooftop tent weighs 80 to 260 lb before anyone climbs in, depending on the model. Add an 80 lb roof rack and body weight. A loaded rooftop tent then stacks several hundred pounds on the highest point of the vehicle, often above the 100 to 200 lb dynamic load rating on a factory roof rack. Since this raises the center of gravity, rollover risk climbs on side slopes. At highway speed, the added height and surface area also turn the tent into a parachute, adding wind resistance and fuel drag.
Independent fuel data backs this up. One industry estimate puts the mileage or range hit at 17%, while real-world driver reports on Reddit range higher, up to a 25% to 29% drop depending on tent style and vehicle. Owners who switch back to a ground tent tell a consistent story on forums, too. The daily packup routine and the lost roof cargo space are usually what finally push them to make the change.
First, start with a ground tent already owned. Run a few trips, then decide if camping frequency justifies $2,000 to $4,000 riding on the roof year round. A detailed rooftop tent versus ground tent comparison, covering cost, weight, and setup time, helps once the decision point arrives.
Mistake 3: Exceeding Your Vehicle’s Weight Rating
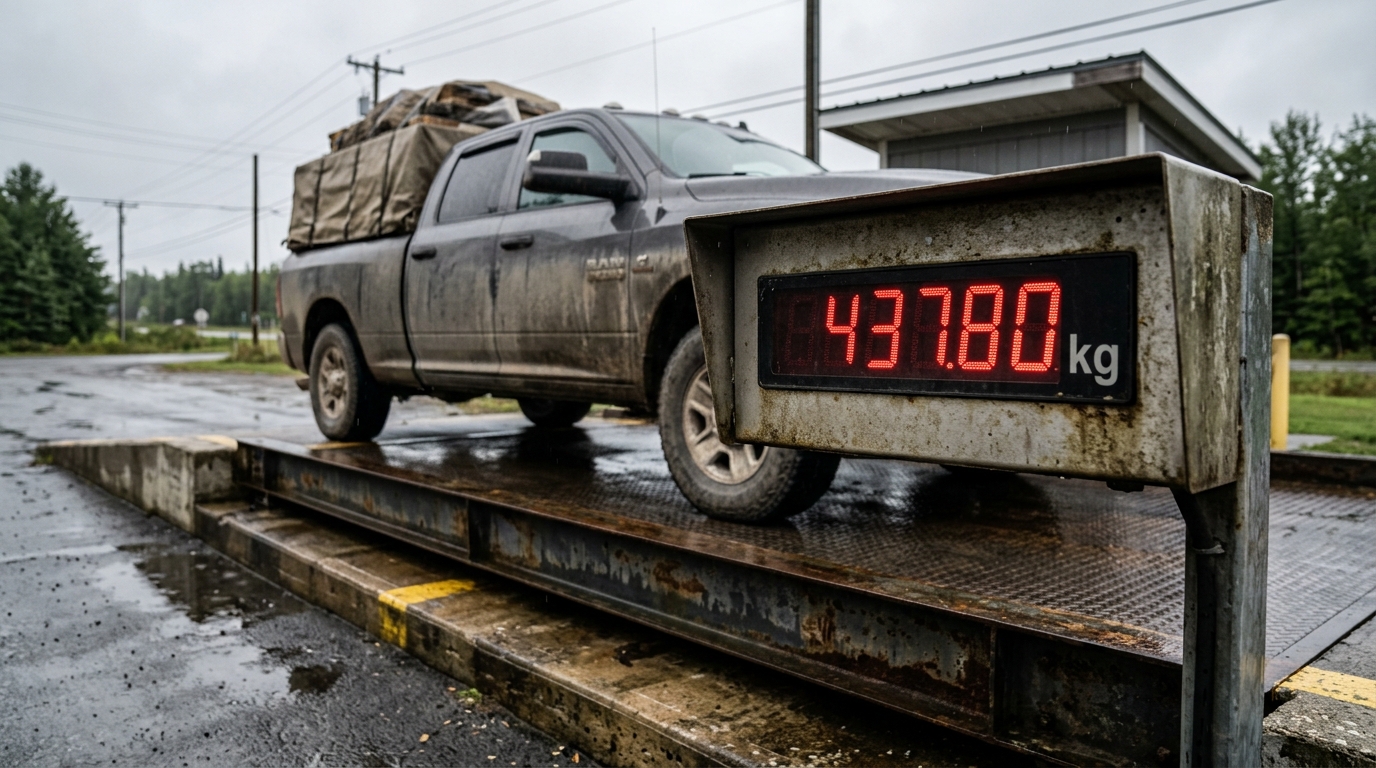
Gross vehicle weight rating, or GVWR, sets the engineering limit for a frame, suspension, and brakes. Most beginners never check their overland vehicle GVWR before loading up. A Jeep JK Unlimited carries a GVWR of 5,400 lb. One overlander weighed a loaded rig, complete with recovery gear, tools, spare parts, and full fuel. It still hit 6,000 lb, or 600 lb over the limit, before a single meal or sleeping bag went inside.
Why Overloading Compounds Quickly
Running overweight bends axles, and a replacement commonly runs $1,000 to $2,000. Brakes also fade on descents. Suspension failure and tire blowouts often follow close behind. In a crash while knowingly overloaded, insurance and legal liability get complicated fast. A widely discussed Reddit thread asked whether overlanders are ignoring GVWR entirely. It drew hundreds of replies describing built rigs well past their rating. Overland Journal’s own coverage calls payload one of the most misunderstood and abused factors in vehicle builds.
The fix costs about $12 to $15: a CAT scale weigh-in with gear loaded. If the total comes in over the rating, remove gear instead of upgrading springs. Stiffer suspension only makes a truck sit level. It does not raise the GVWR, so the brakes, frame, and axles stay overloaded regardless. Understanding your rig’s GVWR walks through how to find the rating and calculate real payload for common builds.
Mistake 4: Running the Wrong Tires
Weight and tires are connected problems, since an overloaded rig punishes a marginal tire even faster. Tires matter more than any other single upgrade on an overlanding vehicle. Beginners either skip the decision or buy the wrong set. A sidewall blowout 75 miles from the nearest town often runs over $1,000 for a mobile tire service, assuming a technician answers at all. Off-road recovery adds another $500 to $1,500 or more per job, since tow trucks cannot always reach remote trail locations and technical terrain drives the price up.
Highway all-season tires have thin sidewalls. They puncture easily on sharp rock, and sidewall damage cannot get a proper trail repair beyond an emergency patch. Quality all-terrain tires with reinforced sidewalls should be the first upgrade every overlander makes. Pair them with a full-size spare instead of a compact donut, a plug kit, and a compact air compressor. Choosing the right overlanding tires compares tread patterns and sidewall construction against common terrain types.
Mistake 5: Skipping or Misusing Recovery Gear
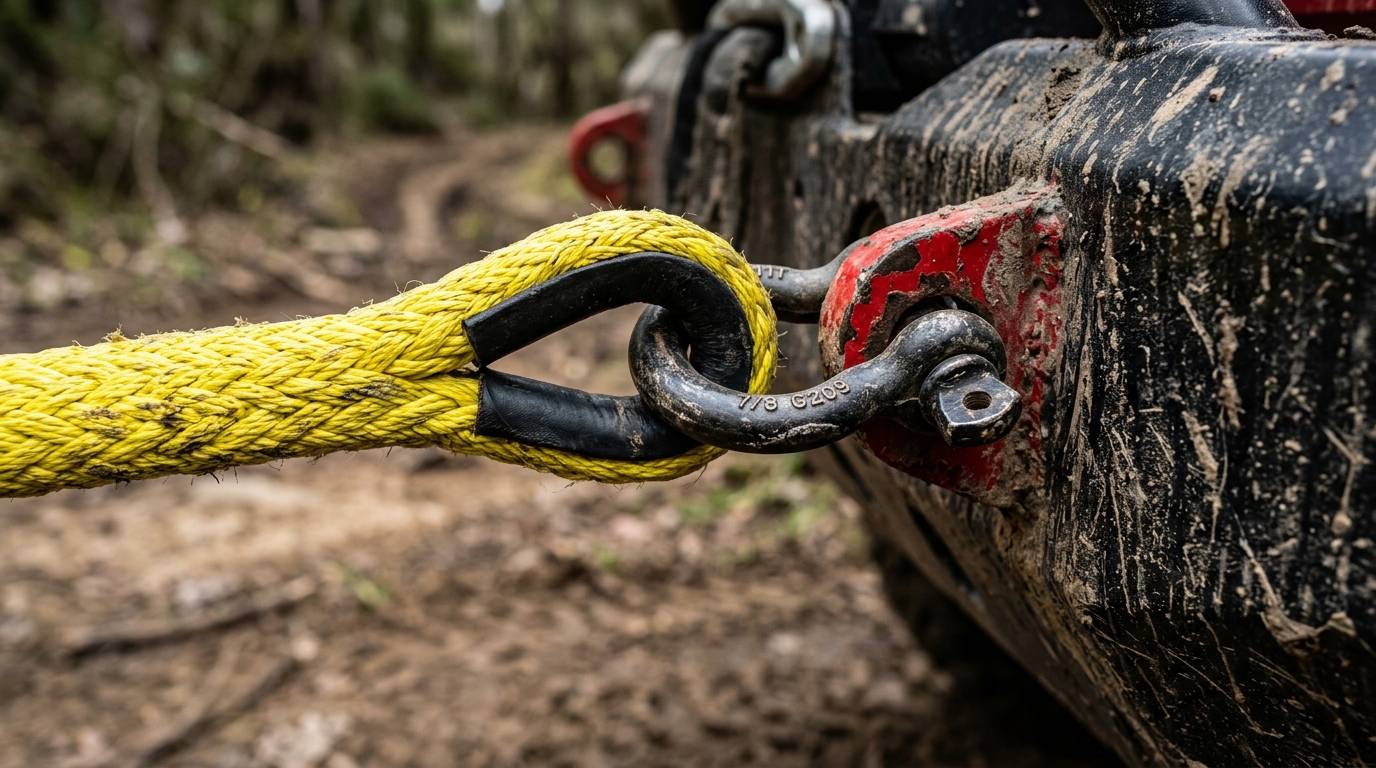
Even the right tires eventually meet a spot they cannot clear alone, which is where recovery gear comes in. This mistake has caused real injuries, notably around the tow ball used as a recovery point, which turns into a projectile under load. Thousands of pounds of kinetic energy sit behind a strap attached to a ball built for towing, not snatch recovery. A broken ball becomes a projectile capable of passing through a windshield or a person. Multiple Reddit threads document this exact failure mode. Some forum moderators even remove comments defending tow-ball recoveries because of the injury risk.
Safety note: Never attach a kinetic rope or snatch strap to a hitch ball. Use rated recovery points on the vehicle only, and stand clear of the strap’s line of pull during any recovery.
Overlanding recovery gear mistakes go beyond the tow ball, too. A rated recovery kit, a kinetic rope, recovery boards, a folding shovel, and quality gloves run $300 to $600 total, a small price next to hours or days waiting for help with no cell service nearby. Gear alone only solves half the problem, though, since it works only as well as the person using it. A recovery course or hands-on practice with an experienced overlander closes the rest of the gap.
Overlanding recovery gear mistakes rank among the most dangerous entries on this list. This is why common 4×4 recovery mistakes deserves a full read before your next trip. It covers additional failure points beyond the tow ball, including bad anchor points and mismatched shackle ratings.
Mistake 6: Skipping the Fuel Range Calculation
A dashboard fuel range estimate assumes highway conditions, not a loaded rig on trail terrain. Add a rooftop tent, heavier gear, larger tires, and off-road driving. Real range then drops 20% to 40% below the dash number. A 400-mile highway range often shrinks to 240 to 300 miles once loaded and off pavement. Owner-reported mpg backs up the math: several overlanders log closer to 10 mpg off-road, against 16 mpg on the same rig on paved mountain routes.
Running out of fuel with no cell service turns a minor miscalculation into an expensive one. Emergency fuel delivery, when available at all, commonly costs $500 or more. Before every trip, calculate loaded range, subtract 20% as a safety margin, and map fuel stops in advance. Carrying 2.5 to 4 gallons in a dedicated emergency container, such as a roto-pack mounted to the rig, covers the gap at a reasonable cost. Drivers planning longer routes often add an auxiliary tank or extra jerry cans once range demands grow.
Mistake 7: Zero Water Planning
Cheap supermarket water bottles fail two ways on the trail. Thin plastic punctures under vibration and cargo shifts. The plastic itself stays porous enough for fuel vapor to pass through it, leaving drinking water tasting like gasoline. In a desert environment, contaminated or insufficient water becomes a medical issue rather than an inconvenience. Dehydration ranks as the top medical problem in desert overlanding.
Proper water containers made from thick, non-porous material solve both problems. Community guidance and forum threads on desert water storage consistently land on one gallon per person per day as a baseline. Hot climates and vehicle cooling emergencies call for extra beyond the baseline. How much water to carry on the trail breaks the figure down by trip length and climate.
Mistake 8: The Overpacking Trap
Water is necessary weight; most of what else rides along is not. Every “in case I need it” item adds weight. Beginners routinely pack duplicates, novelty gadgets, and gear pulled from a video. None of it gets used on an actual trip. The result runs 500 to 1,000 lb of dead weight. This degrades every vehicle system at once, from suspension to fuel economy. Loose gear also becomes a projectile risk in a rollover. Buried gear slows access to the items needed most in an emergency.
A simple three-pile sort fixes this after each trip: items used daily, items used once, and items never touched. Eliminate the never-touched pile, and shrink the used-once pile over three trips. The result is a dialed kit earning its real space in the rig. The same discipline also pays off from a payload-first angle covered elsewhere on the site.
Mistake 9: Skipping Pre-Trip Maintenance
Deferred maintenance produces some of the largest repair bills on this list. Suspension replacement, for instance, runs $1,500 or more. A new exhaust system, likewise, costs a similar amount. A punctured gas tank starts around $1,000. Brake line replacement ranges from $300 to $2,000, and a full transmission replacement reaches $4,000 in some cases. Every one of these is preventable with a basic pre-trip inspection covering fluids, tire wear, lug nut torque, and CV boot condition.

Garmin inReach® Mini 2, Satellite Communicator, Black
Two-way satellite texting and interactive SOS over the Iridium network, in a 3.5-ounce unit that lives on a backpack strap.
- Two-way messaging works anywhere on Earth
- Interactive SOS reaches a 24/7 response center
- Up to 14 days of battery in tracking mode
- 3.5 ounces and IPX7 water resistance
- Messaging needs an active satellite subscription
These figures vary by vehicle and region, so treat them as planning ranges rather than fixed quotes. A quick fluid check, tire inspection, and underbody look for leaks before every trip amounts to the cheapest insurance an overlander ever buys. Add a good spare parts checklist to round out the routine, so a small failure on the trail never turns into a stranding.
Mistake 10: No Navigation or Communication Backup
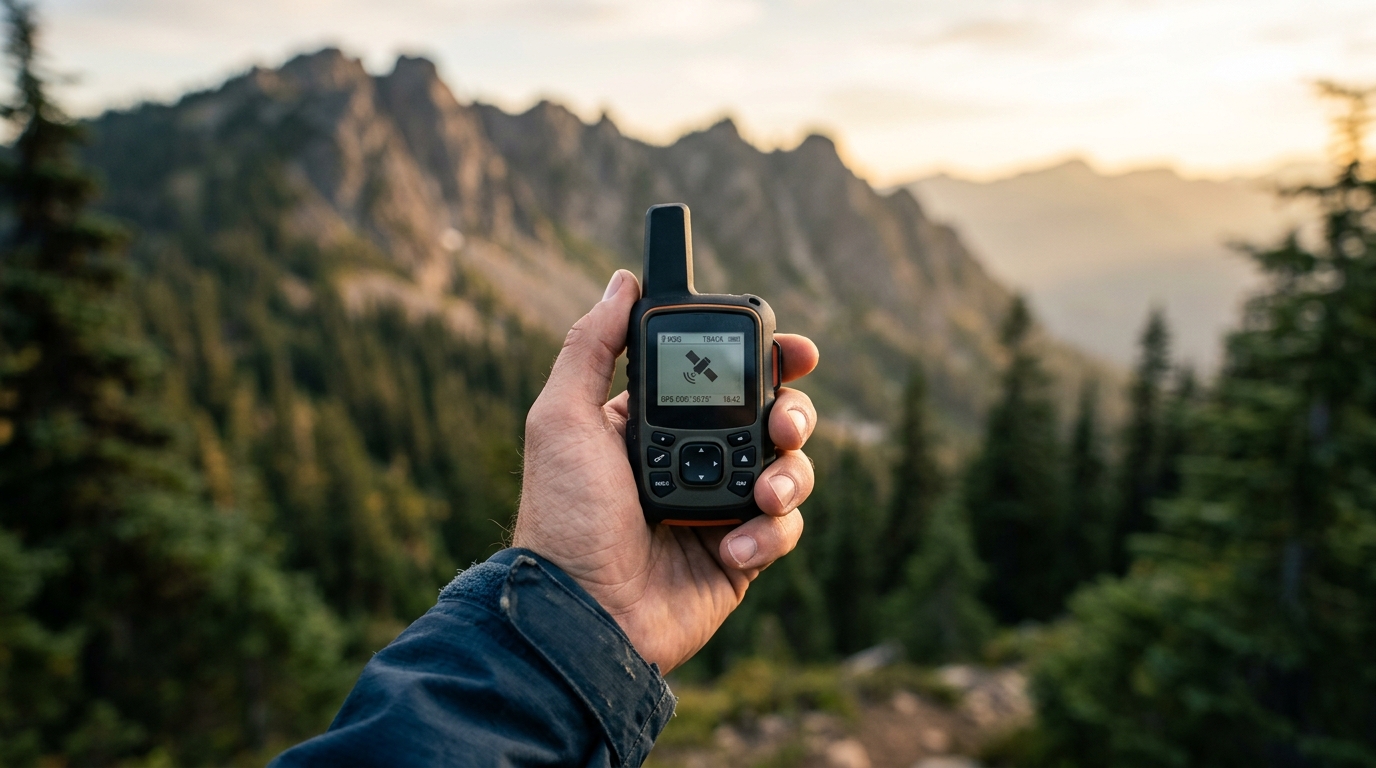
Even a well-maintained rig eventually needs a way to call for help. A phone is a battery-draining liability in the backcountry, not a navigation plan. GPS apps with the screen active often drain a phone battery in a matter of hours. Once cell service disappears, so do maps, calls, and rescue coordination. A wrong turn on an unmarked trail often puts a driver 50 miles or more from help, turning a routine mistake into a serious situation quickly.
The most reliable backup is a paper map of the area, kept in the vehicle at all times. A satellite communicator, such as a Garmin inReach, costs $300 to $400 plus a subscription and keeps two-way communication available with no cell tower nearby. Downloading offline maps before departure rounds out a reasonable backup plan. So does telling someone the planned route and carrying a portable battery bank. Two-way radios add another layer when traveling with other vehicles. A dedicated GPS unit or satellite communicator comparison helps narrow the options once a driver settles on a backup system.
Beginner Habits vs. Experienced Overlander Habits
The gap between overlanding beginner mistakes and experienced habits starts with spending order. Beginners tend to buy first and test later. Experienced overlanders test first and buy based on what the trail truly demands. A first-year build often carries a rooftop tent, a full suspension lift, and every accessory available, all before a single trip. An experienced rig usually carries fewer accessories. Each one gets chosen after multiple seasons of real use, solving a problem the owner personally hit.
The gap shows up most clearly around weight. Beginners rarely check their overland vehicle GVWR before loading up. Experienced overlanders treat a CAT scale stop as routine before any extended trip, since a $12 to $15 weigh-in costs far less than a cracked frame. Communication habits diverge the same way. New overlanders often rely on a phone alone. Veterans carry a paper map and a satellite communicator as standard practice, not an afterthought reserved for extreme trips.
Tire and recovery habits split the same way. A beginner often runs whatever tires came on the vehicle and treats recovery gear as a box to check off a list. An experienced overlander picks tires for the terrain driven most, then trains on the recovery kit long before a real stuck situation demands it. Fuel and water planning follow the same pattern. Beginners trust the dashboard range estimate and grab whatever water bottles are on hand, while veterans calculate loaded range before every trip and pack water by the gallon per person per day, not by guesswork.
Final Verdict
None of the ten mistakes above come from a lack of enthusiasm. They come from spending money before the trail has a chance to say what a rig truly needs. Weigh the vehicle, fit the right tires, learn recovery gear before needing it, sort a real packing list, keep up on maintenance, and plan fuel, water, and a communication backup before leaving pavement. Beginners who avoid trouble are not the ones with the cheapest trucks. They are the ones who put fundamentals first and treat accessories as a later decision.
The tradeoff is patience against instant gratification. Most overlanding beginner mistakes trace back to this exact tradeoff. A stock vehicle and three to five trips of real-world testing feels slower than an $80,000 build purchased in one weekend. Yet it produces a rig matched to actual needs instead of someone else’s build thread. Anyone drawn to the finished-rig look should expect to spend more and use less of what they bought.
Value concentrates in four places: a CAT scale weigh-in, a proper tire upgrade, a basic recovery kit with real training behind it, and a satellite communicator. Together, those four items typically run $1,500 to $2,500 depending on tire size and communicator plan, a fraction of a single overweight-related repair bill. They also address the mistakes most likely to end a trip early or put someone at risk.
Anyone starting this year should skip the rooftop tent question for the first season entirely. Instead, rent or borrow one only if a specific trip calls for it. A ground tent, a weighed and inspected rig, and a tested recovery kit outperform a fully accessorized truck still sitting in the driveway. These first time overlanding tips cost little compared to a single repair bill.
FAQ: Overlanding Mistakes Beginners Make
How much does it cost to start overlanding?
A stock vehicle with owned camping gear, a tire upgrade, and a basic recovery kit typically runs under $2,000 for a first build. Costs climb fast once a rooftop tent, lift kit, and full armor package get added before the basics are tested.
How do I know if my overlanding rig is over GVWR?
Load the vehicle exactly as it would sit for a trip, including fuel and water, then drive to a CAT scale for roughly $12 to $15. Compare the reading against your overland vehicle GVWR, listed on the driver door jamb sticker. Going over the number means removing gear, not upgrading suspension.
What tires are best for overlanding beginners?
Quality all-terrain tires with reinforced sidewalls, paired with a full-size spare, a plug kit, and a compact air compressor, cover most beginner needs. Highway all-season tires puncture easily on rock and cannot handle sidewall damage on the trail.
What recovery gear does a beginner overlander need?
Rated recovery points, a kinetic rope, recovery boards, a folding shovel, and quality gloves cover the basics for $300 to $600. A recovery course or hands-on training from an experienced overlander matters as much as owning the gear itself.
How much water should I bring overlanding per person per day?
Plan for one gallon per person per day as a baseline, with additional water for hot climates and vehicle cooling emergencies. Store it in thick, non-porous containers built for long-term use rather than thin supermarket bottles.
Do I need a satellite communicator for overlanding?
Anyone traveling where cell service disappears should carry one. A device such as a Garmin inReach runs $300 to $400 plus a subscription and keeps two-way communication and rescue coordination available where a phone alone offers nothing.
The reading below expands on several common overlanding mistakes in more depth, from tent choice to trail navigation.
Related Reading