


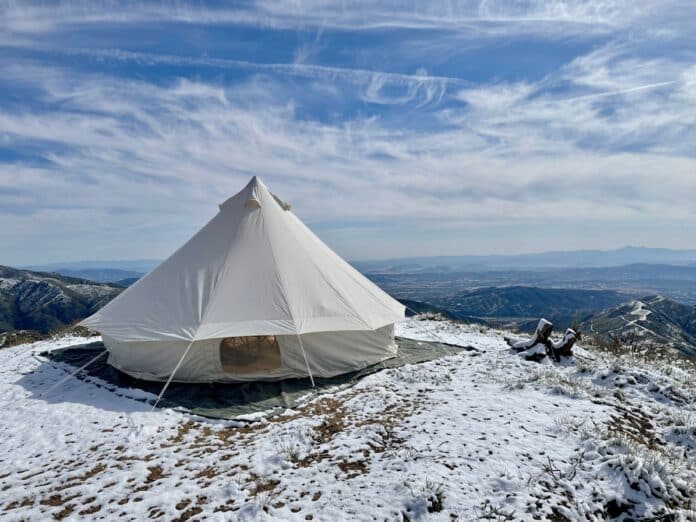
Quick Facts:
- Topic: Winterizing a bell tent for cold-weather use
- Skill level: Beginner to intermediate
- Time required: 3 to 5 hours for a full winter setup
- Biggest gain: Ground insulation, then draft sealing
- Most overlooked step: A fly cover stretched above the canopy
- Fabric holding heat longest in wet cold: Polyester such as Elk Mountain PolyShield, which stays dry where cotton soaks
- Heat source: Wood stove or vented diesel heater, never an unvented propane heater
- Cost: Roughly $900 to $1,600 to winterize a 16-foot tent you own
- Biggest hazards: Snow load on the canopy and carbon monoxide inside it
- Best for: Bell tent winter camping down to about 0°F, with a vented heat source and a 0°F sleeping bag
15 min read
In This Guide
- Why Bell Tent Winter Camping Works
- Winter Bell Tent Numbers at a Glance
- Step 1: Insulate the Bell Tent Floor First
- Step 2: Seal Drafts Without Sealing the Tent
- Step 3: Add a Fly Cover Above the Canopy
- Step 4: Heat It Without Feeding Condensation
- Step 5: Snow Load, Wind and Bell Tent Anchoring
- Does a Polyester Bell Tent Hold Heat Better Than Cotton Canvas?
- What Winterizing Costs
- Bell Tent Winter Camping vs. a Four-Season Backpacking Tent
- Final Verdict
- Frequently Asked Questions
Why Bell Tent Winter Camping Works
One field log explains bell tent winter camping better than any spec sheet. A hot tent camper ran a stove overnight and recorded 30°F outside, with 50 to 80°F in the air inside. Meanwhile the floor stayed at roughly 30°F. Heat rose to the peak while the ground held its cold, so the sleeping surface never warmed.
The shell over your head carries almost no insulation value on its own. Its job is blocking wind, rain and snow. Warmth comes from the layers you add underneath, around and above it, plus a heat source sized to the volume. New to running a stove under fabric? Our explainer on how hot tents work covers the basics first.
Order matters more than budget, and this guide follows the order of return. First insulate the ground, since it never warms on its own. Second, seal the drafts at the door, the sod cloth and the stove jack, which costs almost nothing. Third, stretch a fly cover above the canopy for the radiant and wind gains. Then size a vented heat source and pair it with a carbon monoxide alarm. Finally, set your anchors for snow and wind.
Set expectations honestly, too. A veteran hot tent camper on Bushcraft USA names the ceiling on all of it. Most tent insulation schemes lean on the fire, and they “fail almost instantly when the fire goes out.” Every step below slows heat loss. None replaces a sleeping bag rated for the real overnight low, and none changes how cold is too cold to camp for your setup.
What You’ll Need
Tools
- Rubber mallet for frozen ground
- Extendable snow brush with a soft head
- Utility knife and aluminum foil tape for the stove jack
- Carbon monoxide alarm, battery powered
- Stove thermometer for the flue base
Materials
- Ground tarp plus 200 sq ft of half-inch interlocking foam tiles
- Coir mat or wool rug for the walking surface
- Closed-cell foam pad (R-2.0) and an insulated inflatable pad
- Sleeping bag rated to 0°F or lower
- Wool blanket and a curtain rod for a door draft curtain
- Sandbags or split logs to weight the sod cloth
- Fly cover or over-tarp sized to your tent diameter
- Wood stove or vented diesel heater, with a stove jack and heat shield
- 12 snow stakes or stuff sacks for deadman anchors
- Seasoned hardwood splits, roughly 2 to 3 inches by 10 inches
Winter Bell Tent Numbers at a Glance
| Specification | Details |
|---|---|
| Interior volume, 16 ft bell tent | About 980 cubic feet (201 sq ft floor) |
| Interior volume, 20 ft bell tent | About 1,730 cubic feet (304 sq ft floor) |
| Sleeping pad R-value, cold nights | R-4.0 to R-5.4 for lows near 20°F, and R-5.5 or higher for 0°F |
| Stove firebox sizing rule | Roughly 1 cubic inch of firebox per cubic foot of tent |
| Realistic wood stove burn time | 2.5 to 3 hours per load, so plan a night reload |
| Diesel heater coverage, 5 kW unit | 161 to 215 sq ft, burning 0.20 to 0.50 L per hour |
| Snow load, 2 inches on a 45 m² canopy | Roughly 1,500 lbs, and wet snow runs up to 3x heavier |
| Moisture regain, cotton vs. polyester fiber | 8.5% vs. 0.4% |
Elk Mountain Bell Tents and Winter Packages

Step 1: Insulate the Bell Tent Floor First
Go back to the field log. Air at 50 to 80°F, yet floor at 30°F. Heat rises, cold ground stays cold, and your body loses warmth downward all night through conduction. Ground insulation therefore delivers more comfort per dollar than any other step here.
Build it as a stack rather than a single product. Start with a ground tarp under the tent to block moisture. Add interlocking half-inch foam tiles across the whole floor. Anti-fatigue mats from a discount tool store run about $0.75 per square foot on sale, so a 16-foot tent costs roughly $156 to cover. Next lay a coir mat or wool rug over the foam for a surface you tolerate barefoot.
Handle the sleeping platform separately. For the sleeping surface, REI’s cold-weather guidance calls for R-4.0 to R-5.4 for lows near 20°F, and R-5.5 or higher for 0°F. Stack a closed-cell foam pad rated R-2.0 under an insulated inflatable pad, because the values add. Campers on Reddit report the same approach with moving blankets, wool blankets and flattened cardboard. All of them work because they trap air.
Skip one popular shortcut. Plain plastic sheeting has almost no insulating ability and will not make the tent warmer, though it does block ground moisture. Foam tiles have limits as well. Campers are blunt about it: they help, yet they will not turn a 30°F night cozy on their own.
Step 2: Seal Drafts Without Sealing the Tent
Air leakage moves more heat than conduction through the walls, and sealing it costs almost nothing. In houses, air leakage accounts for 25 to 40 percent of heating and cooling energy. Textile testing shows a sharper effect. Moving from still air to a 4 m/s breeze, about 9 mph, cuts fabric thermal resistance by 38 to 55 percent.
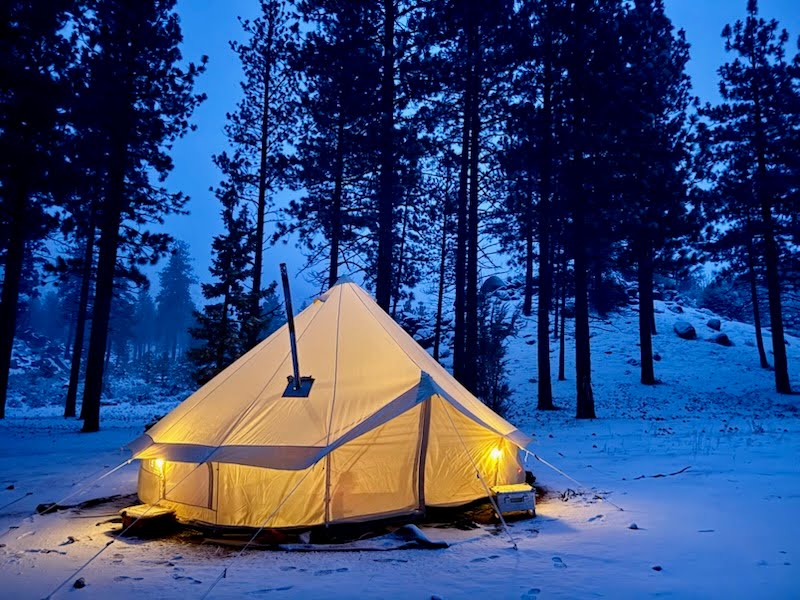
Work the four leak points in order, starting low. Weight the sod cloth down with snow, sandbags or logs so wind stops running under the wall. Hang a blanket on a rod inside the doorway as a draft curtain, a trick wall tent owners swear by. Then close the gap around the stovepipe at the jack with aluminum foil tape. Finally, tie the canvas to the interior pole ties so it stops flapping, since a flapping wall pumps air.
Now the part people get wrong. Sealing everything is dangerous with any combustion appliance running. One hunter in Montana got 30 inches of snow, then found four inches of ice frozen over his sod cloth after a few days. As a result his tent had no air coming in at all, with a stove burning inside.
Safety note: Run a high vent and a low vent together whenever a stove or heater burns inside. Experienced hot tent users leave the door zipper open 5 to 10 inches at the bottom. They also crack the top zip a couple of inches. Pair the airflow with a working carbon monoxide alarm at head height.
Step 3: Add a Fly Cover Above the Canopy
A fly cover is the most-skipped upgrade in bell tent winter camping. Stretch a second sheet of fabric over the canopy, guy it out, and keep a few inches of air between the two layers. Four separate mechanisms then work in your favor.
The first is radiant loss. A clear winter sky behaves like a heat sink, while your canopy is a large surface aimed straight at it. Measured net outgoing radiation under a clear sky runs near 98.9 W/m², against roughly 15.1 W/m² under full overcast. Effective sky temperature follows the same pattern, at about 3.9°C clear against 24.9°C overcast, a 21°C spread. A fly becomes the sacrificial surface facing the sky, so your canopy sees the warm underside of the fly instead.
The second is wind. Standard building tables rate a still interior air film at R-0.68 and a wind-exposed exterior film at R-0.17, roughly four times less resistance. Breaking the wind before it reaches the canvas protects the thin still-air layer clinging to it. The third mechanism is dryness, since a wet shell loses heat far faster than a dry one. Fourth, snow slides off a slick fly instead of soaking into fabric and freezing.
Be honest about the size of the win, though. The one systematic cold-weather measurement we found put a double-wall tent’s interior air about 2°F above a single-wall tent’s. Forum reports of 5 to 10°F exist, and they come from windless nights with solid inners. Therefore treat the fly as insurance against wind, sky and wet, with a small temperature bonus on top.
Setting the Fly Up Correctly
Keep the two layers apart. A fly resting on the canopy wicks water across the gap, which kills the dead-air space you paid for. Guy every line out to its own stake so wind lifts the fly rather than the tent. Wrap the rope sliders with tape or cord before the first freeze, because iced sliders will not adjust at 6 a.m.
Safety note: Most bell tent flies are not fire retardant and ship without a stove jack. Therefore never run a stovepipe through an unjacketed fly. CanvasCamp’s fix is two stove jacks, one in the canopy and one in the fly. Vent the pipe through both roofs with clearance at each.
Step 4: Heat It Without Feeding Condensation
Where a heater puts its combustion water decides whether you fight droplets all night. Burning fuel always produces water vapor. An unvented propane heater releases roughly a gallon of water into the room per 100,000 BTU. Put another way, every gallon of propane burned yields about 0.81 gallons of water. A wood stove and a vented diesel air heater both exhaust their combustion products outdoors instead.
Meanwhile a wood stove does a second useful thing. It pulls combustion air from inside the tent and sends it up the flue, so humid interior air continuously swaps for cold, dry outside air. Heating the incoming air also lowers its relative humidity, which moves the walls further from their dew point. Dry air plus a warm room is why hot tent camping doubles as a drying room for wet boots and gloves.
| Heat Source | Moisture Added Inside | Practical Notes |
|---|---|---|
| Wood stove | None, exhausts up the flue | Needs a stove jack and heat shield. Burns 2.5 to 3 hours per load, so somebody reloads overnight |
| Vented diesel air heater | None, sealed combustion outside the tent | Runs all night on one tank. Needs 12V power and a duct route through a port or door |
| Unvented propane heater | About 1 gallon of water per 100,000 BTU | Cheapest to buy, worst for condensation, highest carbon monoxide risk while sleeping |
Sizing the Heat Source
For wood, the working rule is about one cubic inch of firebox per cubic foot of tent. A 16-foot bell tent holds roughly 980 cubic feet, and a 20-foot holds about 1,730. Therefore a firebox near 1,000 cubic inches suits the 16-foot, while a 20-foot wants closer to 1,700. Veterans also prefer a bigger stove run low over a small stove run hot, because the extra mass radiates more evenly.
For diesel, a 5 kW unit rates 161 to 215 sq ft of coverage. A 16-foot tent’s floor measures 201 sq ft, so the match is close. Fuel burn runs 0.20 to 0.50 L per hour, and a 5 L tank carries an overnight easily. Elk Mountain built for this directly on its Yukon Pro Series XL, which adds a zippered pass-through port for a diesel duct. Run the heater outside, duct the warm air in, and the combustion stays clear of your air entirely.
Set burn-time expectations before you buy. A loaded tent stove runs 2.5 to 3 hours, not eight, so somebody reloads at 2 a.m. or the tent drops to ambient by morning. Still, buy the sleeping bag for the overnight low regardless of the heat source. Our canvas tent stove safety rules cover clearances, jack placement and pipe joints in full.
Safety note: Spark arrestors clog with soot and backdraft smoke into the tent. One Rokslide member woke coughing and dizzy with his tipi full of smoke after a top-mounted arrestor plugged. Two others reported the identical failure. Inspect and clear the arrestor every single burn, whichever end it sits on.
Step 5: Snow Load, Wind and Bell Tent Anchoring
Snow is a load your tent carries without a rating for it. CanvasCamp ran the arithmetic: a 45 m² canopy carrying two inches of average snow picks up roughly 1,500 lbs. Wet snow weighs up to three times more than dry snow of the same depth. No bell tent maker in our checks publishes a snow-load rating. Elk Mountain states it plainly on its own product page: the Yukon is not designed for snow loads.
The conical shape helps, since a steep canopy angle sheds buildup better than a flat wall tent roof. It does not shed everything, though. Brush the canopy with an extendable soft-headed snow brush during and after every storm. Tap the underside gently from inside if a slab holds on.
Anchoring in Snow and Frozen Ground
Anchoring changes in winter as well. Standard stakes hold nothing in snow, so use snow stakes, or bury stuff sacks packed with snow as deadman anchors. Pack the snow under the footprint before you pitch so the tent stops sinking unevenly. On 20-foot models, Elk Mountain recommends swapping the segmented center pole for rigid 1.25-inch pipe or lumber. Joint movement lets the original pole bow under load.
Safety note: Never leave a pitched bell tent unattended during a snowstorm. Life inTents recommends removing the support poles, zipping the doors, and covering the tent with a secured tarp when you leave it. A collapsed canopy under 1,500 lbs of snow tears at the seams and ruins poles.
Owner reports back up the wind side of this, even with no published snow-load figure to lean on. Elk Mountain buyers describe 60 mph winds and two weeks of below-freezing nights with the tent standing.
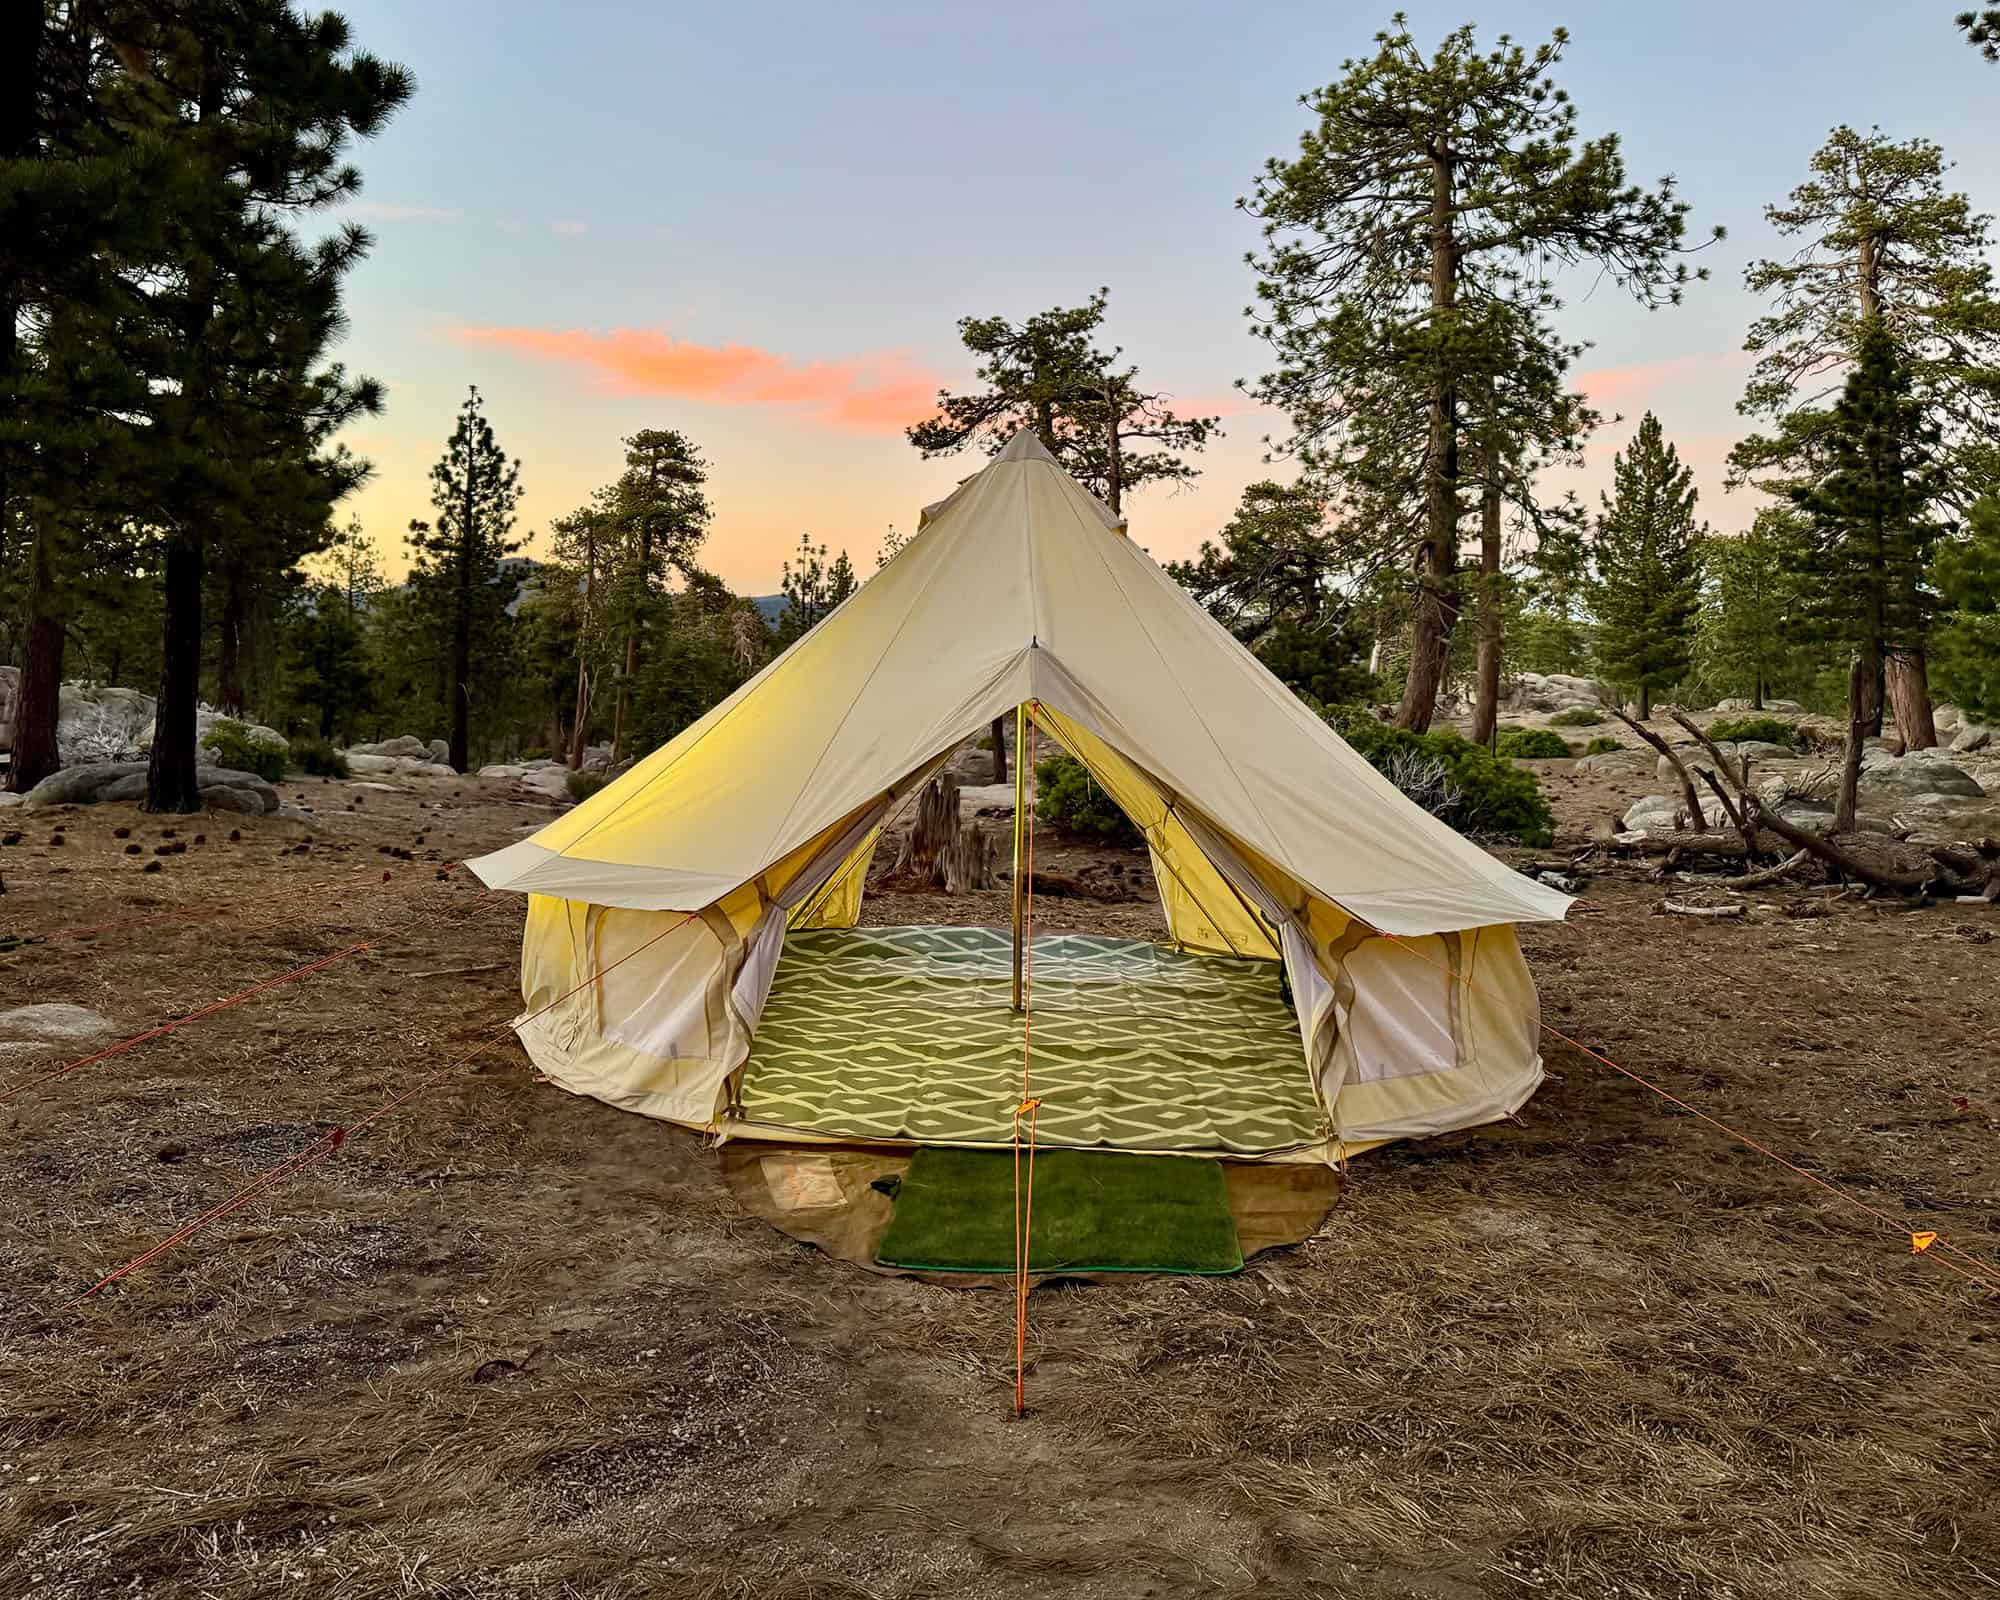
From experience: I have been in some winter storms in Elk Mountain tents, with heavy winds and snow, and they held up fine. The 20 ft Yukon pictured earlier rode out a winter storm up in Big Bear and held its ground.
Does a Polyester Bell Tent Hold Heat Better Than Cotton Canvas?
In sustained winter cold and wet, yes. The reason is water rather than fiber. At the fiber level, the insulation difference between cotton and polyester is trivial next to the still air trapped in the weave. Water absorption is the variable deciding which wall still insulates at 3 a.m.
Cotton’s standard moisture regain is 8.5 percent. Meanwhile polyester’s is 0.4 percent, roughly twenty-one times less. Once a cotton fabric saturates, its effective thermal conductivity climbs to about 0.65 to 0.70 W/m·K. Water itself sits near the same value, and still air sits more than twenty times lower. In plain terms, a soaked canvas wall stops insulating and starts conducting. A polyester bell tent sheds water instead of soaking it up, so its wall keeps the thermal resistance it started with through a wet, freezing night.
What Elk Mountain Claims, and What Holds Up
Drafts decide the rest. Elk Mountain frames its PolyShield fabric as breathable enough to let air circulate “while keeping out drafts, making them ideal for keeping warm without condensation.” The draft half carries real weight, since wind strips heat far faster than conduction through a wall. Cotton earns its reputation honestly on the other side of the trade, because a breathable natural wall passes moisture rather than collecting it on the inside surface. A Sunforger treated cotton canvas still absorbs water, though, where PolyShield does not.
Strength runs the same direction. Elk Mountain publishes 449 lbs warp and 382 lbs fill breaking strength for its 11 oz PolyShield polyester. Traditional 12 oz cotton canvas measures 382 and 241. Backcountry Chronicles’ published fabric data puts 12 oz cotton army duck at 389 and 241, which lines up with those cotton figures. Tear strength runs 67 lbs warp and 40 lbs fill on the polyester.
The Practical Winter Difference
Three things follow for a cotton canvas bell tent in a wet cold snap. It gains weight as it soaks up water, and it stiffens if the water in the weave freezes. Finally, it needs full drying before storage, or mildew starts. A PolyShield tent skips all three, which matters most on a trip where you break camp wet and drive home.
The trade runs the other way on condensation discipline. Any shell holding warm, humid air against a cold wall grows droplets, so ventilation stops being optional. Our guide to bell tent condensation and mold covers the cleanup side in detail.
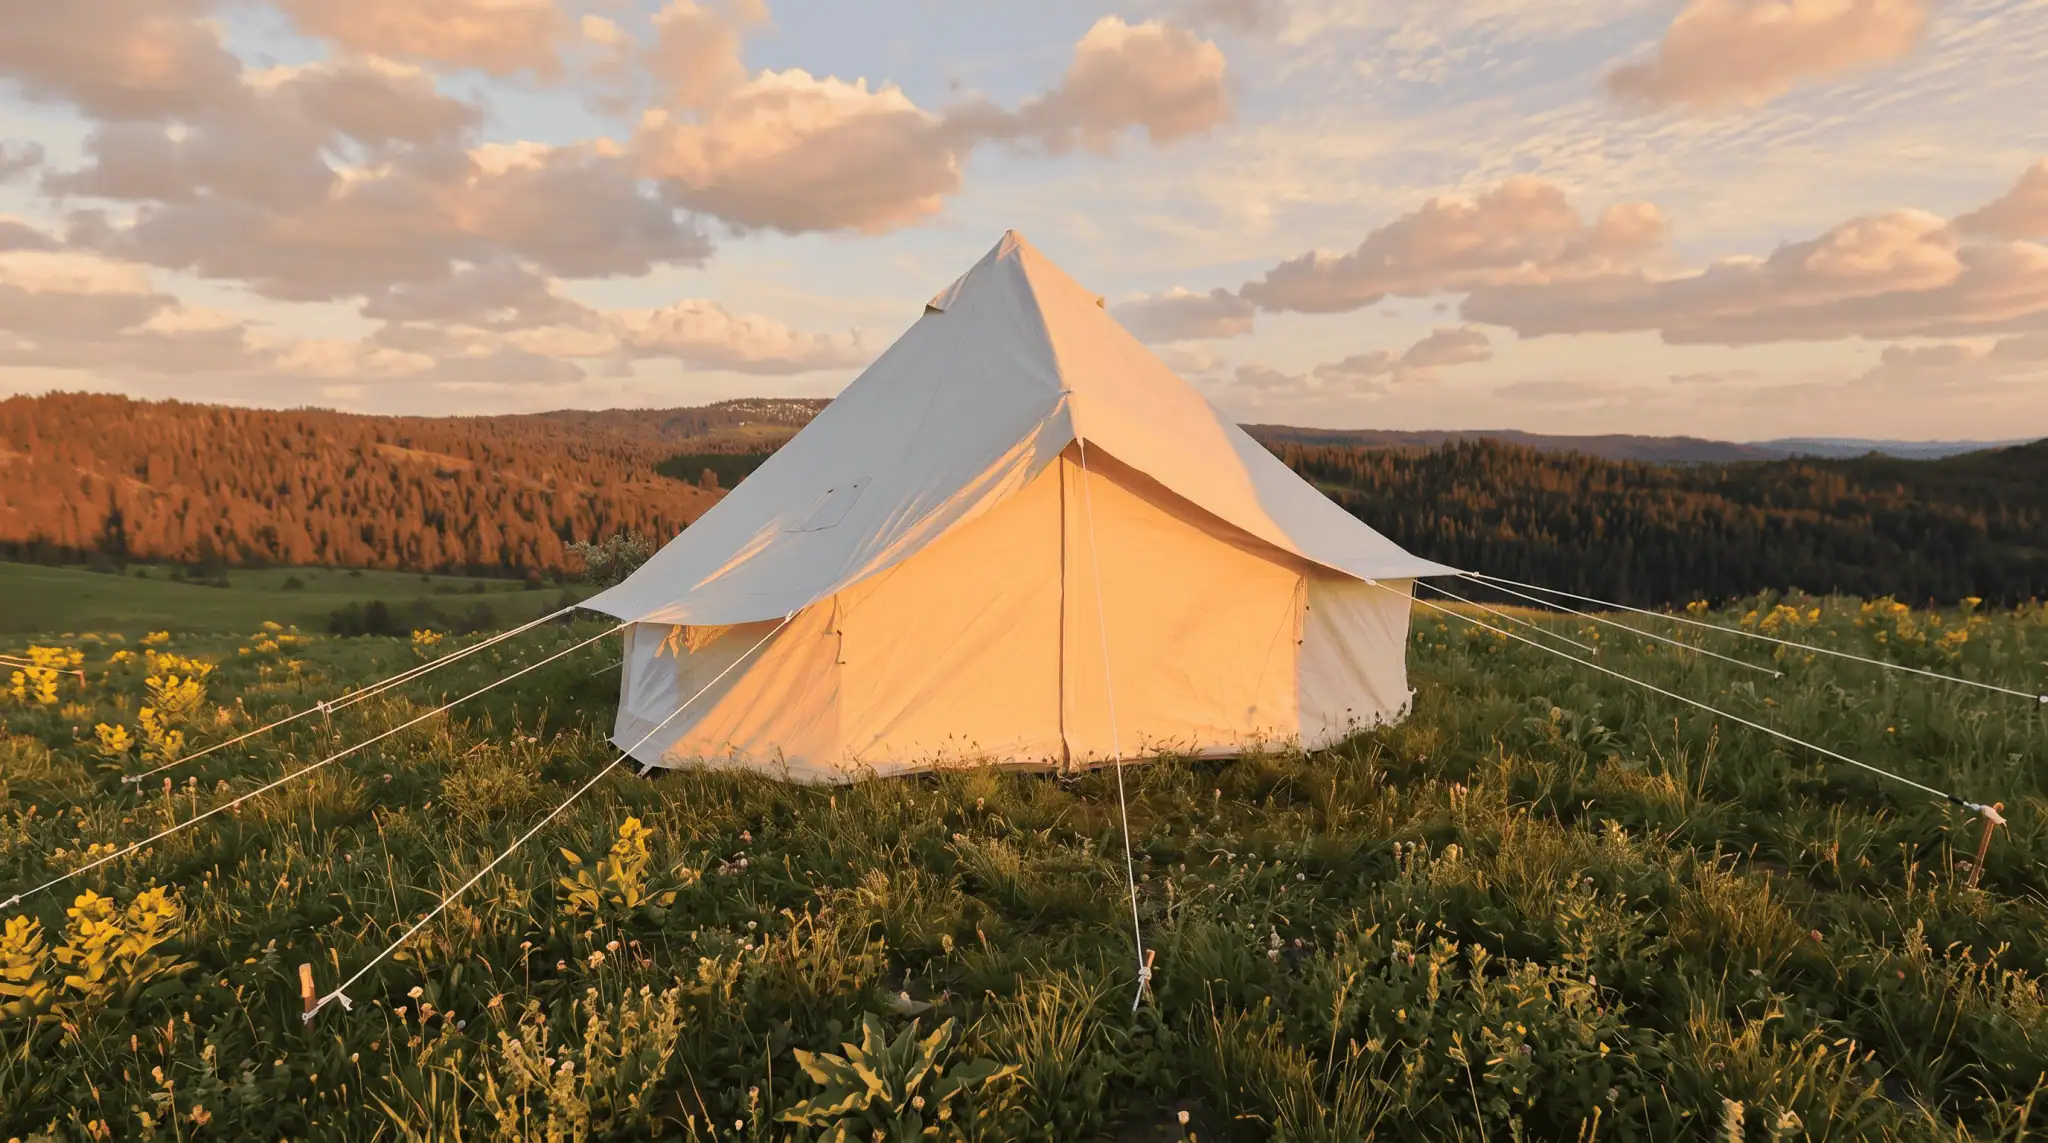
Original Single Door Yukon Bell Tent
An 11 oz PolyShield polyester shell in 13, 16 and 20 ft, priced from $875 to $1,274. Floor area runs 133 to 304 sq ft. Every size ships with a zip-in PVC floor, a galvanized steel center pole and an uncut stove jack.
- PolyShield polyester sheds water instead of absorbing it, so the wall stays dry through a wet freezing night
- 449 lbs warp and 382 lbs fill breaking strength, against 382 and 241 for traditional 12 oz cotton canvas
- Four screened peak vents and four screened windows for stove-season airflow
- Uncut fiberglass stove jack, cut to fit a 4, 5 or 6 inch pipe
- PVC 540g groundsheet zips in and curves 3.5 inches up the wall
- 90-day warranty, and it excludes snow and wind damage
- Elk Mountain states the tent is not designed for snow loads
- You cut the stove jack opening in the canvas yourself
- The 20 ft center pole bows under load, so Elk Mountain suggests a rigid 1.25 inch pipe instead
What Winterizing Costs
Two paths exist here. Winterize the tent you own, or buy a package built for the season. Prices below reflect US retail checked in September 2026 and shift with sales, so treat them as ranges rather than quotes.
| Cost Item | DIY | Buying a Winter Package |
|---|---|---|
| Floor foam, 200 sq ft | About $156 | About $156 |
| Draft sealing (blanket curtain, foil tape, sandbags) | $0 to $40 with gear you own | $0 to $40 |
| Fly cover | $179 to $240 | Included |
| Heat source | $116 diesel to $319 wood stove on sale | Included |
| Stove jack and heat shield | $170 for both | Factory fitted |
| Snow stakes, set of 12 | About $95 | About $95 |
| Sleeping bag rated 0°F | $150 to $600 | $150 to $600 |
| Carbon monoxide alarm | About $25 | About $25 |
| Tent itself | Already owned | Tent plus winter accessories, roughly $1,765 to $2,240 |
| Typical total | About $890 to $1,645 | About $2,190 to $3,115 |
Two lines carry most of the comfort. The fly cover and the floor foam together run under $400 and address radiant loss, wind, wet fabric and conduction. Draft sealing costs almost nothing and ranks second on return. Meanwhile the sleeping bag is the largest single item, and no amount of tent work substitutes for it.
Bell Tent Winter Camping vs. a Four-Season Backpacking Tent
The biggest difference is heated volume. A four-season backpacking tent traps body heat in a small space and pitches anywhere, yet it holds no stove and no standing room. Bell tents run the other way. A 16-foot model gives you 201 sq ft, a stove jack and room to dry gear. In contrast, it costs you about 95 lbs of packed weight, or 80 to 115 lbs across the 13 to 20-foot sizes, plus a vehicle to move it.
Next, choose by trip style. Backcountry travel on foot or ski points to the small tent every time. Base camps, hunting seasons, overland trips and family winter weekends point to the bell tent. Heat, drying space and standing headroom change how long you tolerate bad weather. Hot tent camping only makes sense when you drive to the site.
Cost lands closer than people expect. A genuine four-season backpacking tent runs about $450 to $1,100, with mainstream models clustered at $600 to $900. Meanwhile a winter-ready bell tent package runs $2,190 to $3,115 with the stove and fly included. Per square foot, the bell tent is far cheaper. Yet per pound carried, it is not close.
Final Verdict
Bell tent winter camping suits campers with vehicle access who want a warm, dry, standing-height base camp for days at a time. Its strongest argument is the combination of a stove jack and enough volume to stand up in, which turns a shelter into a room where wet boots and gloves dry overnight. Everything else in this guide exists to keep the heat you already paid for.
The trade-offs are real. You accept 80 to 115 lbs of tent and a 3 to 5 hour winter setup. Then comes snow management every storm, plus a real carbon monoxide risk demanding a working alarm. Campers who travel light, move camp daily, or expect heavy snowfall without anyone on site should look at a four-season backpacking tent or a hard-sided trailer instead.
On fabric, PolyShield polyester holds heat better across a real winter trip, and the reason is worth stating precisely. It is not a better insulator than cotton fiber. It stays dry where cotton soaks and freezes, so it keeps insulating after two days of snow and sleet. There is no added weight of absorbed water, and no wait for the fabric to dry before it works normally again. On a dry, still, mild night, the two fabrics feel much the same. Across a wet, windy, sub-freezing week, they do not.
What to Do First
Start with the floor and the draft sealing, since together they cost under $200 and deliver the largest share of the comfort. Add the fly cover next, then a vented heat source sized to your tent volume, with a carbon monoxide alarm beside it. Do you keep breaking camp wet with a cotton tent? Elk Mountain’s PolyShield line solves the drying and mildew problem, though read its 90-day warranty and its snow-load note first. For stove-heavy, dry-cold use, a well-maintained cotton canvas bell tent from a maker like Psyclone stays the better pick.
Frequently Asked Questions
How Much Snow Will a Bell Tent Hold?
Less snow than you think. Two inches of average-density snow on a 45 m² canopy adds roughly 1,500 lbs. Wet snow weighs up to three times more than dry. No major bell tent maker we checked publishes a snow-load rating, and Elk Mountain states its Yukon is not designed for snow loads. Therefore brush the canopy during every storm rather than trusting the fabric.
Is a Bell Tent Usable in Winter?
Yes, especially with a vented heat source and ground insulation. The conical shape sheds snow better than a flat roof, and a stove jack allows safe wood or diesel heat. Owners report comfortable stays below freezing for two weeks straight. Without floor insulation and a heater, though, a bell tent performs no better than any other uninsulated shelter.
What R-Value Do You Need on the Ground?
REI recommends R-4.0 to R-5.4 for lows near 20°F, and R-5.5 or higher for 0°F. Sleeping pad R-values add, so a closed-cell foam pad at R-2.0 under an insulated inflatable pad reaches the target. Insulate the whole floor as well, since one field log recorded a 30°F floor while the air held 50 to 80°F.
Do You Need a Fly Cover Over the Canopy?
Not for waterproofing on a sealed polyester tent, which is why Elk Mountain’s own canvas spec page says a rainfly is not required. Still, add one in winter. A fly blocks the canopy’s view of a clear night sky and breaks wind before it reaches the fabric. It also sheds snow and keeps the canopy dry. Expect a modest gain of a couple of degrees, plus a large gain in weather protection.
Which Heater Is Safest for a Bell Tent?
A wood stove with a proper jack, or a vented diesel air heater running outside with ducted air. Both exhaust combustion products outdoors. An unvented propane heater dumps about a gallon of water into the tent per 100,000 BTU, worsening bell tent condensation. It also carries a higher carbon monoxide risk indoors. Run a carbon monoxide alarm with any of them.