


Quick Facts:
- Task: Plugging a tread puncture on the trail and reinflating
- Skill level: Beginner
- Time required: Minutes for the plug, longer for the air-up
- Tools needed: Plug kit, 12V compressor, pressure gauge
- Repair limit: 1/4 inch (6 mm) maximum, tread only
- Kit cost: $40 to $55 for a quality off-road kit
- Permanent? No. Industry bodies treat a plug as temporary
- Best for: Getting a rig off the trail under its own power
8 min read
In This Guide
- Why a Trail Puncture Is a Different Repair
- Key Repair Limits at a Glance
- How to Read the Puncture First
- How to Plug a Tire on the Trail in Six Steps
- How to Air the Tire Back Up Safely
- What the Kit Costs Against What Not Having One Costs
- How to Tell a Tire on the Trail Is Beyond a Plug
- Trail Plug vs. Shop Plug-Patch
- Final Verdict
- Frequently Asked Questions
Why a Trail Puncture Is a Different Repair
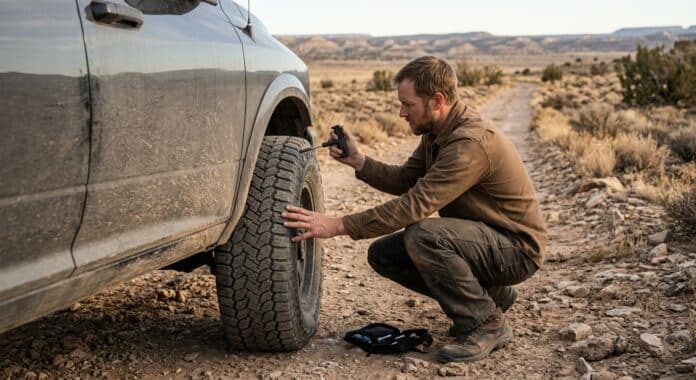
Learning how to plug a tire on the trail matters more than learning the same skill in a driveway. Twenty miles from pavement, you have one spare and no lift. Your tires are already aired down for traction. Because the sidewall is soft and the tread deflects, the shop technique of jacking the rig and pulling the wheel works against you.
The repair itself is quick. Reinflating a 35-inch tire from near zero takes longer, and the air-up decides whether you drive out or wait for a friend.
This guide separates what the tire industry permits from what off-roaders do to get home. Both matter, and the gap between them is where trailside arguments start.
What You’ll Need
Tools
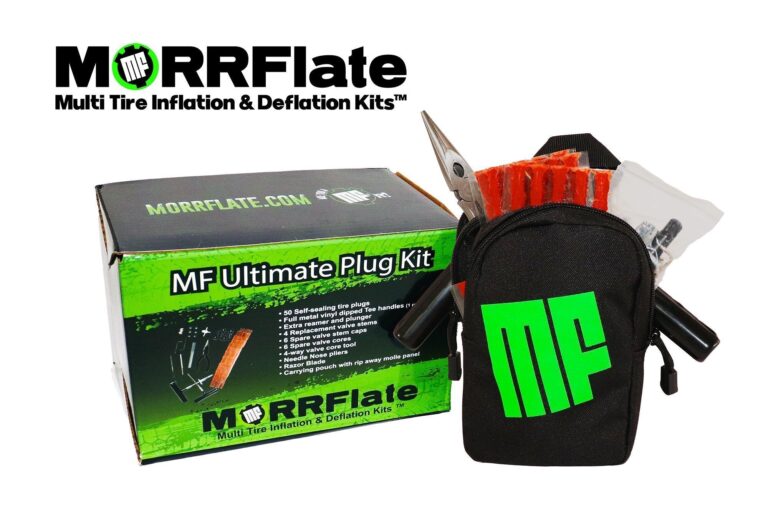
- Rope plug kit with all-metal T-handle reamer and insertion tool
- 12V portable tire air compressor
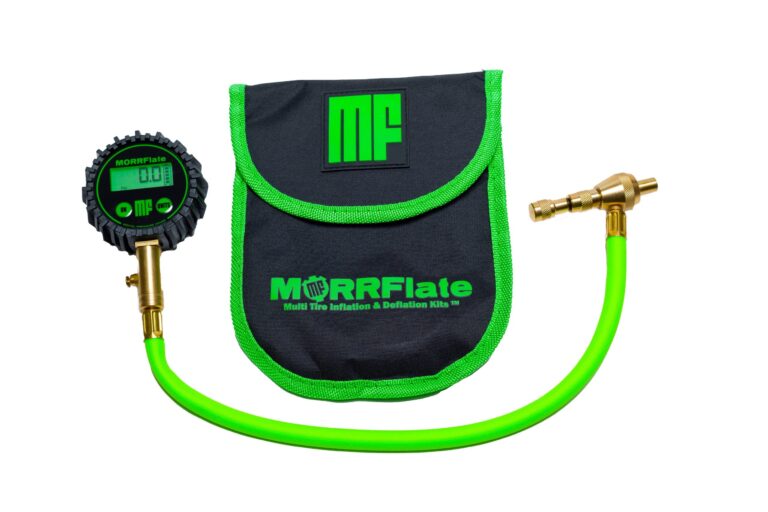
- Digital pressure gauge, 1 to 150 PSI
- Needle-nose pliers for pulling the object out
- Razor blade or flush cutters
- 4-way valve core tool
Materials
- Self-vulcanizing repair cords, 5 minimum
- Rubber cement or plug lubricant, 1 tube
- Spare valve stems, 2
- Spare valve cores, 4
- Spray bottle of soapy water
- Nitrile gloves, 1 pair
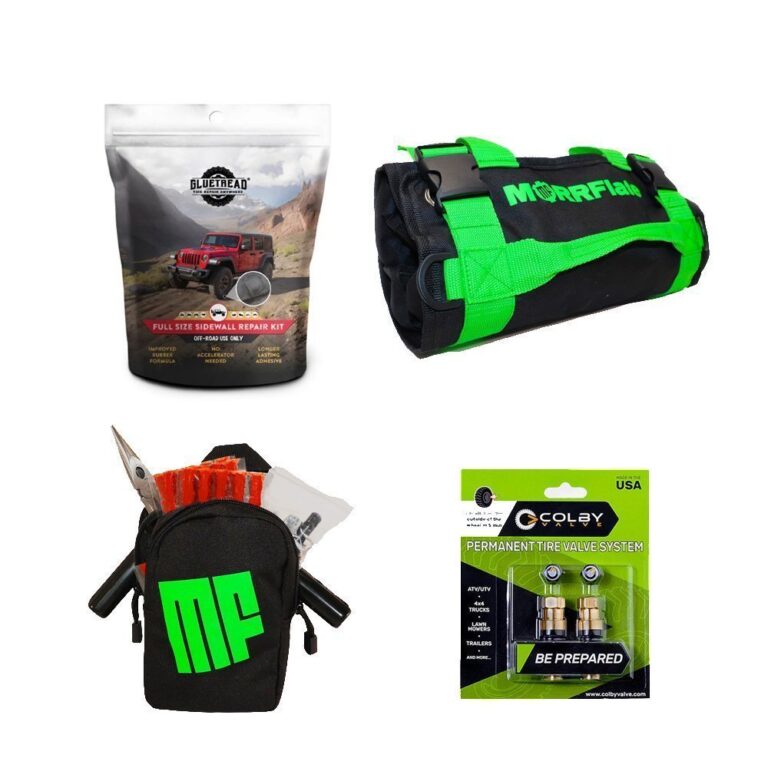
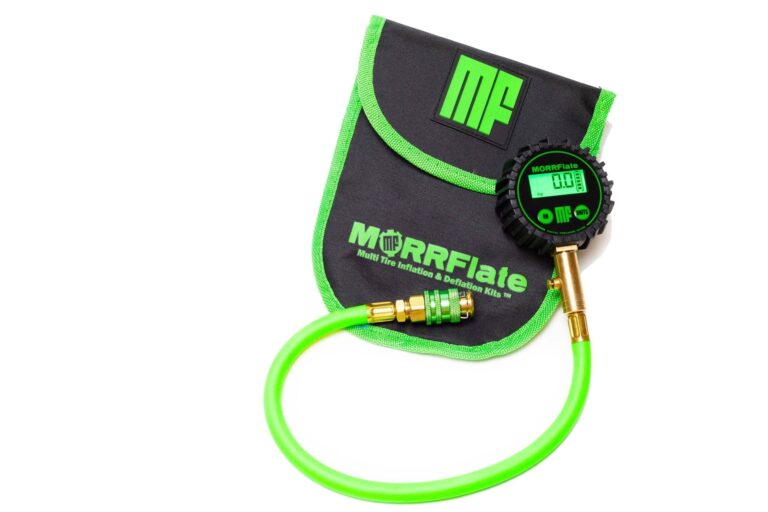
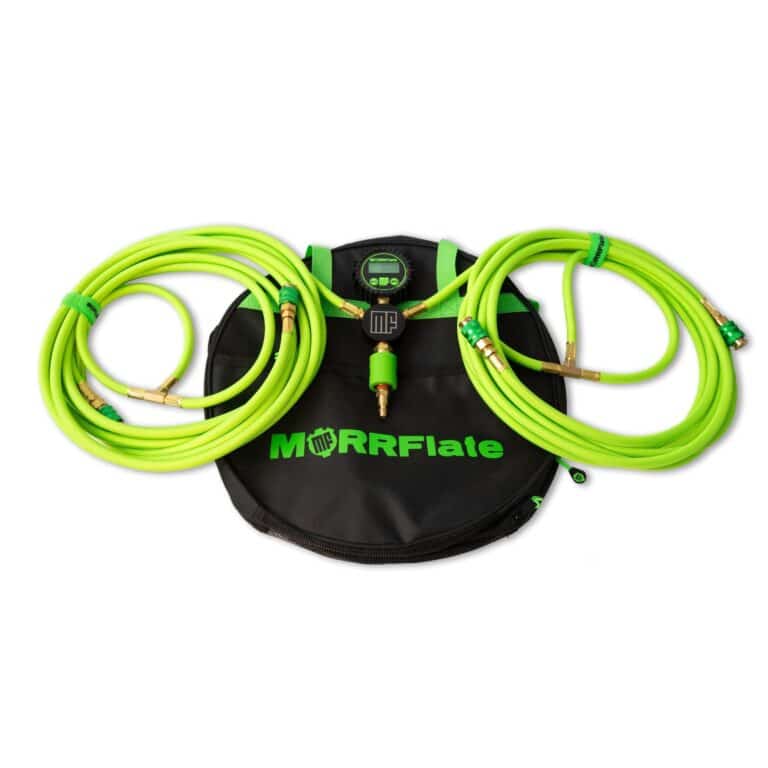
MORRFlate Trail Repair and Air Gear

Key Repair Limits at a Glance
Two organizations publish the standards reputable American tire shops follow: the U.S. Tire Manufacturers Association and the Tire Industry Association. Their limits are worth memorizing before you ever open a tire plug kit beside a trail.
| Limit | The rule |
|---|---|
| Maximum puncture size | 1/4 inch (6 mm) diameter |
| Repairable area | Tread crown only, roughly 1 to 1.5 inches inboard of each shoulder |
| Shoulder or sidewall damage | Not repairable, tire out of service |
| Angled injury exiting the shoulder | Not repairable |
| Remaining tread depth | No repair at or below 2/32 inch |
| Overlapping repairs | Never repair over an existing repair |
| Plug alone, no inner patch | Unacceptable per USTMA, temporary only per TIA |
Both groups are blunt about the last row. A cord seals the puncture channel, yet it never seals the innerliner, so moisture reaches the steel belts. Therefore the honest framing for a trail repair is simple: the plug buys you the drive home, and a shop finishes the job.
How to Read the Puncture First
Before touching a tool, walk the tire and find what hit you. Screws, cactus spines, and sharp shale leave small round holes in the crown, and those repair well. A jagged tear from a rock edge, by contrast, often runs wider than a cord fills.
Divide the tire into three zones. The crown is the flat middle band of tread, and it is fair game. Next comes the shoulder, where tread wraps toward the wheel, and industry guidance rules it out. Finally the sidewall flexes constantly, so it grips nothing well enough to hold a cord under load.
Measure the hole against something known. A standard wooden pencil runs about 7.7 mm across, slightly wider than the 6 mm limit, so a hole as wide as a pencil body is already too big to repair. Also probe the channel with the reamer to feel whether the injury angles sideways. An angled path disqualifies the repair even when the entry looks central.
Safety note: Neither USTMA nor TIA permits a sidewall or shoulder repair. Off-roaders who stack cords in a sidewall to limp out accept a blowout risk. Drive at walking speed, check pressure often, and replace the tire before any highway use.
How to Plug a Tire on the Trail in Six Steps
Work in the order below. Each step earned its place because skipping it stranded somebody.
Step 1: Roll the Rig, Do Not Jack It
Trail repair starts with the parking brake. Chock the opposite wheel first, and instead of lifting the vehicle, put the rig in neutral, then roll it a few feet until the puncture sits between 10 and 2 o’clock. Consequently the wheel stays loaded and no jack sits on soft ground.
Step 2: How to Find the Leak Fast
Spray soapy water across the crown and watch for a growing bubble. Slow leaks show as fine foam rather than a jet, especially at low trail pressure. Mark the spot with a paint pen, since the hole disappears the moment the object comes out.
Step 3: Pull the Object, Add Air, Then Ream
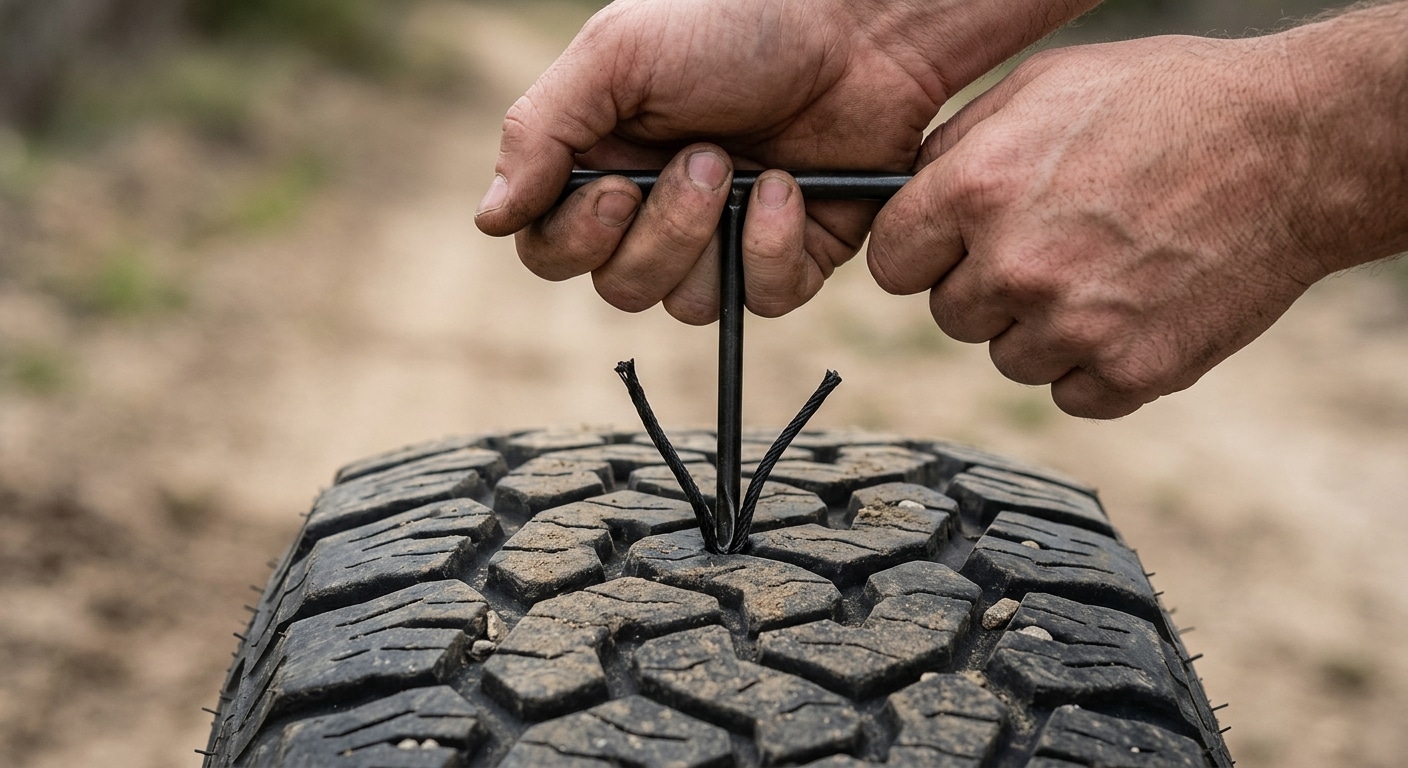
Pull the screw or spine straight out with pliers first. A soft tire deflects away from the reamer. However, adding air until the carcass feels firm gives it something to push back with. Then work the reamer in and out with real force until it slides freely. Reaming widens the channel and roughens the cords inside, which is what the adhesive grips.
Step 4: Load and Insert the Plug
Thread a cord halfway through the eye of the insertion tool, then coat it with cement. Push the tool straight in until about 1/2 inch of cord stands proud of the tread. Finally pull the tool straight back out. The split eye releases the cord and leaves both legs buried.
Step 5: Trim, Then Test for Leaks
Wait five to ten minutes for the cement to set. Afterward trim the tails to roughly 1/8 inch above the tread. Practice varies here, and some kit makers advise cutting closer to flush. Spray the area again and confirm no bubbles form.
Step 6: Set Your Final Pressure
Bring the tire to your normal trail pressure and drive slowly for a mile. Then stop and check the gauge again. AAA advises keeping a plugged tire under 50 mph and driving only as far as the nearest shop. A cord repair holding pressure through the first mile has generally seated properly.
Safety note: Plug tools carry a steel rod under heavy hand pressure. Wear gloves, keep your body out of the push line, and use metal-handled tools. Plastic handles snap mid-stroke, which sends your hand into the tread.
How to Air the Tire Back Up Safely
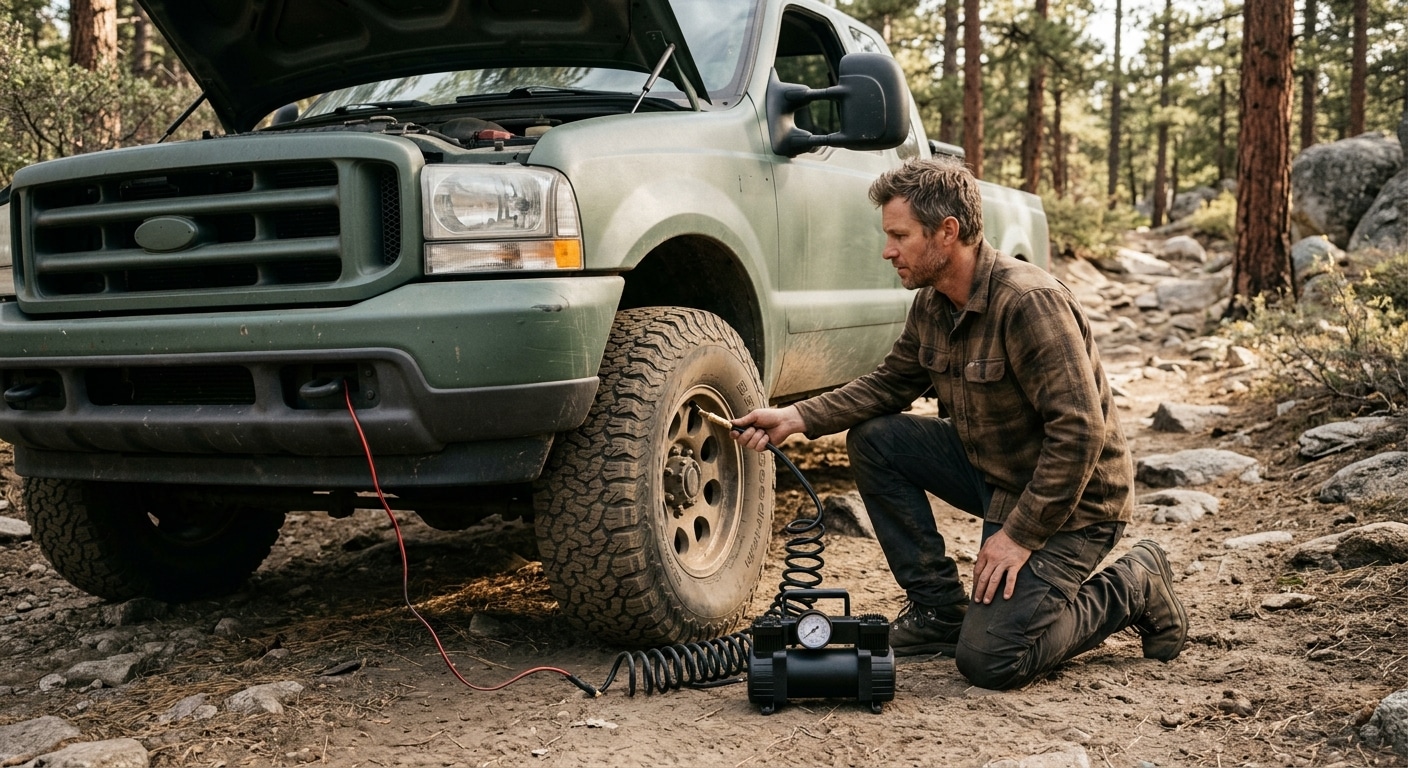
A repaired tire with its bead still seated only needs pressure. Remove the valve core for the first stretch if your compressor supports it, since an open stem flows far more air than a core-restricted one. Reinstall the core, then finish with the gauge.
A torn valve stem stops the air-up before it starts, and no cord fixes one. Rubber stems crack with age and shear against rocks, so carry two spares and a core tool. Swapping a stem trailside is a five-minute job when the bead stays seated.
If the bead unseated while the tire went flat, the job changes. Stand the wheel upright, center the tire near the rim flanges, and soak the bead seats with soapy water. Continental publishes the numbers most Americans need. Bead pop pressure should never exceed 48 PSI, and mounting pressure for the U.S. market tops out at 40 PSI. If the bead refuses to pop by then, release the air and find the cause instead of adding more.
Volume decides how long this takes. A valve core throttles any compressor to roughly 2 CFM, so a high-output unit shows its advantage only once you pull the core or run a multi-tire hose kit. Trail groups therefore carry one strong unit and the hoses to feed several tires at once. Our guide to airing up in under five minutes covers the hardware side. Meanwhile the target PSI by terrain reference tells you where to stop.
Safety note: Never spray a flammable substance into a tire and light it to seat a bead. Continental calls the practice extremely unsafe in its own mounting instructions. Also never stand, lean, or reach over a tire and rim assembly while it inflates.
What the Kit Costs Against What Not Having One Costs
Doing this yourself is cheap next to the alternative. Kit and compressor pricing below comes from MORRFlate and ARB, while the shop figure comes from AAA. MORRFlate is a 4wdTalk partner.
| Cost Item | DIY | Hiring a Pro |
|---|---|---|
| Repair kit | $40 to $55 one time | Not applicable |
| 12V compressor | $160 to $325 one time | Not applicable |
| Consumables per repair | About $1 in cords and cement | $25 to $75 plug-patch |
One quality kit holds 50 cords, so the per-repair cost sits near a dollar. Meanwhile the compressor earns its keep on every trip, since you air down at the trailhead and back up at the pavement anyway.
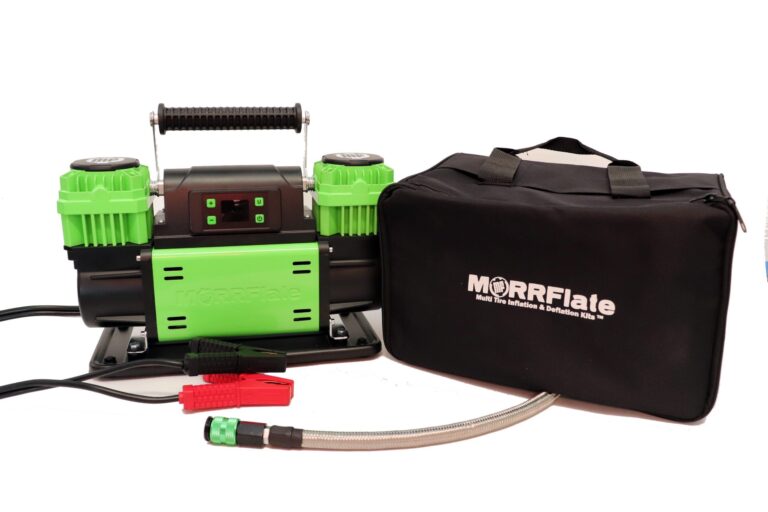
MORRFlate TenSix PSI Pro 12v Portable Compressor - Gen2
$325. 10.6 CFM at 0 PSI and 6.5 CFM at 30 PSI, with a preset PSI auto mode covering 10 to 120 PSI and manual control from 1 to 150. An 80 percent duty cycle at 0 PSI runs 45 minutes on and 10 minutes off. Draw is 90 amps peak and about 50 amps running, backed by a 3 year no hassle warranty, thermal cutoff and purge valve.
See It at MORRFlateHow to Tell a Tire on the Trail Is Beyond a Plug
Some damage ends the conversation. A cut longer than an inch, a sidewall bulge, or exposed cords mean the casing lost structure. Similarly, a tire worn to 2/32 inch is scrap under industry rules whether it leaks or not.
A look at sidewall construction explains why the shoulder rules exist rather than reading as arbitrary. Steel belts run across the crown, while the shoulder sits where the casing bends hardest on every rotation.
Then there is the spare. Mount it whenever the damage sits outside the crown. Reach for it as well when the hole approaches a pencil width. Mounting a spare costs nothing except time, while a failed repair at speed costs far more.
Trail Plug vs. Shop Plug-Patch
Trail repair and shop repair solve different problems. A rope cord goes in from the outside with the tire on the vehicle, seals the channel, and gets you moving in minutes. By contrast, a combination plug-patch requires the tire off the wheel, an inside inspection, and a unit sealing the innerliner.
AAA describes the combination plug-patch as the correct permanent repair, and both American trade associations agree. Neither body endorses an outside-in repair as a finished job. As a result the sensible sequence is a cord on the trail, then a shop visit to remove the cord and install a proper unit.
Cost pushes the same direction. A shop repair costs a fraction of a new tire, while a failed sidewall gamble costs a tire plus the recovery. Treat the cord as transport, not as a fix.
Final Verdict
Anyone who airs down and leaves pavement should carry a rope plug kit and know the six steps cold. A quality kit runs $40 to $55, and the plug itself is a short job. Without one, the failure mode is a long wait with no cell coverage.
Buy metal tools. Cheap kits with plastic T-handles snap under the force reaming demands, and they usually skip the stopper keeping a cord out of the tire interior. Spend $40 to $55 once, then top the kit back up after every use so the next flat finds it full.
Respect the limits. Crown punctures under 1/4 inch repair reliably. In contrast, shoulders, sidewalls, torn stems, and worn tread do not. Mounting the spare is not a defeat, and experienced wheelers reach for it sooner.
Pair the kit with a compressor sized for your tires, plus the valve core tool or hose kit needed to use its output. A perfect repair still strands you if nothing refills the tire. After the trip, hand the tire to a shop for a combination repair, and keep your off-road tire maintenance on schedule.
Frequently Asked Questions
How long does a tire plug last off road?
Nobody publishes a reliable figure, and AAA states plainly: a plug’s lifespan is never certain. Some hold for thousands of miles, while others fail without warning. Treat every cord as temporary and schedule a proper inside repair.
Do you have to remove the wheel to plug a tire?
No. Rope plug kits work from the outside with the tire mounted. On a trail, this is the whole point. Roll the vehicle to expose the puncture instead of jacking it.
How do you reseat a tire bead on the trail?
Center the tire on the rim and lubricate both bead seats with soapy water. Next remove the valve core for maximum airflow, then inflate. U.S. mounting pressure tops out at 40 PSI, and Continental caps bead pop pressure at 48 PSI. Release the air and diagnose the problem if the bead refuses to seat.
What size puncture is too big for a plug?
Anything wider than 1/4 inch, or 6 mm, falls outside industry repair limits. Michelin, the Tire Industry Association, and the U.S. Tire Manufacturers Association all publish the same number.
How much does a tire plug kit cost?
Quality off-road kits run roughly $40 to $55. The MORRFlate Ultimate 4×4 kit lists at $40 with 50 cords and metal tools. ARB’s Speedy Seal Series II lists at $54.95 with 40 cords.
Does a plugged tire need a shop repair afterward?
Yes. The Tire Industry Association calls an outside-in cord repair temporary, and USTMA states you should never perform one at all. A cord leaves the innerliner unsealed, so moisture corrodes the steel belts. Your shop removes the cord and installs a combination plug-patch from the inside.