


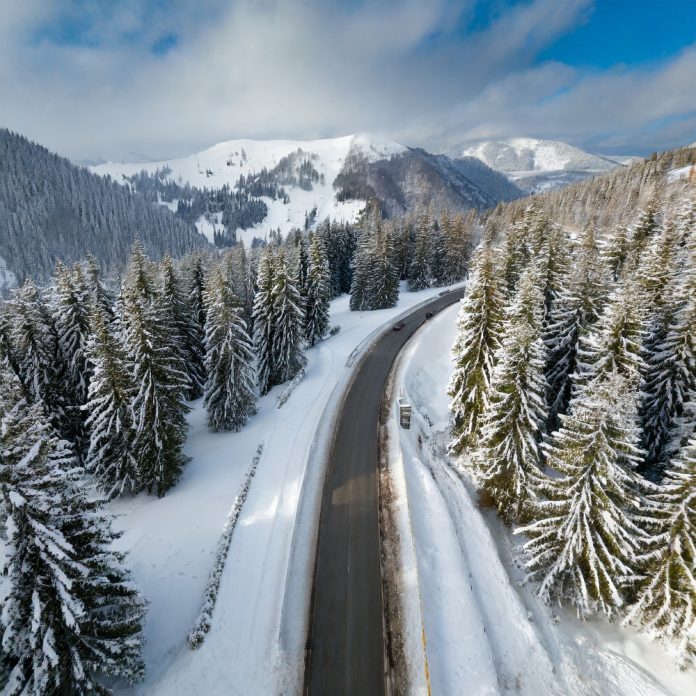

I’ve overlanded all over the American West for years and years. Cold weather punishes every shortcut in those places, especially at high elevation. Because help is often hours away, I learned to winterize my rig before the first hard freeze. This guide shows you how to winterize your rig the same way.
I drive a Jeep Gladiator, so my checklist favors a midsize truck with a roof rack and a bed full of gear. However, the steps below apply to almost any overland build. First, you’ll protect the engine and battery. Then you’ll handle tires, fuel, heat, and recovery gear. Finally, you’ll see how I keep a Starlink dish working through winter trips.
Quick Facts
- Best for: overlanders who camp below freezing
- Focus: how to winterize your rig, from fluids to recovery gear
- Prep time: one weekend, two weeks before your trip
- Coolant: a 50/50 mix protects to about -34°F
- Tires: pressure drops about 1 psi per 10°F
- Connectivity pick: Mini Starlink Flat Mount, $49.99
- Mount type: four 2.5-inch magnets, no drilling, steel roof required
- Extras: 2-year warranty and free domestic shipping
7 min read
In This Guide
Why You Should Winterize Your Rig Before You Go

Winter overlanding changes the stakes. A summer breakdown costs you an afternoon, but a winter breakdown threatens your safety. Overnight lows in the Wyoming high country often fall below zero, and daylight shrinks to roughly nine hours in December. Therefore, a winter rig needs prep a three-season build skips.
Plan to winterize your rig in one weekend, and finish two weeks before your trip. This window leaves time to fix problems and retest. Specifically, you want to find a weak battery in your driveway instead of on a trail at 8,000 feet.
This guide covers fluids, batteries, tires, fuel, heat, recovery gear, and connectivity. Shelter is a separate topic, so the focus stays on the vehicle. It also shows where a magnetic Starlink mount fits into a winter setup.
Winter-Ready Connectivity
Mini Starlink Flat Mount
Four 2.5-inch magnets. No drilling. Free domestic shipping and a 2-year warranty.
Winter Prep Key Facts
| Item | Cold-Weather Target | Why It Matters |
|---|---|---|
| Coolant | 50/50 mix, about -34°F protection | Prevents freeze damage |
| Washer fluid | Rated -20°F or lower | Keeps your view clear |
| Starter battery | Load test, replace past 4 to 5 years | Cold cuts cranking power |
| Tire pressure | Check cold, expect 1 psi per 10°F | Keeps handling predictable |
| Fuel tank | Stay above half full | Limits condensation |
| Starlink mount | $49.99, four 2.5-inch magnets, steel roof | Removable for warm storage |
Fluids and Engine Care
Start with coolant. A 50/50 mix of antifreeze and water protects most engines to about -34°F. Test yours with an inexpensive hydrometer before you leave, because old coolant loses its freeze protection. Next, check your engine oil. Thinner grades such as 0W-20 or 5W-30 flow faster at startup, but your owner’s manual lists the correct grade for your engine.
Also, swap your windshield washer fluid for a winter formula rated to -20°F or lower. Summer blends freeze in the lines and leave you blind behind a salt-covered windshield. Finally, check your differential and transfer case fluids. Cold thickens gear oil, and worn fluid makes the drivetrain work harder. For example, a fluid change before winter costs far less than a rebuilt transfer case.
Battery and Power Care
Cold cuts battery output sharply. A lead-acid starter battery delivers roughly half its cranking power near 0°F, while your engine needs more power to turn over. Therefore, test your battery before winter. Most auto parts stores run a load test for free. Replace any battery older than four or five years, since age and cold compound each other.
Lithium auxiliary batteries need extra care. Most LiFePO4 batteries stop accepting a charge below 32°F unless they include a built-in heater. Check your spec sheet, then plan around it. For instance, mounting the battery inside the cab keeps it warmer than an exterior bay. Additionally, carry a jump pack and recharge it in a warm room before each trip.
Tires, Brakes, and Traction

Tire pressure falls about 1 psi for every 10°F drop in temperature. Check pressure in the morning, before you drive. Then adjust to the value on your door placard. Next, inspect your tread depth, because winter traction drops fast as tread wears down. Look for the three-peak mountain snowflake symbol on the sidewall. Such tires grip packed snow far better than standard all-terrain rubber.
Air down for deep snow. Dropping to 15 or 20 psi widens your footprint and improves flotation. However, carry a compressor so you air up before you reach pavement. Inspect your brakes too, since moisture in old brake fluid invites corrosion. Finally, pack chains sized for your tires, and practice fitting them in your driveway first.
Fuel, Heat, and Moisture
Fuel needs attention because cold changes how it behaves. Diesel begins to cloud near 15°F, so run a winter blend or an anti-gel additive. Gasoline rigs face a different risk. A half-empty tank collects condensation, which leads to water in your fuel. Therefore, keep your tank above half in winter. Carry spare fuel in an approved container, and store it outside your sleeping area.
Heat adds risk, so treat it carefully. Vent any fuel-burning heater outside the cabin, and install a carbon monoxide alarm. Test the alarm before every trip. Meanwhile, open a window about one inch for fresh air whenever a heater runs.
Moisture is the quiet problem. Breathing and cooking add water vapor to your cabin, and it freezes on cold surfaces. For example, frost on the headliner drips onto your sleeping bag by morning. To limit it, wipe surfaces each day, ventilate while you cook, and use moisture-absorbing packs. Also, reflective window covers cut heat loss and block frost on your glass.
Recovery Gear for Snow and Ice
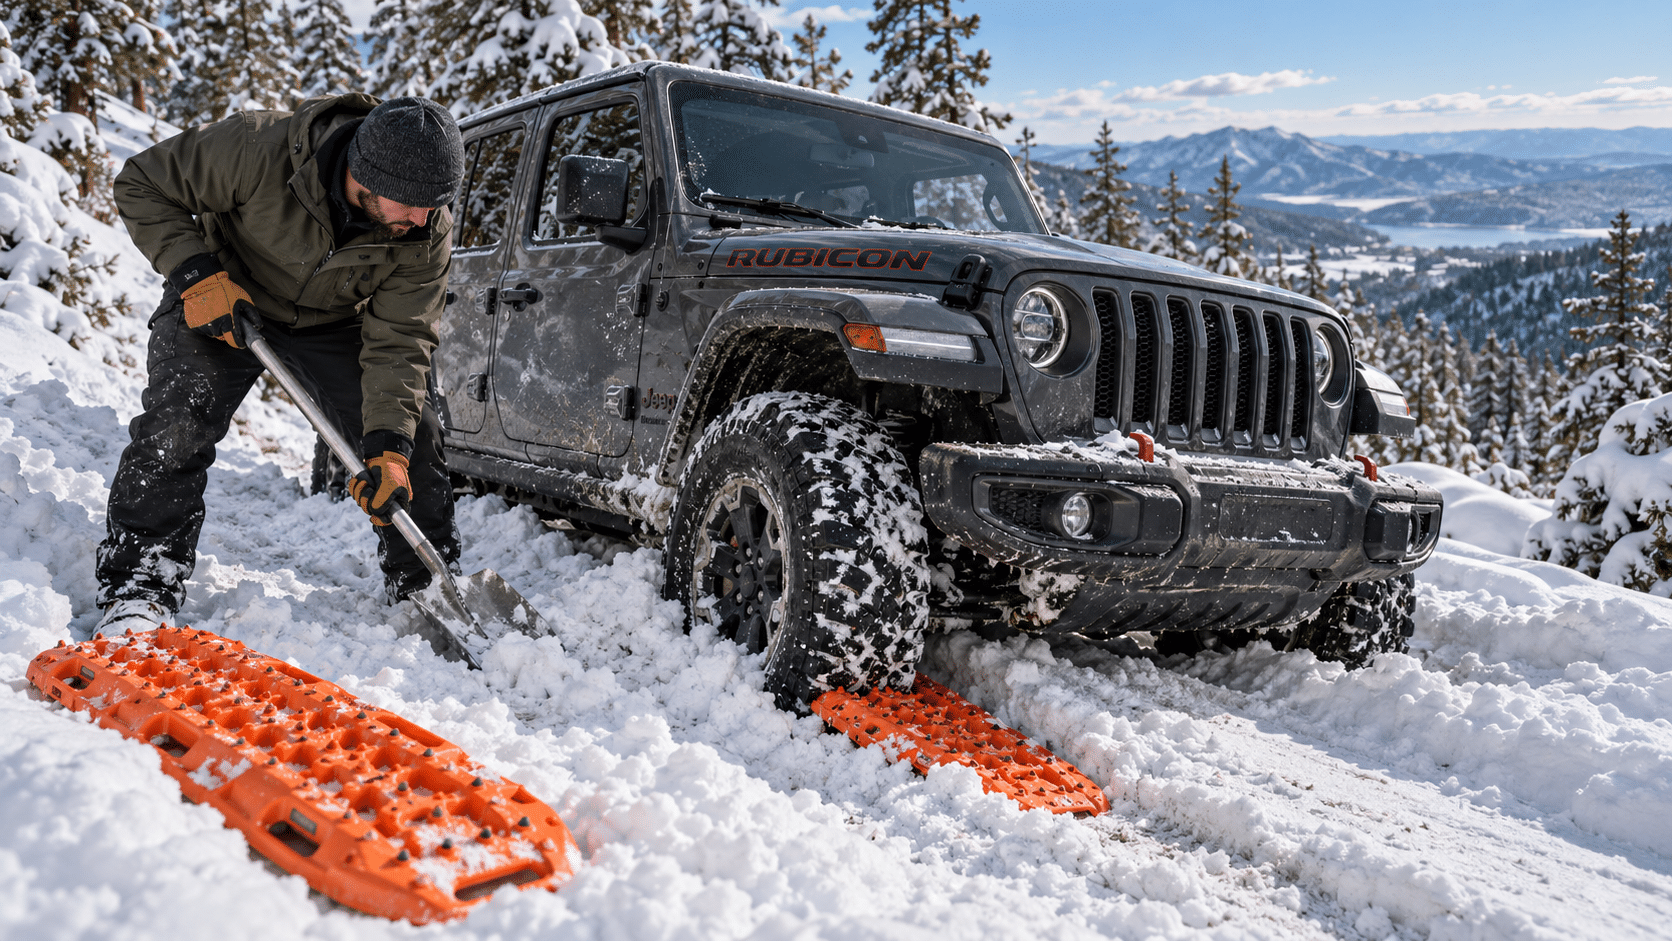
Snow turns small mistakes into long waits. First, pack traction boards, a folding shovel, a recovery strap, and a tire deflator. Then add a compressor, because you’ll need to air your tires back up. A winter kit also belongs in the truck, including a recovery plan you’ve rehearsed at home.
Your personal kit matters as much as your vehicle gear. Pack extra insulated layers, a sleeping bag rated 10°F below your expected low, and hand warmers. Likewise, swap alkaline batteries for lithium cells in your headlamp, since alkaline cells fade quickly in the cold. Insulate your water bottles, because a frozen bottle is useless.
Daylight shrinks in winter, so plan to park and set up before 4 p.m. Also, share your route with someone, and carry a backup way to call for help. Our guide to staying connected without cell service while camping covers communication options beyond Starlink.
No Drilling Required
Mount Your Starlink Mini Without Drilling
Four 2.5-inch magnets grip a steel roof, and you store the dish indoors overnight.
Keep Starlink Connected in Winter
Short winter days push many overlanders to work from camp in the evening. If you work remotely on the road, a reliable connection matters. Our guide on how to balance work and overlanding covers the routine in detail.
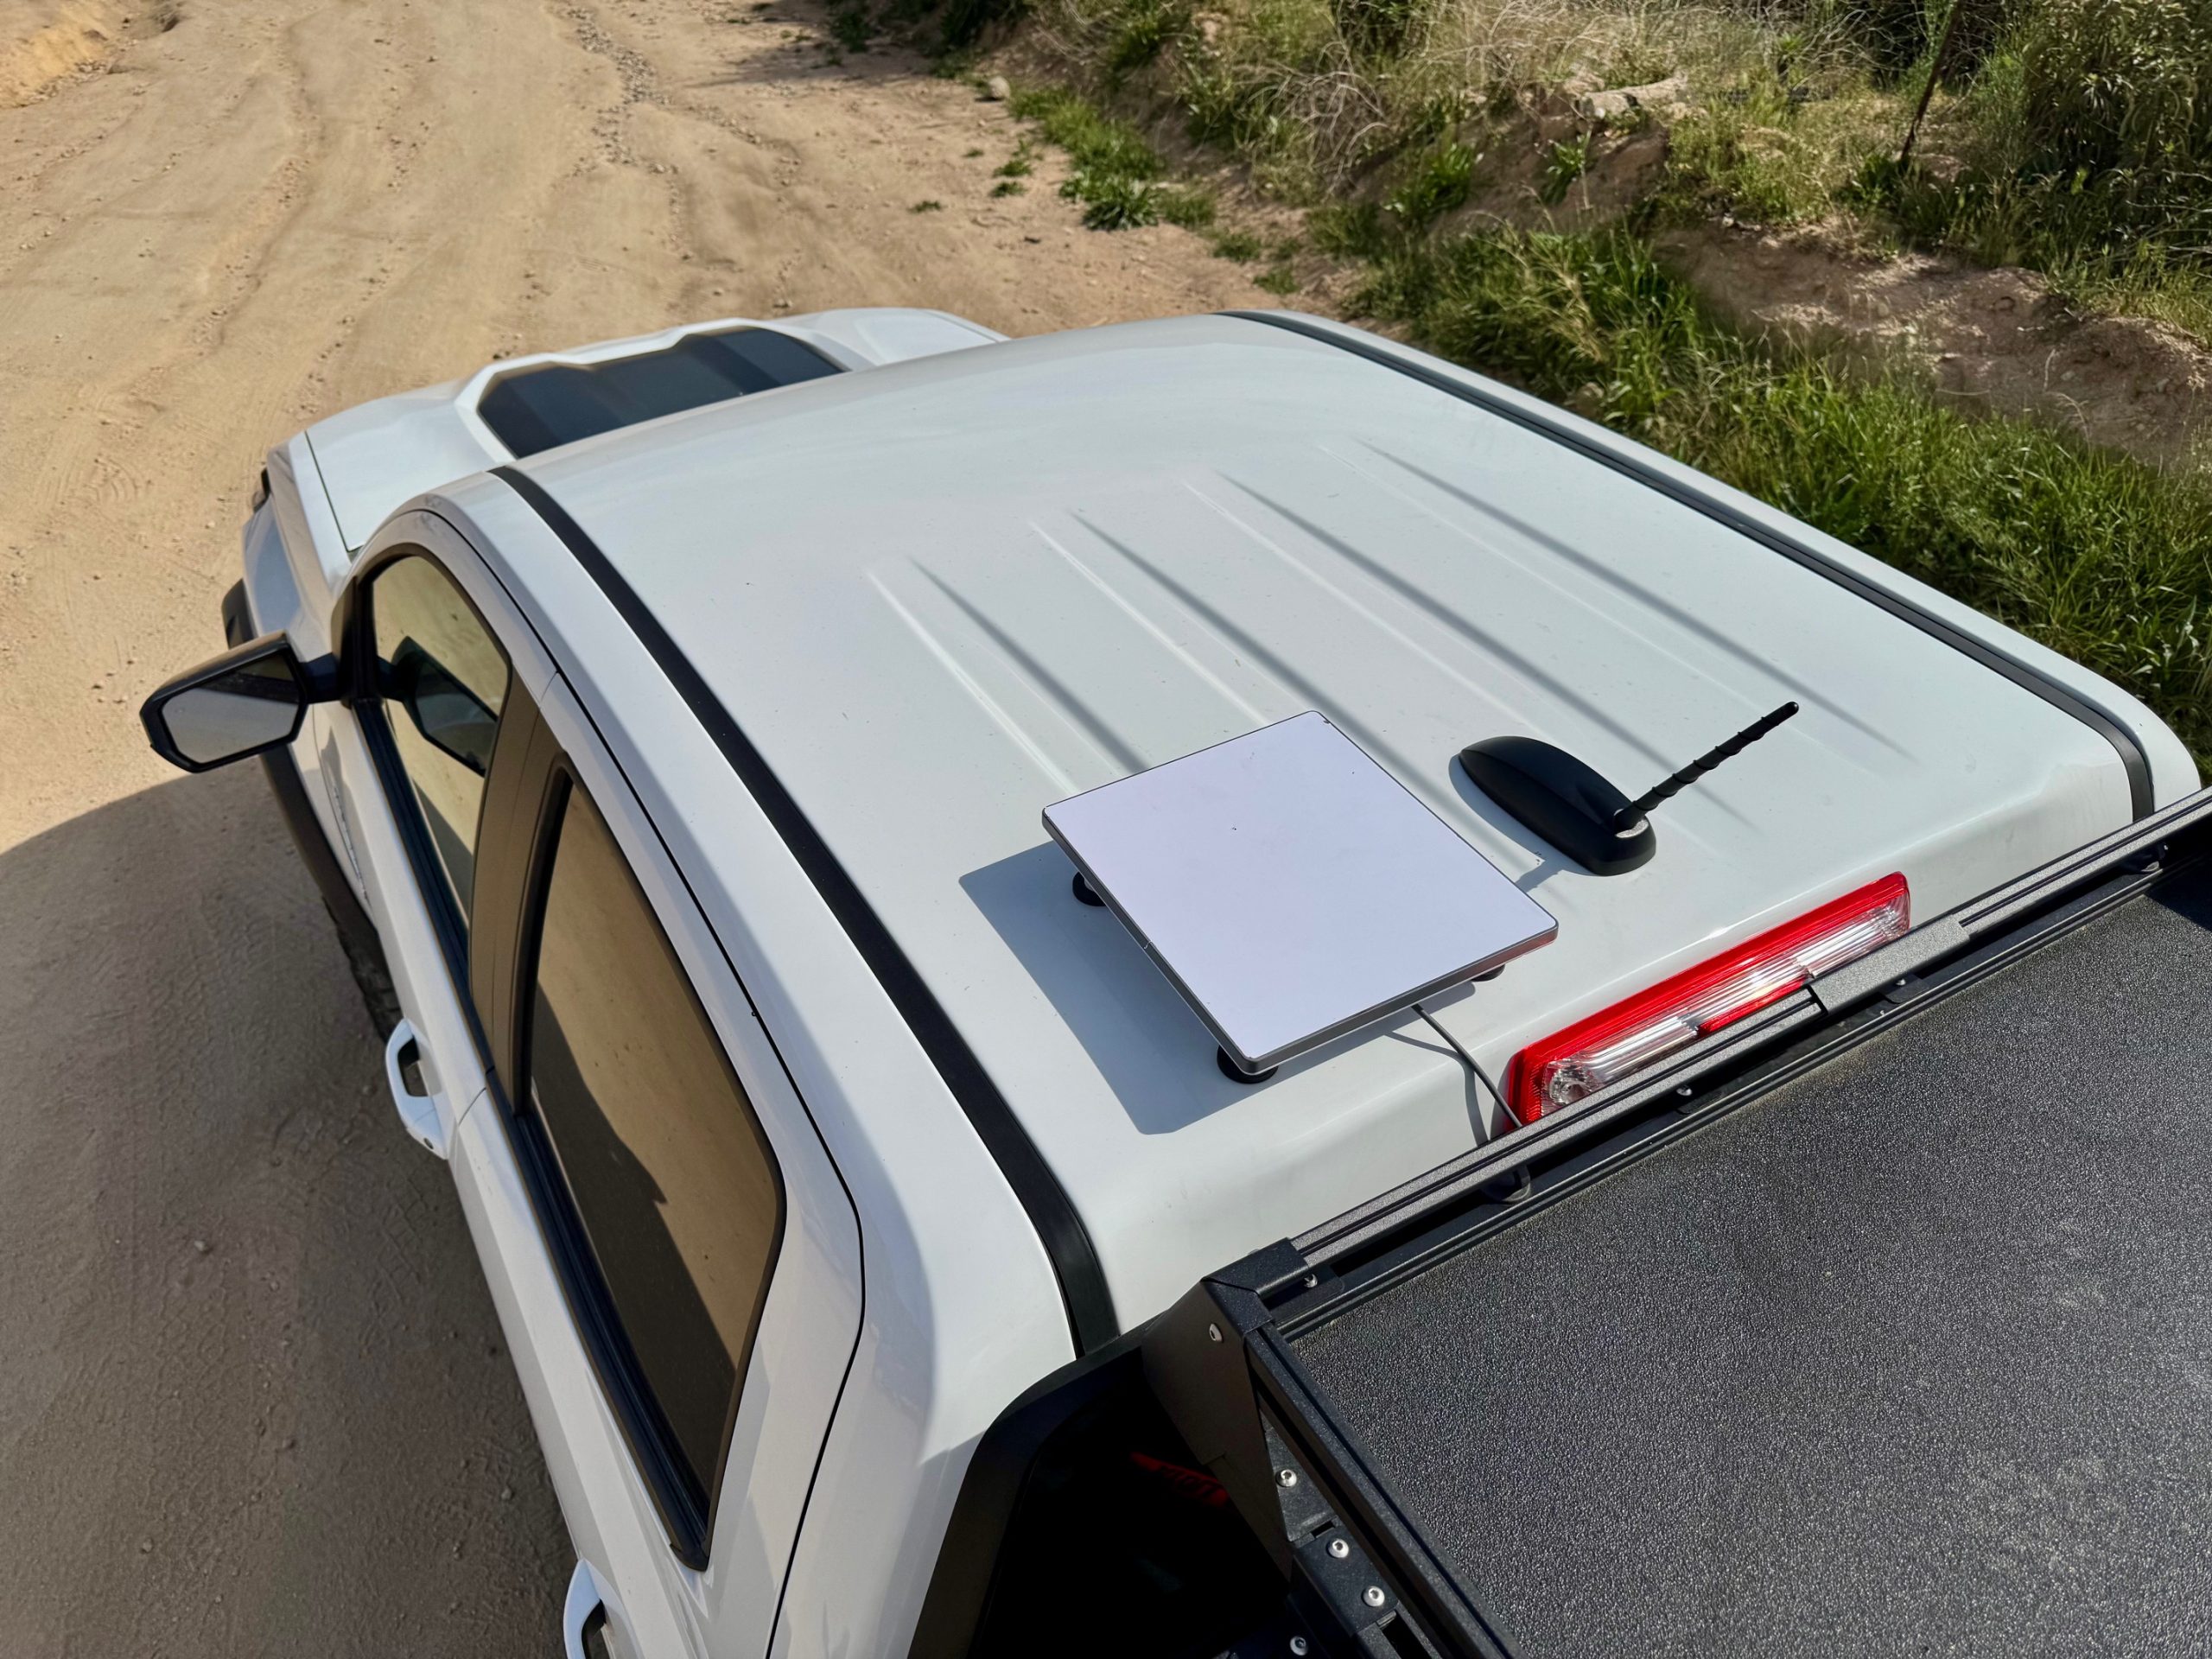
A Starlink Mini needs a clear view of the sky, and a roof mount delivers it. The Mini Starlink Flat Mount from Flagpole Buddy uses four 2.5-inch magnets, so you drill nothing into your roof. It costs $49.99, ships free within the United States, and carries a 2-year warranty. The mount uses PETG plastic, and it needs a steel roof to grip.
Magnetic mounting suits winter for a practical reason. You pull the dish off in seconds and store it inside a warm cabin overnight. Before you place it again, clear snow and ice from the roof so the magnets sit on bare metal. Flagpole Buddy also sells flush and suction versions for other setups. If you’d rather skip the roof, read our Flagpole Buddy Starlink hitch mount review.
Magnetic Mount Pros and Cons
Pros
- No drilling into your roof
- Four 2.5-inch magnets
- Removable for warm overnight storage
- $49.99 price
- 2-year warranty
- Free domestic shipping
Cons
- Requires a steel roof
- Snow and ice need clearing first
Final Verdict: Winterize Your Rig First

If you camp in winter, you should winterize your rig before every cold season. Fluids, battery, and tires give you the biggest safety return for the least money. Fuel, heat, and recovery gear come next, and each takes less than an hour.
The magnetic mount fits best if your roof is steel and you want a removable setup. Owners with other roof materials should look at the flush, suction, or hitch options instead. Either way, pair your connectivity plan with a backup, because snow or tree cover will block the sky sooner or later.
Ready for Winter Trips
Add the Mini Starlink Flat Mount to Your Rig
$49.99, free domestic shipping, and a 2-year warranty.
FAQ
When should I winterize my rig?
Start two to four weeks before your first trip below freezing. This window leaves time to replace a battery, flush coolant, or order tires. In addition, a short shakedown drive retests everything.
How cold is too cold for a lithium battery?
Most LiFePO4 batteries stop accepting a charge below 32°F unless they include a heater. Discharging works at lower temperatures, but performance drops. Check your spec sheet and keep the battery inside the cab.
Does a magnetic Starlink mount work on a winter trip?
The mount uses four 2.5-inch magnets and needs a steel roof. I haven’t seen winter-specific ratings from Flagpole Buddy, so test the setup in your driveway first. Clear snow and ice from the roof before each use.
What tire pressure should I run in snow?
Start at your placard pressure for pavement. Drop to 15 or 20 psi for deep snow, and then air back up before you return to the road.
Heads up: Clicking on our affiliate links and exploring our sponsored content helps us at no extra cost to you, and we only recommend gear we’re absolutely crazy about!