


Quick Facts:
- Job: Fit a truck bed seal at the four points dust uses to get in
- Skill level: Basic hand tools, although the rail step needs the topper off and two people to lift it
- Time: Under an hour for the tailgate alone. Our estimate is 3 to 5 hours for all four points, plus the topper lift
- Cure time: 24 hours before the truck sees weather, per 3M’s acrylic adhesive data
- Cost: Tailgate kits from $25, full four-point materials around $100
- Why it happens: The bed sits below ambient pressure while you drive, so every gap feeds it
- The ceiling: Sealing alone never reaches zero. Positive pressure is the next step
- Best for: Anyone running a topper, camper shell or truck cap on dirt roads
12 min read | Pricing verified August 12, 2026
In This Guide
- Why a Truck Bed Seal Matters More Than the Topper Brand
- Why Dust Gets Pulled In, Not Blown In
- The Four Gaps a Truck Bed Seal Has to Close
- Which Truck Bed Seal Material Goes Where
- What You Need for the Job
- Fitting the Truck Bed Seal, Step by Step
- Cost: Doing It Yourself vs Paying a Shop
- How to Test the Result
- When Sealing Is Not Enough
- Final Verdict
- Frequently Asked Questions
Why a Truck Bed Seal Matters More Than the Topper Brand
A truck bed seal is the difference between a topper keeping dust off your gear and a topper collecting it. Owners blame the shell when fine dust coats everything after a forest road. However, the leak is almost never the shell. It is the bed underneath.
Access says so on its own instruction sheet, in plain language: “Manufacturing standards for truck boxes are not leak proof.” Factory pickup beds ship with open rail sections, drain holes, stake pockets, wiring pass-throughs, and no gasket on the gate. Bolting a sealed topper onto an unsealed box leaves you with an unsealed box wearing a lid.
Below: the pressure mechanism behind the problem and the four gaps a truck bed seal has to close. Then the material for each one, and the step-by-step. Sealing alone never gets to zero, and the fix beyond it is pressure. If you are still choosing a shell, our guide to choosing a truck topper covers the selection side.
Why Dust Gets Pulled In, Not Blown In
Most people picture dust being forced into the bed. However, the physics runs the other way, and knowing it changes where you spend your effort.
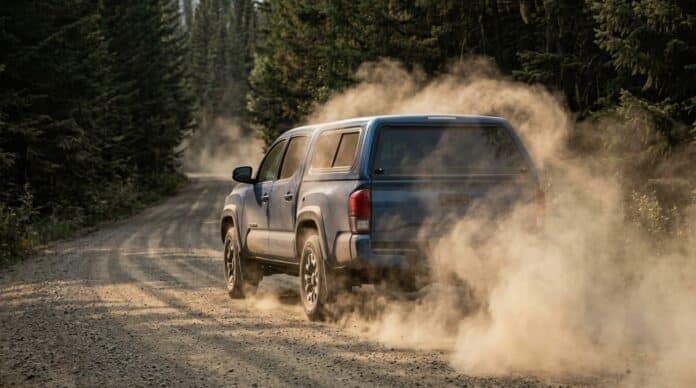
A moving pickup drags a large low-pressure wake behind it. Wind-tunnel work by Al-Garni and Bernal at the University of Michigan measured the pressure inside an open pickup bed. General Motors co-published the study as SAE 2003-01-0651. The pressure coefficient ran roughly -0.3, easing to about -0.2 near the gate, with the cab base between -0.25 and -0.35. In other words, the whole bed volume sits below ambient pressure.
Consequently, every unsealed opening becomes an inlet. The same study measured reversed flow inside the bed at 0.32 times freestream speed. It also found pressure fluctuations at the gate edge running five times those at the front of the bed. Note one caveat. Those measurements come from an open bed with no topper fitted, so treat them as the mechanism rather than as your truck’s exact figures.
Independent corroboration comes from an unexpected direction. A representative of topper maker RSI describes the same effect in plain language. The truck, the company says, “creates a vacuum around the back,” which “sucks dust and water into the bed.” Similarly, the ingress-protection standard IEC 60529 tests dust-tight enclosures by applying a vacuum of up to 2 kPa inside them. Pressure differential is the recognized driver of ingress.
What a Topper Changes About the Truck Bed Seal Job
One nuance matters for a covered bed. In the open bed the study measured, air genuinely does enter at the tailgate and leave near the cab. Fit a topper and most of the through-flow stops, although the pressure deficit does not. The enclosed volume still runs below ambient, so every remaining gap feeds it.
| Top Pick | Best for Universal Install | Best Premium | |
|---|---|---|---|
| Product | TOP PICK TruXedo TruXseal TruXedo TruXseal |  Extang MaxSeal Extang MaxSeal |  Access TrailSeal Access TrailSeal |
| Rating | ★★★★☆ 4.2 1,782 ratings | ★★★★☆ 4.2 789 ratings | ★★★★☆ 4.2 158 ratings |
| Material | Not published | EPDM | Molded rubber |
| Fitment | Universal | Universal | Universal |
| Price | $26.99 as of Sep 30, 4:14 pm | $28.99 as of Sep 30, 4:14 pm | $24.63 as of Sep 30, 4:14 pm |
| Check Price → | Check Price → | Check Price → |
The Four Gaps a Truck Bed Seal Has to Close
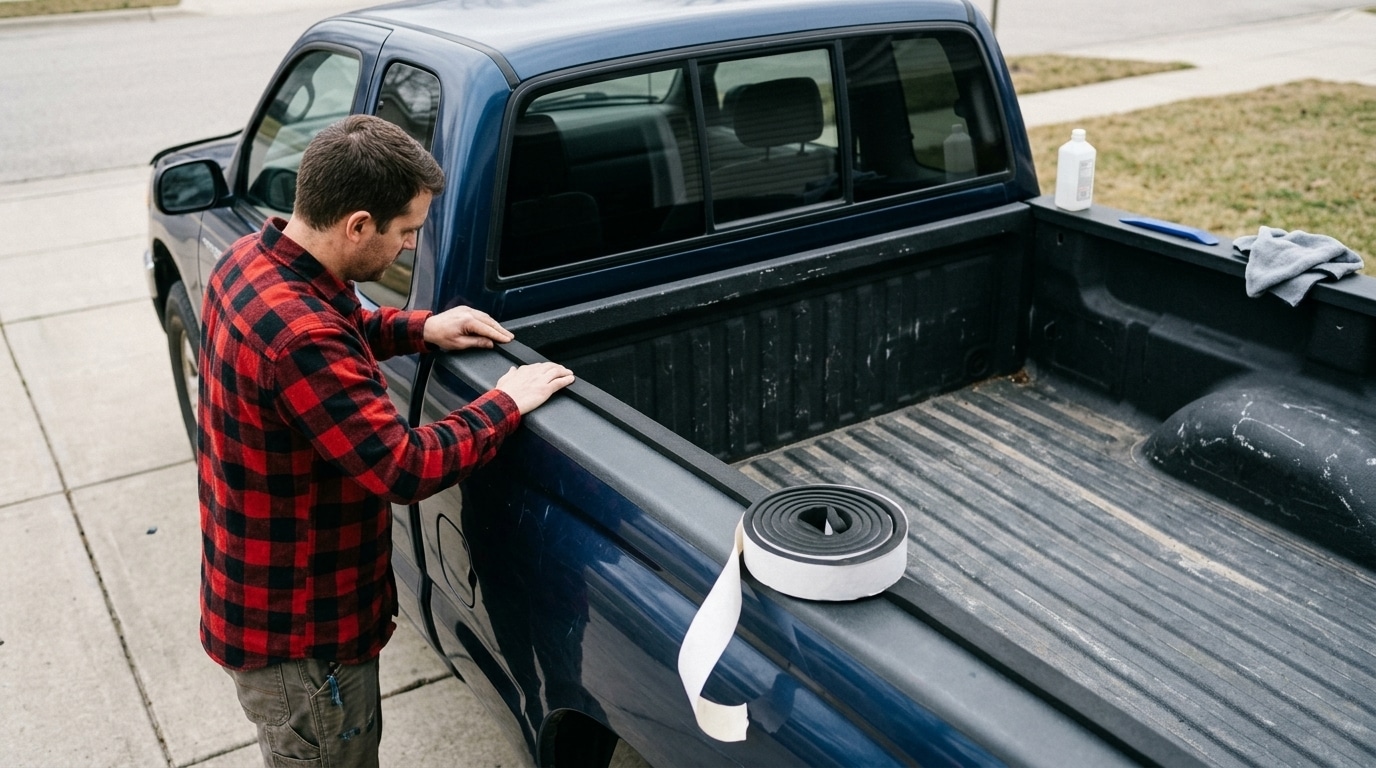
Bed rails, tailgate, bulkhead and pass-throughs. Work them in order of opening size rather than in order of visibility.
First, the bed rails. Rail sections on many pickups are hollow box structures open to the bed. Super Pacific names three offenders. Gaps hide under the plastic rail caps. Quarter-inch openings run between the front rail and the sidewalls, and more holes sit near the gate and wheel wells. A topper clamps to the top of the rail and seals nothing underneath.
Second, the tailgate. Three separate gaps exist rather than one, which is why kits ship as multiple parts. The vertical corners sit at each end, the floor line runs along the bottom, and the gate has its own. Access ships corner strips, a floor-line L seal, and short L pieces for the gate. RealTruck describes the factory fit as less than tight.
Third, the bulkhead, meaning the front wall between cab and bed. It is the least documented of the four. However, one Ranger owner had already solved his dust problem. He reports water still entering at the bulkhead voids while the vehicle moves, which matches the pressure mechanism.
Fourth, the pass-throughs. Topper wiring boots do not always fit their holes. Meanwhile, factory beds carry round and oblong holes, nylon wall plugs, stake pockets and drain holes. Access supplies stickers in its kit purely to cover factory holes.
Which Truck Bed Seal Material Goes Where
Matching the material to the location matters more than buying the expensive option, because a single product does not suit all four gaps.
| Material | Where It Goes | Service Range | Watch For |
|---|---|---|---|
| Closed-cell EPDM foam tape | Top rail surface under the topper | -40 F to 200 F continuous | Buy EPDM to ASTM D1056 2A1. Neoprene is grade 2C1 |
| Molded EPDM tailgate gasket | Tailgate corners, floor line, gate faces | Per kit specification | Acrylic pressure-sensitive adhesive needs a clean, dry surface |
| Butyl tape | Under rail caps, stake pockets, hidden voids | -40 F to 250 F service, apply at 20 F to 120 F | Never leave it exposed. UV is its weakness |
| Silicone | Unused holes and plugs | Per product | Permanent. Use where you will not need access again |
Two materials fail on a truck and belong nowhere in this job. First, open-cell polyurethane is highly breathable by design, which its own maker describes as suited to filling voids and controlling rattles rather than sealing. Second, PVC foam, which is what most big-box camper tape turns out to be. Its manufacturer note calls it less durable than rubber-based products. Also check the adhesive rating rather than the rubber rating. Bulk EPDM sheet is rated higher still, to 220 F. Adhesive-backed bulb seals are commonly listed at only -20 F to 150 F, so the adhesive is the limiting component.
What You Need for the Job
Everything below is hand-tool work apart from Step 0, which needs a second person and somewhere to set the shell down. The one line item worth buying to specification is the foam tape, since grade and adhesive rating decide how long the job lasts.
Tools and Materials
Tools
- Nylon trim removal tools for the rail caps
- Isopropyl alcohol, 70% or higher, plus lint-free cloths
- Tape measure and a fine marker
- Sharp scissors or a utility knife
- Heat gun or hair dryer for cold-weather adhesion
- Shop light for inspecting the rail interiors
- Sawhorses or a wall rack for the topper, plus a second person for the lift
Materials
- Tailgate seal kit sized to your truck
- Closed-cell EPDM truck bed weather stripping, 1/2 inch by 1/4 inch, 30 feet
- Butyl tape, one roll, wide enough to bridge the openings under the rail caps rather than sit inside them
- Closed-cell foam backer rod for the bulkhead voids
- Split rubber grommet sized to your topper wiring
- Neutral-cure silicone sealant, one tube
- Replacement nylon wall plugs if yours are missing
Fitting the Truck Bed Seal, Step by Step
Work in this order, because a gasket fitted before the rails are done gets in your way. Read Step 0 first, since the central step is impossible without it.
Step 0: Take the Topper Off
Sealing the bed rails means sealing the surface your shell clamps onto, so the shell comes off first. A hardshell topper is a two-person lift, not a one-person lift. Plan the lift onto sawhorses or a wall rack. Release the clamps and disconnect any wiring. Mark the clamp positions with tape so refitting lands in the same place. Re-torque the clamps to your topper maker’s figure when it goes back on.
Step 1: Inspect and Map the Truck Bed Gaps
The classic version runs at night. Put a shop light inside the closed bed, then walk around the outside marking every point where light escapes. Working in daylight, tape dark cardboard over each suspect area instead. Then drive a dirt road and see which sheets collect dust. Either way, mark what you find before you start cutting tape.
Step 2: Clean Every Adhesive Surface
Wipe each adhesive surface with isopropyl alcohol, then let it flash off completely. Skipping this step is the single most common reason a seal lifts within a month. Textured plastic rail caps hold release agents from molding, so give those a second wipe.
Safety note: Isopropyl alcohol is flammable and a heat gun reaches ignition temperature. Keep the two apart, and let every wiped surface flash off dry before any heat goes near it. Watch the surface temperature as well. Butyl wants an application range of 20 F to 120 F, so check the rail with the back of your hand before you apply it. If the surface is too hot to hold, work early or move the truck into shade.
Step 3: Seal the Truck Bed Rails
Check for fasteners before levering any rail cap. Some trucks retain them with screws underneath, and a cracked cap costs real money. Pop the caps with a nylon trim tool.
Safety note: Not every opening under a rail cap is a leak. Some are how water leaves the rail cavity. Butyl over a rail drain and you trap water inside a box section nobody ever inspects, creating a slow corrosion path. Trace where each opening leads with a length of trimmer line before sealing anything. Leave the low ones open.
Lay butyl tape across the openings feeding the bed interior, then refit the caps. Next, run truck bed weather stripping along the top rail surface where the topper clamps down, in one continuous piece per side. Measure your own bed rather than buying a fixed length. A 5-foot bed needs roughly 15 feet of run for both rails, a 6.5-foot bed closer to 19 feet. Buying 25% over covers mistakes. Leave any foam gasket already on your topper flange and seal the rail itself. Stacking two compressible layers stops the clamps pulling down evenly.
Step 4: Fit the Tailgate Gasket
Dry fit every piece before peeling any backing. Corner strips usually tuck behind the floor-line piece, and the order is hard to reverse once the adhesive grabs. Trim to length with the gate closed rather than open. Press each section firmly along its whole length. Then open and close the gate several times, confirming the latch still engages fully. A gasket fitted proud of its channel stops a gate latching, which is worse than the dust.
Step 5: Seal the Bulkhead and Pass-Throughs
Three separate jobs live here. First, the bulkhead voids. Pack them with closed-cell foam backer rod sized about 25% larger than the gap, then cap the visible face with butyl. Second, wiring pass-throughs: fit a rubber grommet sized to the cable rather than crushing the cable with sealant. Third, unused holes: use the factory nylon wall plugs where you still have them, and neutral-cure silicone where you do not.
Safety note: Buy neutral-cure silicone, not the standard acetoxy type sold on most hardware shelves. Acetoxy releases acetic acid as it cures and corrodes bare steel, and bare steel is exactly what sits inside a bed once the paint chips. Also avoid siliconing stake pockets, since the fix is permanent and it kills bed-rack mounting later.
Step 6: Test the Result
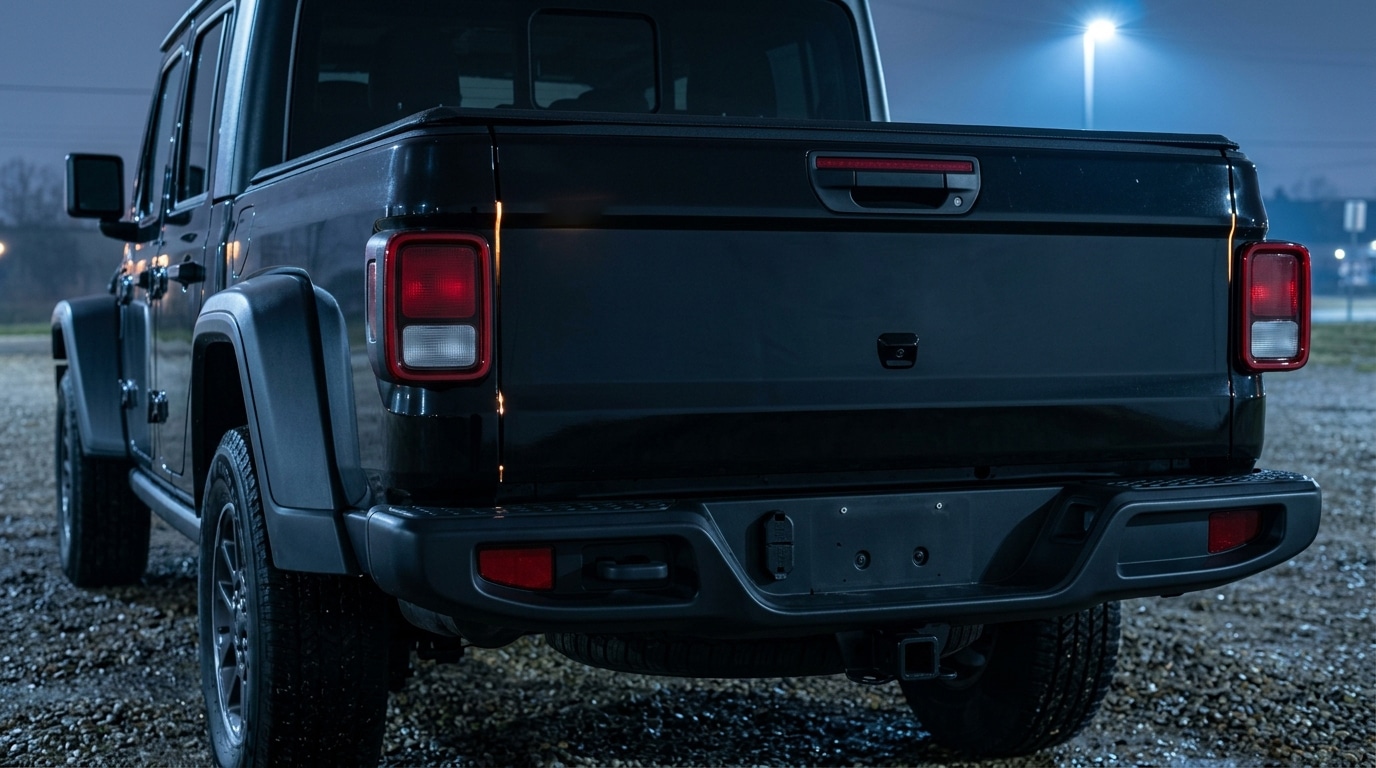
Allow the adhesive to cure before the truck sees weather, then repeat the light check and drive a dirt road with test cards in place. The testing section below covers what a good result looks like.
Cost: Doing It Yourself vs Paying a Shop
Kits for the gate are inexpensive and widely available. Pricing verified August 12, 2026 runs Retrax $25.00, TruXseal $26.99, Extang MaxSeal $28.99 and Rough Country $34.95. Keko sits at $35 to $69 for its vehicle-specific kits, the outlier above the universal range. Access lists TRAILSEAL at $48.37 direct, and retailers sell it for roughly half the direct figure, so treat $48.37 as a ceiling. Current pricing sits in the comparison above.
| Cost Item | DIY | Hiring a Pro |
|---|---|---|
| Tailgate seal kit | $25 to $50 | Same part cost, marked up |
| Foam tape, butyl and silicone | $30 to $50 | Included in shop supplies |
| Labor, four-point job | 3 to 5 hours of your time | 3 to 5 hours at a local shop rate. No installer publishes a set price for this job |
| Positive-pressure vent | EGR unit roughly $115 plus cutting | Part cost plus roughly an hour of shop time |
Rough Country publishes a 15- to 30-minute install for its gate kit alone, so the widely repeated under-an-hour figure holds there. Its instructions never address the four-point job. No manufacturer publishes a time for the full job, and our own estimate is 3 to 5 hours plus the topper lift. Allow 24 hours before exposing the truck to weather. 3M’s data for acrylic pressure-sensitive adhesive puts bond strength at 50% after 20 minutes, 90% after 24 hours, and 100% after 72 hours.
Butyl and prep tools used in this guide


How to Test the Result
Repeat the shop light check first, since it is free and instant. Any light escaping means air escapes there too.
For a real-world check, drive a dirt road and inspect. Placing a sheet of dark paper or a clean rag inside the bed makes new dust obvious. Put four of them around the perimeter and you learn which end still leaks. Note also: no published DIY talc or smoke procedure for a truck bed exists. Treat any such method online as enthusiast practice rather than a documented test.
Expect improvement rather than perfection. Sealing reduces the number of inlets, although the pressure differential driving the problem remains. Fine sand behaves the same way everywhere else on a truck, as our notes on how sand gets into every crevice describe.
When Sealing Is Not Enough
Here is the threshold. If test cards still collect dust after a full four-point seal and a hundred miles of dirt road, sealing has done its job. The remaining path is pressure.
Manufacturers taking dust seriously do not rely on sealing alone. Instead, they reverse the pressure.
ARB publishes the approach for its Ascent Canopy: “With the open vent facing the front of the vehicle, the canopy’s interior is pressurised, preventing dust from entering from the rear door or tailgate.” Our coverage of how ARB pressurizes the bed treats it as a factory feature. RSI fits a filtered positive-pressure vent as standard on every cap. EGR sells a bolt-on unit for its own Premium and Gen3 Canopies, listed at AUD 175, roughly USD 115.
Safety note: Retrofitting a vent is a different job from fitting a seal. EGR’s instructions call for drilling 6 mm and 10 mm holes and cutting the opening with a jigsaw. The company also disclaims responsibility for any resulting leaks. Beyond the leak risk, cutting the roof of a shell almost always ends its warranty. Wear eye protection, confirm what sits behind the panel first, and treat the cut as permanent.
The principle is straightforward. A forward-facing vent catches ram air and lifts interior pressure slightly above ambient, so remaining gaps flow outward instead of inward. Be careful with the detail, though. None of the three publishes a CFM figure, a filter specification, or a target overpressure. Consequently, no verified design numbers exist for a homebuilt version.
Final Verdict
Seal the bed before blaming the topper. A truck bed seal at all four points costs around $100 in materials and turns a dust collector into a usable dry box. One tonneau manufacturer states outright: factory beds are not leak proof.
Prioritize by opening size if you cannot do everything at once. Bed rails carry the largest openings, yet almost nobody looks inside them, so they pay back the most. Sealing the gate is the cheapest and fastest win if the topper has to stay on, at roughly $25 to $50 and well under an hour. Bulkhead and pass-throughs come last, since they are the smallest openings.
Anyone regularly on dusty roads should plan for the pressure step rather than treating sealing as the finish line. Sealing reduces inlets. Only positive pressure changes the direction of flow. Three manufacturers build it into their products, which is the strongest available evidence for the approach.
One note on brands. Dust in a covered bed is a pickup bed problem rather than a shell problem, and a single owner report is not a pattern. Choose a shell on fit, materials and warranty, then budget an afternoon and $100 to seal the box it sits on. Our guide to living out of a truck bed covers what else the box needs before a long trip.
Frequently Asked Questions
Are tonneau covers waterproof?
No cover makes a bed waterproof on its own. Access states on its instruction sheet: manufacturing standards for truck boxes are not leak proof. So water and dust enter through the bed itself rather than through the cover. A tailgate seal and bed rail sealing address the actual openings.
How much does a tailgate seal kit cost?
Gate kits from the common brands run roughly $25 to $50. Access lists TRAILSEAL at the top of the range direct, and retailers discount it well below list. Rough Country publishes a 15- to 30-minute install time for its kit. The cost section above carries brand-by-brand pricing, verified August 12, 2026.
What is the best truck bed weather stripping for dust?
Closed-cell EPDM foam tape bought to ASTM D1056 grade 2A1, at 4 to 8 pounds per cubic foot, rated -40 F to 200 F continuous. Neoprene is a different grade, 2C1. Avoid open-cell polyurethane, which its own maker sells for filling voids and controlling rattles rather than sealing. PVC foam is out too, since manufacturers themselves note it is less durable than rubber-based products.
How do you replace a truck cap window seal?
Peel the old truck cap window seal from its channel, scrape the channel clean, then wipe it with isopropyl alcohol. Press the new bulb seal in from a bottom corner so the join sits low. Order the profile by measuring channel width and depth rather than by shell model. Check the bulkhead voids while the topper is off, since one owner reports water still entering there while the vehicle moves.
Should you seal the bed drain holes?
Sources disagree. Access tells owners to silicone the floor drains behind the cab only for maximum protection, while Super Pacific lists drains among openings to leave alone. Blocking every drain turns the bed into a bathtub during a storm or a water crossing. Leave at least one low-point drain working unless your topper maker states otherwise in writing.
Does a positive pressure vent stop dust for real?
Three manufacturers build one in, which is meaningful evidence. ARB states its forward-facing vent pressurizes the shell interior and prevents dust entering at the rear door, and RSI fits a filtered vent as standard. However, none of the three publishes a CFM figure, a filter specification, or a target overpressure, so a homebuilt version has no verified design numbers to work from.