



Quick Facts:
- Topic: Glazed brakes and fade on long descents.
- Mid-descent rule: Downshift, brake in short firm presses and stop at a pull-off.
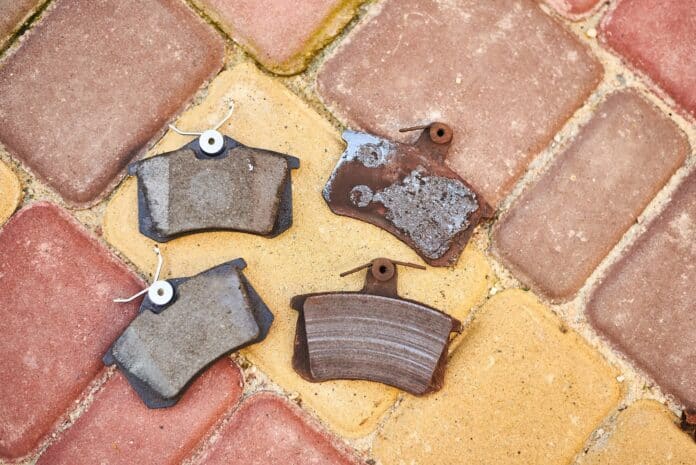
- Glazed pads: A shiny, hard pad face and weak bite, even when the brakes are cool.
- Brake fade: A temporary loss of stopping power from heat, and it eases as parts cool.
- Boiled fluid: A soft pedal, and the fluid needs replacement.
- Wet fluid boiling point (minimum): 284°F for DOT 3, 311°F for DOT 4, 356°F for DOT 5.1.
- Pad replacement point: Around 1/8 inch of friction material left.
- Best prevention: Select low range and engine braking before the grade starts.
8 min read
In This Guide
Overview
Your pedal feels firm, yet your rig keeps gaining speed on a long grade. Glazed brakes grip poorly even when cool, and heat on a long grade makes them worse. This guide shows you how to tell glazed brakes, brake fade and boiled fluid apart. Then fix each one before your next descent.
Heat drives all three problems. Every stop turns your rig’s motion into heat in the pads, rotors and fluid. A loaded truck on a long grade adds heat faster than the brakes shed it. For example, a rooftop tent, bumpers, a winch, water and a trailer all add weight your brakes must slow. Our guide to overlanding rig payload limits shows how quickly gear weight adds up.
I have owned five Jeeps, including two Grand Cherokee Overlands, two Wranglers and a Gladiator. In my view, a heavy rig on a mountain road needs a driver who plans the descent first. Because brakes only convert motion into heat, the engine should do most of the slowing.
Glazed Brakes vs. Pad Fade vs. Boiled Fluid
Three different problems feel alike from the driver’s seat, so diagnosis comes first. The table below sorts them by what you notice and by what happens after the brakes cool.
| Problem | What You Notice | After Cooling |
|---|---|---|
| Pad fade | Firm pedal, weak stopping, burning smell | Stopping power returns |
| Boiled fluid | Soft pedal sinking toward the floor | Bleed the system and replace the fluid; a pedal still soft after cooling needs a shop check |
| Glazed brakes | Shiny, hard pad face, squeal, weak bite | No change; the pads need replacement |
Fade is temporary. Continental names excess heat in the fluid or the pads as the main cause. Stopping power returns as the parts cool.
Glazing is different because it changes the pad itself. Heat hardens and smooths the friction surface until it turns glass-like and grips the rotor poorly, as Firestone Complete Auto Care describes. As a result, glazed brakes stay weak even when everything is cold.
The three problems chain together. A long descent causes fade, and the same heat hardens pad surfaces into glazed brakes. Then your next grade starts with less grip in reserve.
Why Brake Fluid Age Matters
Old fluid makes the chain worse, because absorbed water lowers the boiling point. Federal rule FMVSS 116 sets minimum boiling points by fluid grade. Wet fluid has absorbed water in service. Fresh DOT 3 must hold 401°F, and fresh DOT 4 must hold 446°F. Wet fluid matters more on the trail: 284°F for DOT 3, 311°F for DOT 4 and 356°F for DOT 5.1.
Our pre-trip brake fluid check advice is to bleed fluid older than two years. Never mix silicone DOT 5 with glycol-based DOT 3, DOT 4 or DOT 5.1. For an older rig, fresh DOT 4, where your manual allows it, is the first part I would replace, since it raises your boiling-point margin.
If your manual calls for DOT 4, the Pentosin Super DOT 4 fits the job. It ships as a 1 liter bottle for ABS-equipped brake systems. Confirm the grade in your manual before you buy.

Pentosin 1204116 Corrosion Resistant Super Dot 4 Brake Fluid, 1 Liter, Pack of 1
A DOT 4 brake fluid for a full flush on rigs that specify DOT 4.
- Made for ABS-equipped brake systems
- Corrosion-resistant formula protects brake components
- 1 liter bottle sold individually
- Fits only systems that call for DOT 4
- Open bottles absorb water, so use it soon after opening
How to Spot Glazed Pads
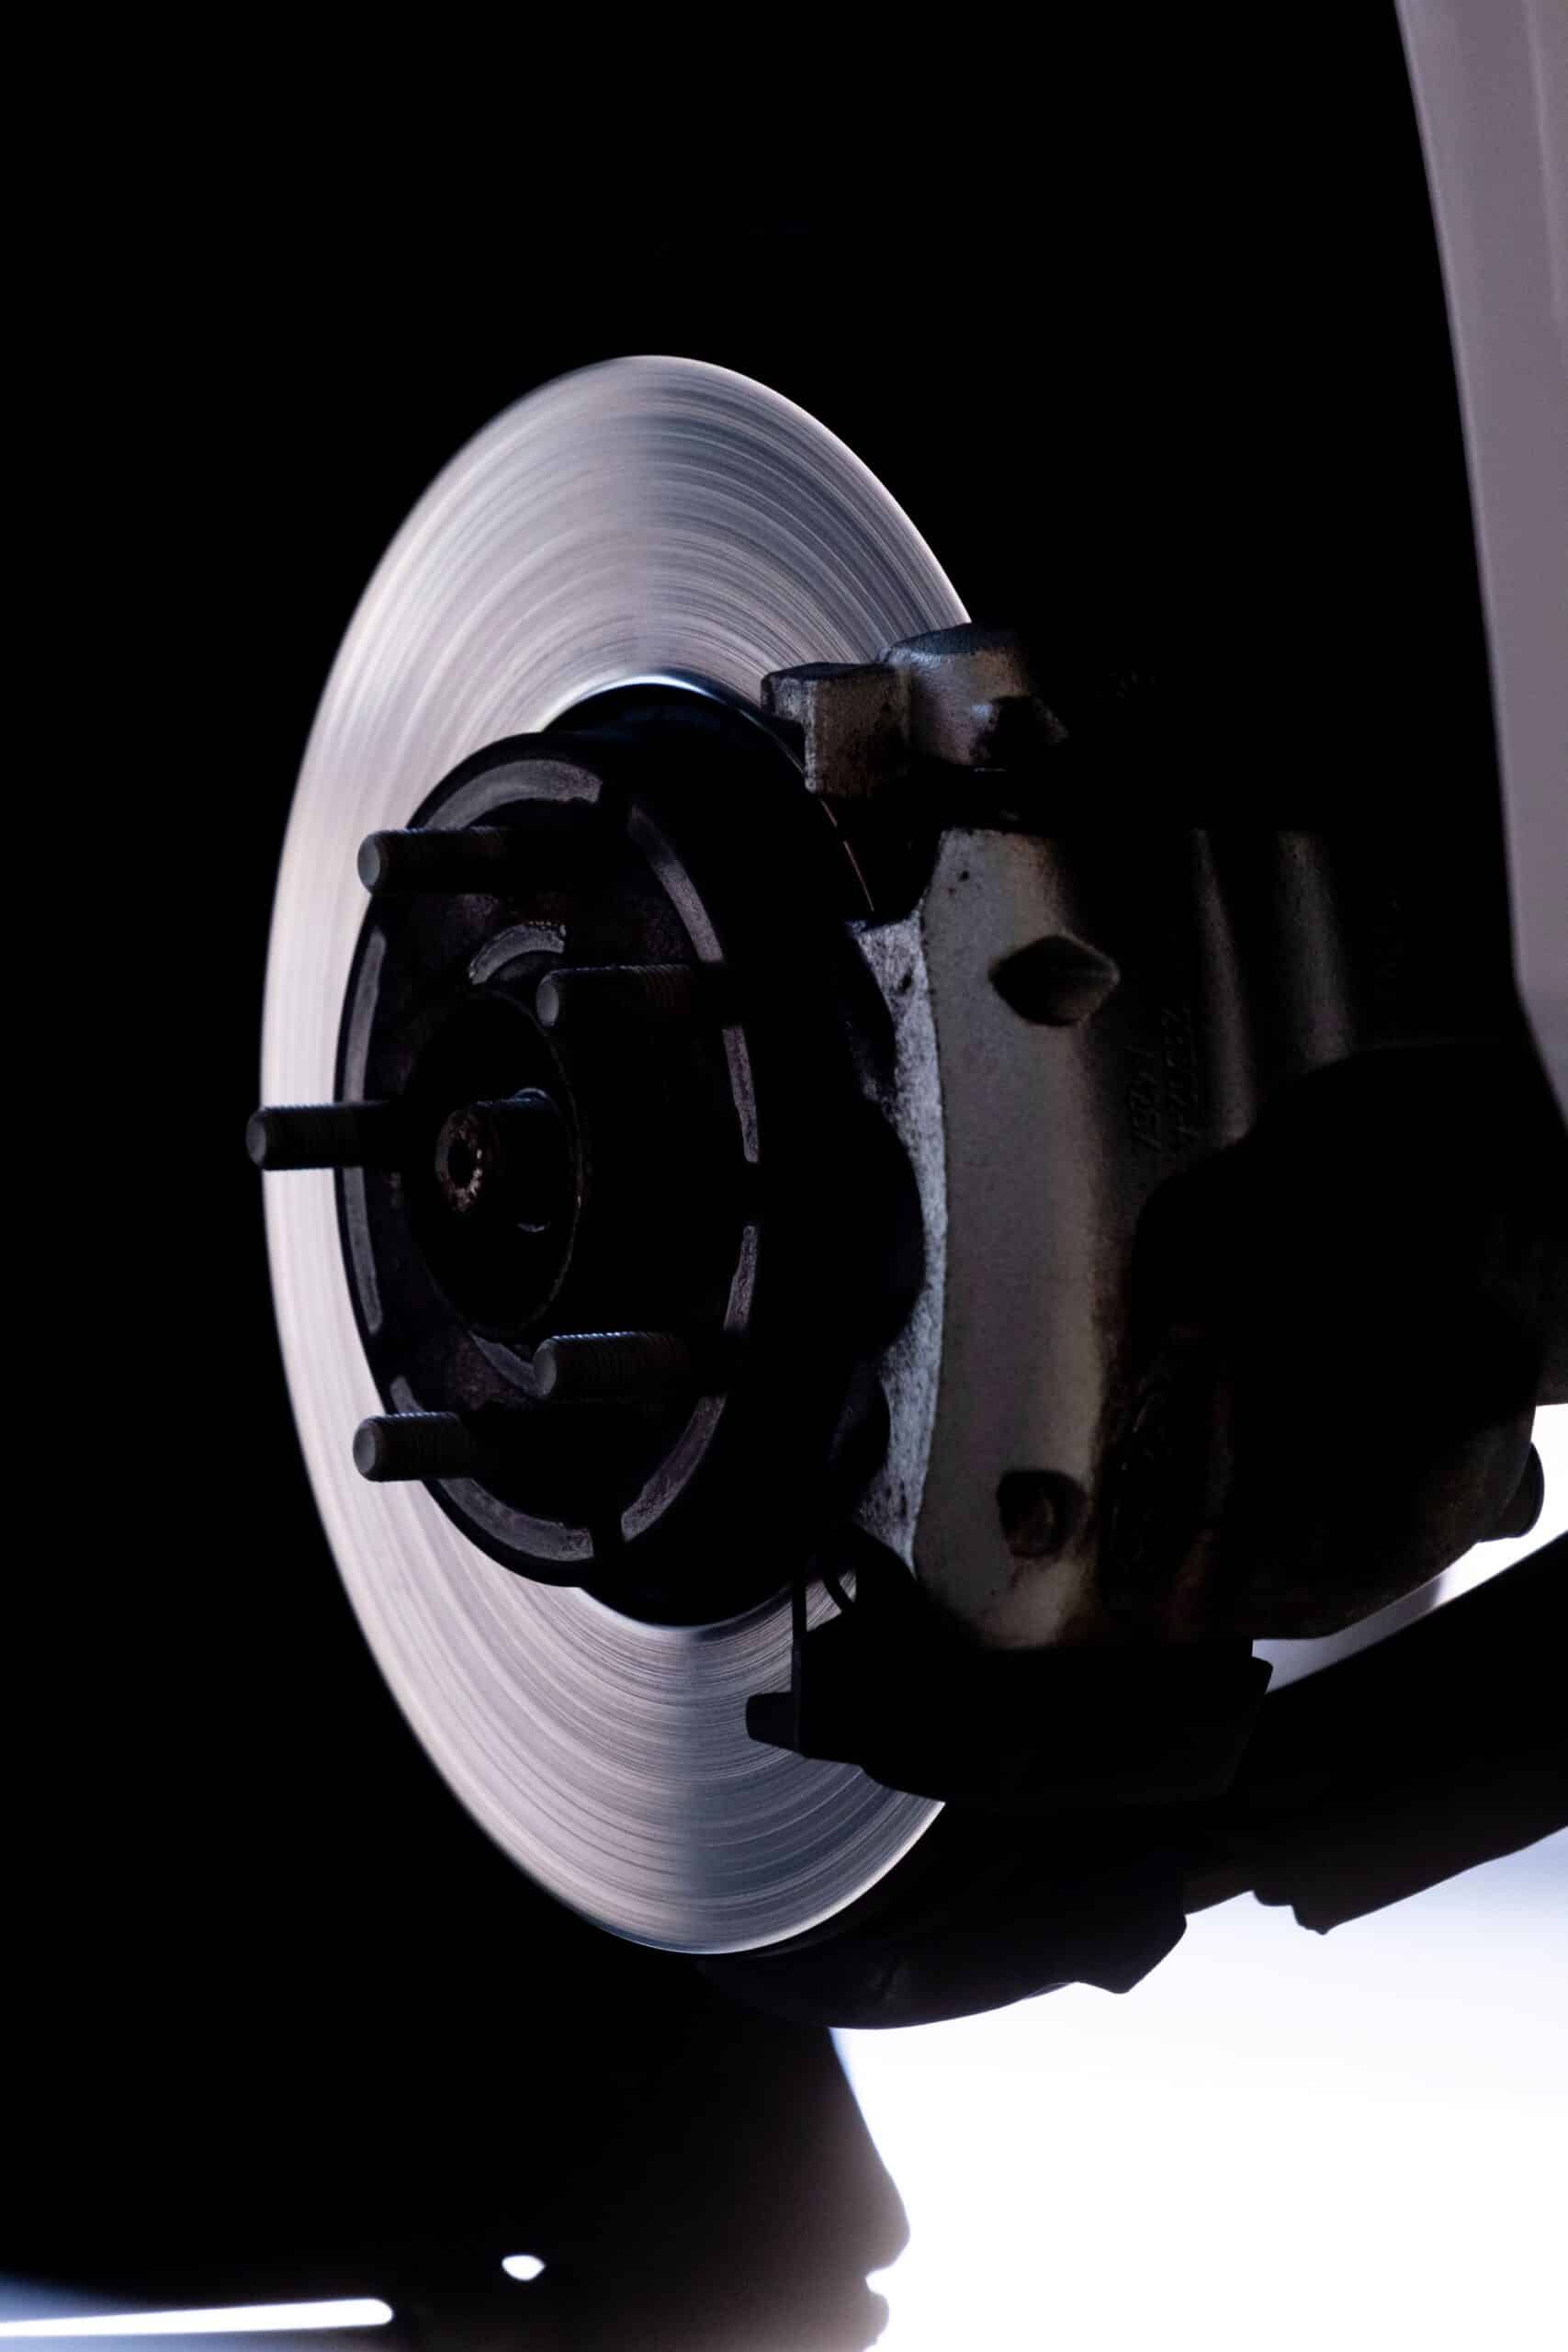
Glazed pads leave clues you notice from the driver’s seat. A squeal under light pedal pressure is the first. Stops with a longer distance, even on cool brakes, are the second. Watch for these signs:
- A high squeal under light braking.
- Longer stops even with cool brakes.
- A pulsing pedal or a steering shudder, which points to a rotor problem as well.
- Burnt smell after heavy braking, which also shows up with fade.
- A shiny, glassy pad face, which only shows with the wheel off.
Next, confirm with your eyes. Remove a wheel and look at the pad face. A healthy pad looks dull and slightly rough, while glazed pads look polished. Replace any pad with about 1/8 inch of friction material left, as our post-trail brake inspection checklist explains.
Check the rotor at the same time. Blue or purple discoloration, scoring or heat spots show rotor damage. Replace a cracked rotor, and ask a shop whether a scored rotor has enough thickness left to machine.
What Causes Glazed Brakes on a Loaded 4×4
Riding the pedal on a descent is a leading cause. Constant light pressure keeps the pad against the rotor, so heat never drops between applications. Extra weight raises the heat of every stop. Taller, heavier tires and wheels add more work, since the brakes must slow more rotating mass at a larger rolling radius.
Electronic aids do not solve the problem. Hill descent control limits matter here, because the system works through the same pads and rotors. Most systems also shut off with a warning once the brakes overheat.
Towing makes everything worse. A trailer adds mass the tow vehicle must slow. As a result, sustained braking on a long downhill heats rotors and fluid. Set the trailer brake controller so the trailer’s own brakes share the work. Our guide to towing down steep descents covers tactics for this exact case.
Two other causes hide in plain sight. New pads glaze early when they skip the maker’s bedding instructions. Meanwhile, packed mud or road debris keeps a caliper from releasing. The pad then drags and heats even on flat ground.
How to Fix Glazed Brake Pads
Replacement is the dependable fix. Light sanding sometimes restores bite on a pad with full thickness. Severe heat hardens the material until sanding no longer helps. Skip any “burn-off” trick, which heats the brakes on purpose, because more heat repeats the damage.
Safety note: Support your rig on jack stands, never on a jack alone. Test pedal feel in a flat lot before you hit the trail, because repaired brakes need proof they work.
- Remove the wheel and inspect the pads and rotors.
- Replace glazed pads as a full axle set, and replace or machine any rotor with heat damage.
- Clean the caliper slide pins and brackets, then lubricate the pins with a high-temperature brake lubricant.
- Replace brake fluid older than two years, using the grade your owner’s manual lists.
- Bed in the new pads on pavement by following the pad maker’s instructions exactly.
- Pump the pedal until it feels firm before you move the rig. Then check the wheels for dragging before you load it.
Pad choice matters for heavy rigs. Look for pads sold for towing or severe duty, and give the seller your loaded weight. Finish new-pad bedding well before the trip, not on the first big descent.
How to Prevent Fade on a Long Descent
Engine braking is your first tool on a long grade. Select your gear before the grade starts, since downshifting midway on a steep slope is harder. Pick the gear you would use to climb the same grade. Our guide on when to use 4 Low explains the setup, and the principle is simple. Low range makes the engine hold your speed, so the brakes run much cooler.
In my view, low range is the cheapest brake upgrade, because the gearing is already in the rig. Next, slow to a safe speed at the top of the grade. Then press the pedal firmly to shed speed and release it fully, so the pads get time to cool.
Pre-Descent Checklist
- Brake fluid is younger than two years.
- Pads are above about 1/8 inch of friction material.
- Calipers release freely and slide pins are clean.
- Your load stays within the rig’s weight rating.
- The transmission sits in low range or a low gear before the grade.
- You know the route and have spotted pull-offs.
At the bottom, point an infrared thermometer at each rotor and compare both sides of an axle. Never touch a hot rotor. A rotor much hotter than its partner points to a sticking caliper. Have a shop check it before your next trip.
A basic infrared thermometer such as the Etekcity Lasergrip 774 reads up to 842°F from a distance. Aim at the same spot on each rotor so the two sides compare fairly.

Etekcity Infrared Thermometer Laser Temperature Gun 774 | Cooking, Pizza Oven, Griddle, BBQ, Meat, HVAC, Engine, Adjustable Emissivity, MAX Display, Surface Measurement
A pocket infrared thermometer for comparing left and right rotor temperatures at the bottom of a grade.
- Reads from -58°F to 842°F
- 12:1 distance-to-spot ratio keeps your hand away from hot parts
- Backlit screen for dusk and early starts
- Two AAA batteries included
- Averages the targeted area instead of reading a single point
- Measures surface temperature only, not fluid temperature
What to Do When Fade Hits Mid-Descent
Stay calm and act in order, because panic braking adds more heat. Follow these steps:
- Downshift the transmission right away, one gear at a time. Most transfer cases need a near-stop to engage low range.
- Brake in short firm presses, then release fully. Riding the pedal and hard stabs both add heat.
- Aim for the nearest pull-off if the slope keeps getting worse.
- Stop in a safe spot, put the transmission in Park or in gear, set the parking brake and chock a wheel if the ground slopes.
- Wait 20 to 30 minutes for the brakes to cool, longer if the wheels still smell hot.
- Never pour water on hot rotors.
- Check pedal feel and note any burning smell before you move.
Safety note: If the pedal stays soft or sinks after cooling, do not continue downhill. Boiled fluid needs replacement, so call a tow instead of driving on.
After the trip, inspect the pads for glazing and replace old fluid. Fade on one descent tends to repeat on the next grade unless you change the gear, pads, fluid or load.
Final Thoughts
A long descent should feel almost boring. The pedal stays firm, the engine hums in low range and the trail rolls by. Calm like this comes from choices you make in the driveway, long before the first switchback.
Glazed brakes, brake fade and boiled fluid all trace back to heat, and each has a clear fix. Replace glazed pads, refresh old fluid and let the engine carry the load on every long grade. These steps are routine maintenance, not a rebuild.
Your rig carries your gear, your fuel and your crew. Give the brakes the same care you give the packing list. Check pads and fluid before the trip, and pick your gear before the slope begins. A few minutes in the driveway keep the drive relaxed.
Whatever you drive, test the pedal on flat ground before the first steep descent of every trip. Then use low range, brake in short firm presses and stop early if anything feels off. You will reach the bottom with cool brakes, a firm pedal and time to enjoy the view.
FAQ
How do you tell if brake pads are glazed?
Listen for a squeal under light braking and watch for longer stops. Then pull a wheel. A glazed pad face looks shiny and glassy instead of dull and slightly rough.
What causes brake fade?
Heat causes fade. Long or repeated braking, extra weight and old fluid push the pads or the fluid past their limits. As a result, stopping power drops.
Does fade go away once the brakes cool?
Pad fade is temporary, and stopping power returns as the parts cool. Boiled fluid and glazed pads are different, because both need replacement.
How do you fix glazed brake pads?
Replace the pads as an axle set and check the rotors. Then clean the slide pins and bed in the new pads. Swap fluid older than two years at the same time.
Does sanding glazed pads bring them back?
Light sanding sometimes restores bite on a pad with full thickness. Severe heat hardens the material until sanding no longer helps, so replacement remains the dependable fix.
How do you prevent fade on a long descent?
Select low range or a low gear before the grade. Slow at the top and brake in short firm presses. Keep your fluid fresh and your load within the weight rating as well.