


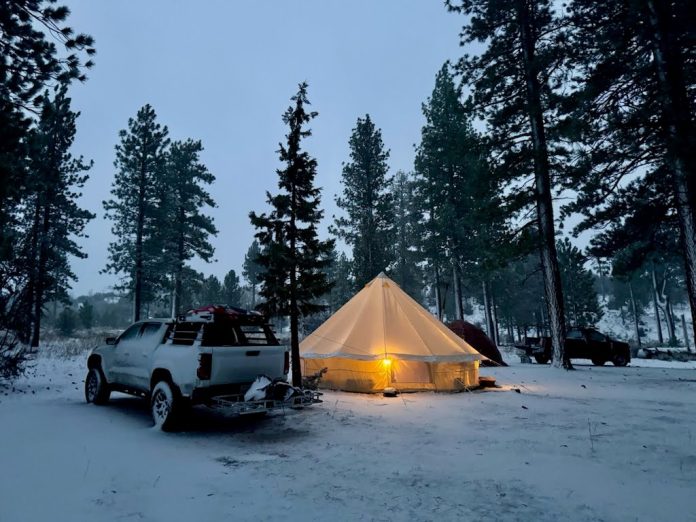

I’ve spent years testing overlanding and camping gear across the U.S., including plenty of nights where the temperature dropped well below freezing before sunrise. Late season trips reward you with empty trailheads and quiet campgrounds, but they punish any gap in your setup. A basecamp that works fine in September can turn miserable in November once wind, snow load, and single digit overnight lows enter the picture.
This guide walks through the winterizing steps I actually use before a cold weather trip, based on real nights spent troubleshooting condensation, stove clearances, and frozen water lines in the field. Consequently, everything below reflects lessons learned the hard way rather than manufacturer talking points. Whether you run a canvas bell tent, a wall tent, or a hot tent with a built-in stove jack, the same core principles apply once temperatures drop.
Quick Facts:
- Topic: Winterizing a basecamp for late-season camping
- Skill level: Beginner to intermediate
- Time required: 1 to 2 hours of prep before departure
- Tools needed: Ground insulation, stove or heater, sealant or repair tape, water line insulation
- Difficulty: Moderate, mostly planning and layering rather than technical skill
- Cost: $50 to $400 depending on existing gear
- Best for: Overlanders and campers extending their season into freezing temperatures
8 min read
In This Guide
- Winterizing Your Basecamp: Why Late Season Trips Need a Different Plan
- Winterizing Checklist at a Glance
- Shelter Prep and Ground Insulation
- Heating Your Basecamp Safely
- Protecting Water and Power Systems
- Why the Elk Mountain Yukon Bell Tent Suits Late Season Camps
- Pros and Cons of Late Season Basecamping
- Final Verdict
- Frequently Asked Questions
Winterizing Your Basecamp: Why Late Season Trips Need a Different Plan
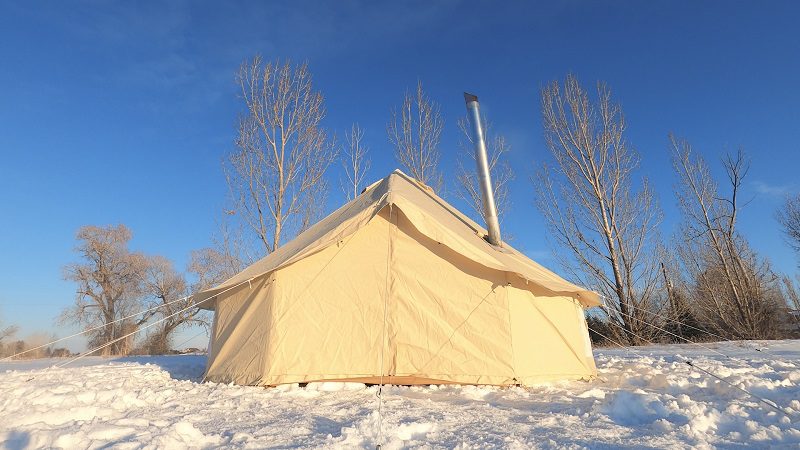
Late season camping punishes basecamps that were only ever tested in mild weather. Wind loads increase, snow adds weight to canvas and guy lines, and condensation builds up fast inside a sealed shelter once a stove or heater runs overnight. Winterizing your basecamp means addressing all three problems before you leave the driveway, not improvising once you are already cold.
This approach works for solo campers moving between sites and for larger groups running a stationary camp for a week. A family running a 300 square foot bell tent with a stove jack faces different condensation and heat distribution challenges than a solo camper in a compact hot tent. However, the underlying checklist stays the same: insulate the ground, manage heat safely, and protect water and power systems from freezing.
Consider a basecamp set up for a five day elk hunt in November. Overnight lows near 15°F combined with 30 mph gusts will expose any weak seam, undersized stove, or uninsulated water line within the first two nights. Planning for that scenario in advance, rather than reacting to it, is the difference between a productive trip and an early exit.
Winterizing Checklist at a Glance
| Category | What to Check |
|---|---|
| Ground | Insulated sleeping pads or a subfloor layer to break contact with frozen ground |
| Shelter seams | Reseal or re-tape seams before the season, since cold canvas cracks more easily than warm canvas |
| Heat source | Confirm stove jack clearance and test the heater or stove before departure |
| Ventilation | Crack a vent even when running a heater, to reduce condensation buildup |
| Water lines | Insulate or drain exposed lines, and store filters somewhere they will not freeze solid |
| Power | Keep batteries warm, since cold weather cuts usable capacity significantly |
| Guy lines and stakes | Swap to snow stakes or deadman anchors if the ground is frozen or snow covered |
Shelter Prep and Ground Insulation
Ground contact is the fastest way to lose heat overnight, even inside a well sealed tent. A closed cell foam pad or a dedicated subfloor layer under your cots or sleeping pads breaks that contact and makes a noticeable difference by the second or third night. Canvas shelters with a zip-in floor, such as many bell tents on the market, help keep drafts out at ground level, but they still benefit from an added insulating layer underneath.
Before the season starts, inspect every seam on your shelter. Cold canvas becomes more brittle than warm canvas, so a small tear that seemed minor in August can widen quickly in freezing temperatures. Reapply seam sealer where needed, and pack a repair kit with patches and tape rated for cold weather use. Additionally, check your guy lines and stakes. Standard stakes often fail to hold in frozen or snow covered ground, so switching to dedicated snow stakes or building deadman anchors from buried gear bags adds real security during high wind events.
Buy Direct From Elk Mountain
Check Out the Yukon Bell Tent
Built-in stove jack, Poly Shield canvas, and three sizes to fit any late season basecamp.
Heating Your Basecamp Safely
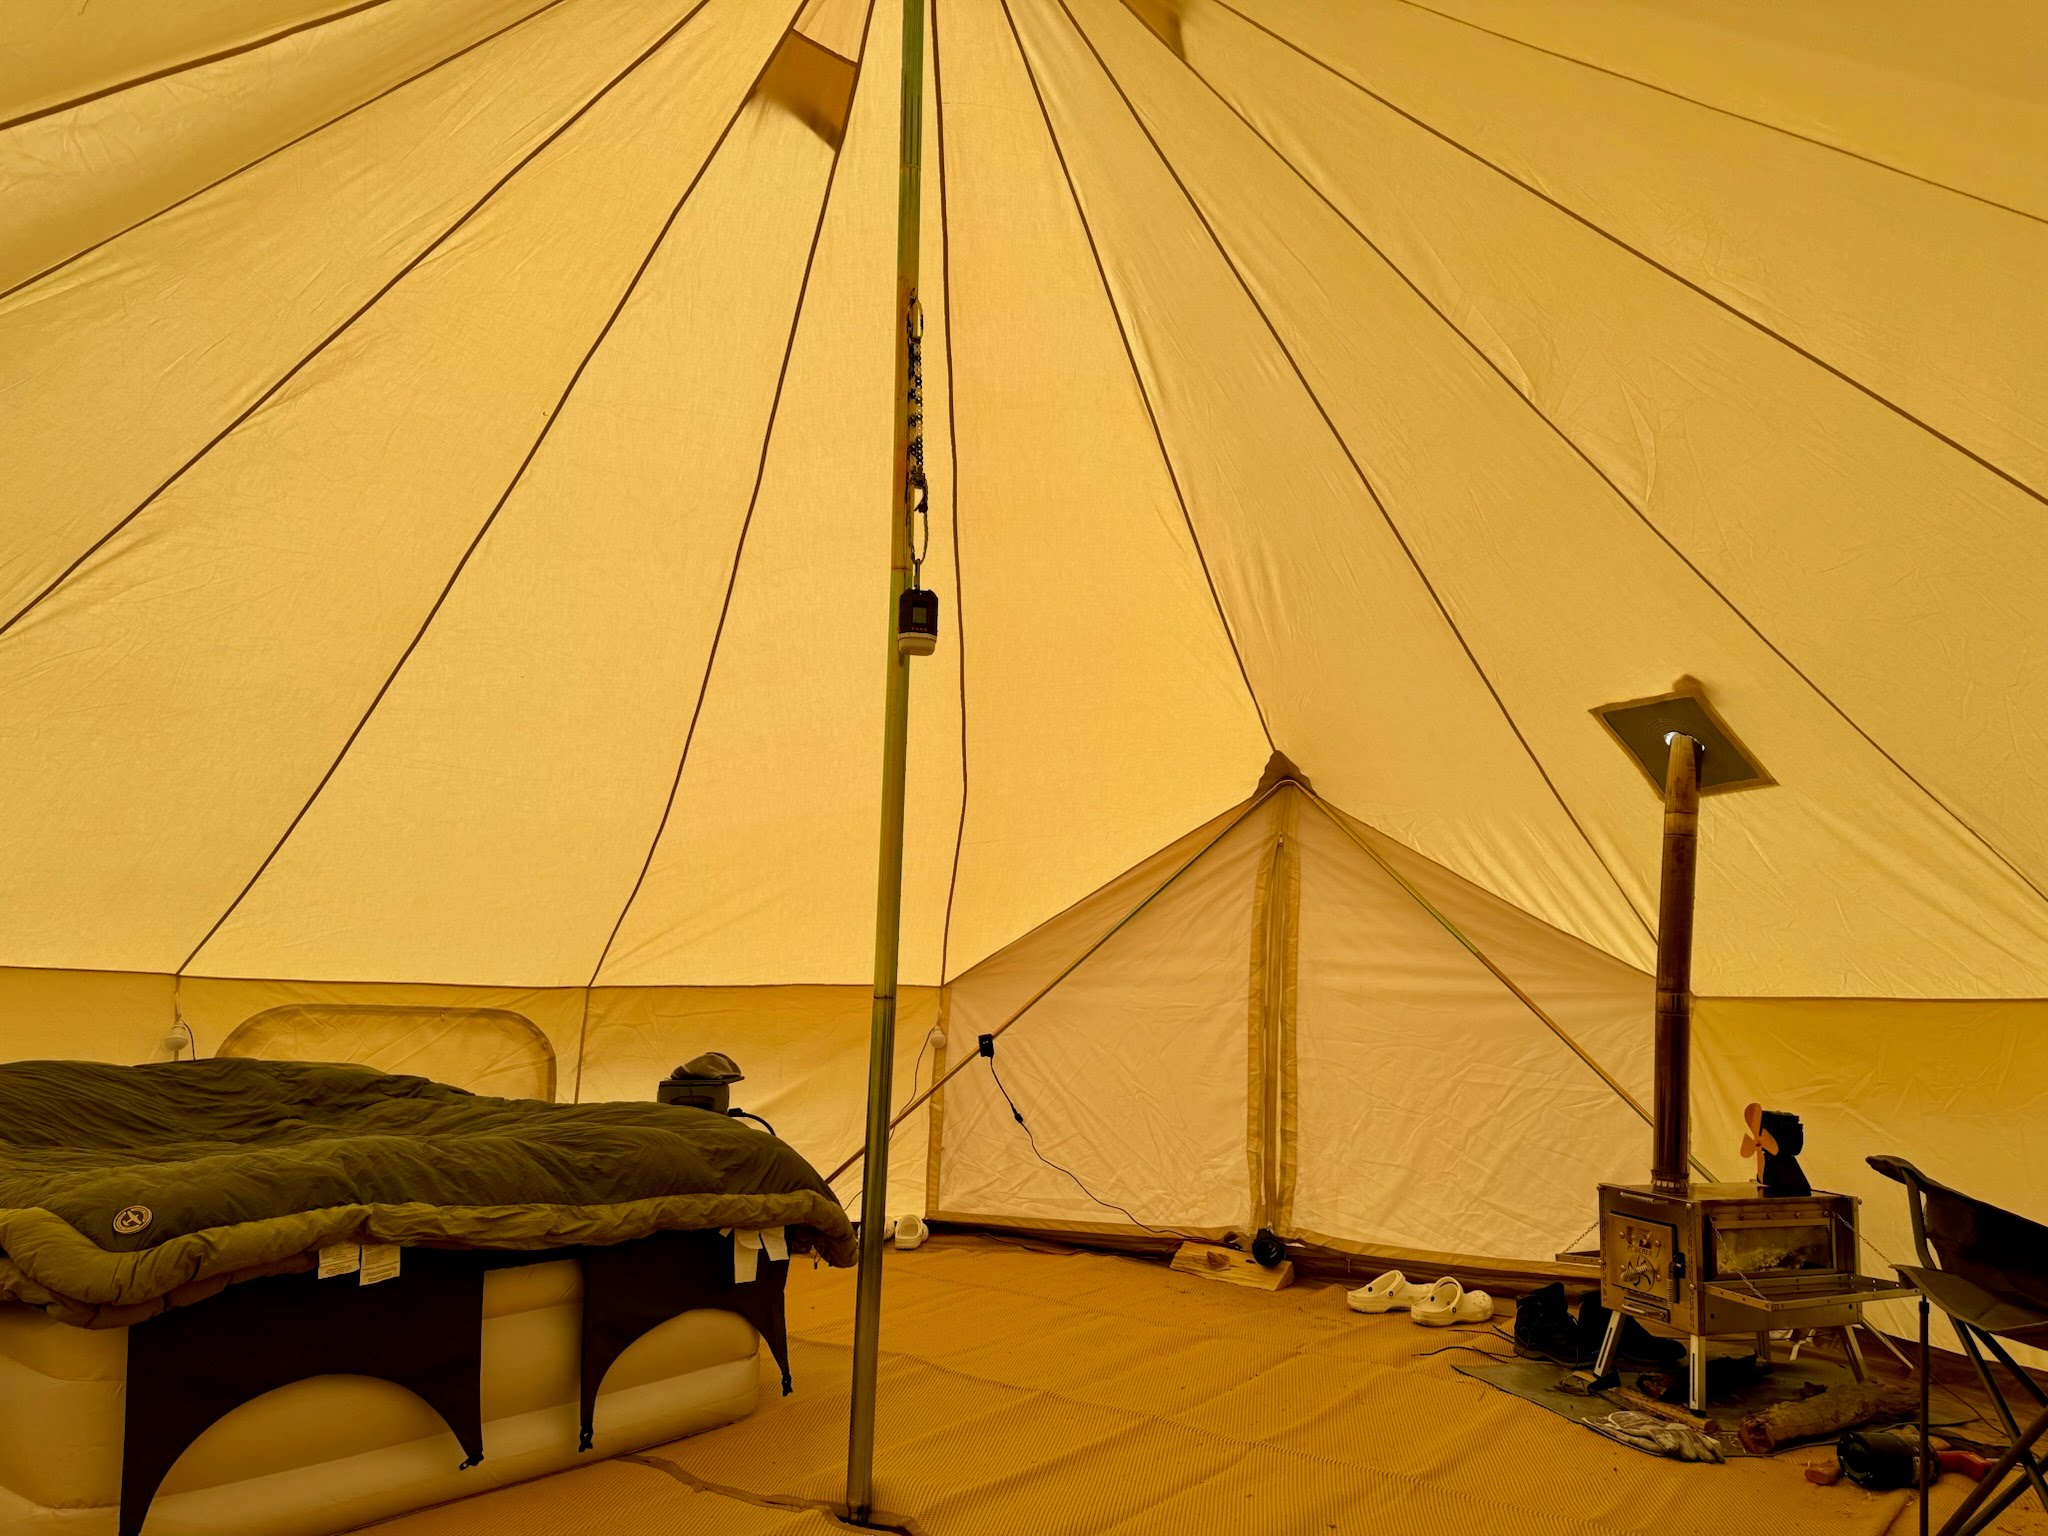
A stove jack turns a three season shelter into a genuine four season basecamp, but only when installed and used correctly. Confirm the manufacturer’s clearance requirements between the stove pipe and the surrounding canvas before you leave home, since improvised setups are where most tent fires start. Test the stove or heater at home first, both to confirm it functions and to familiarize yourself with refueling it in the dark.
Ventilation matters just as much as heat output. Running a stove or heater in a fully sealed shelter increases condensation and reduces air quality, so crack a vent or window even on the coldest nights. Many hot tents include screened vents specifically for this purpose, positioned high enough to release warm, moist air without creating a direct draft on sleepers. Above all, never leave a wood stove unattended overnight unless it is rated and installed for that use.
Wood Stove vs. Diesel Heater for a Winterized Camp
Wood stoves offer ambiance and do not depend on fuel you have to carry in a tank, but they require someone to feed them through the night if you want continuous heat. Diesel heaters run unattended for longer stretches and integrate more easily with a vehicle’s fuel supply, though they add mechanical complexity and depend on battery power to run the blower and igniter. Many overlanders carry both options depending on trip length, since a wood stove works well for a weekend while a diesel heater suits a longer stationary camp.
Protecting Water and Power Systems
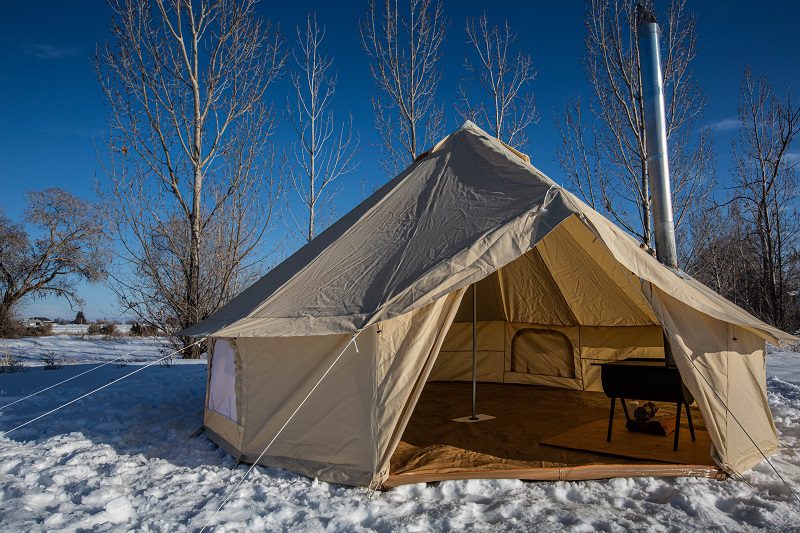
Water freezes faster than most campers expect, especially in exposed lines or filters left outside overnight. Drain hoses and filters after each use, and store them inside your shelter or vehicle cab rather than in an outside bin. If you run a gravity filter, keep the reservoir near your heat source overnight so it does not freeze solid before morning.
Battery capacity drops significantly in cold weather, particularly with lithium batteries below their rated operating temperature. Insulate battery boxes where possible, and bring batteries inside a warmer space overnight if your setup allows it. For campers running a portable power station, charging during the warmest part of the day rather than overnight preserves capacity and reduces strain on the battery in freezing conditions.
Gear Up Before You Go
Check Our Hot Tent and Wood Stove Buying Guide
Compare stove jack equipped shelters and wood stove options built for late season camping.
Why the Elk Mountain Yukon Bell Tent Suits Late Season Camps
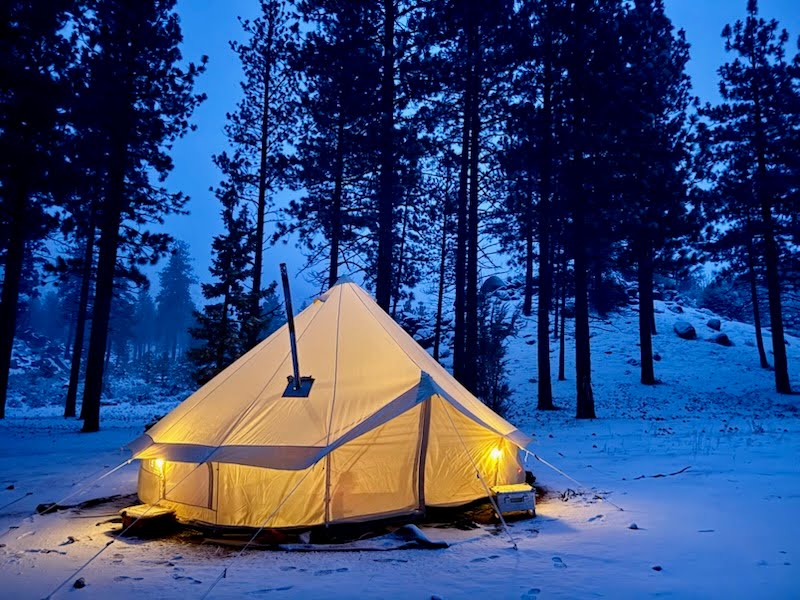
A winterizing checklist only goes as far as the shelter it protects. The Elk Mountain Yukon Bell Tent is one shelter built with several of these late season priorities already addressed. It ships with a built-in stove jack, so campers do not need to retrofit a canvas panel or void a warranty cutting their own opening. That matters most once temperatures drop and a reliable heat source stops being optional.
The Yukon’s Poly Shield canvas also plays into the seam and durability concerns covered above. Because the material resists mold, mildew, and UV wear better than traditional cotton duck, it holds up to repeated freeze and thaw cycles across a full season without the same cracking risk older cotton canvas develops in cold weather. Additionally, the tent’s steeply sloped bell tent walls shed snow load more effectively than flatter roof designs, which reduces the overnight monitoring a heavy snowfall usually demands.
Size selection still matters. The 13 ft Yukon suits a solo or two-person late season camp where a compact footprint heats up faster, while the 16 ft and 20 ft versions give a group or hunting camp enough floor space to run cots, gear storage, and a stove without crowding the heat source. Regardless of size, the zip-in floor pairs naturally with the ground insulation layer discussed earlier, giving campers two barriers against frozen ground instead of one. Explore this tent in full by checking out our Elk Mountain Yukon Bell Tent review.
Pros and Cons of Late Season Basecamping
Pros
- Fewer crowds at popular trailheads and campgrounds
- Better wildlife activity for late season hunting trips
- Clearer, drier air in many regions during cold months
- A properly winterized basecamp extends your usable camping season by two to three months
Cons
- Shorter daylight hours limit setup and breakdown time
- Water and fuel systems require extra attention to avoid freezing
- Stove operation adds real fire risk if clearances are not followed
- Battery capacity drops, reducing runtime for lights and electronics
Final Verdict
Winterizing your basecamp works best as a pre-trip routine rather than a reaction to a bad night. Campers who insulate the ground, confirm stove clearances, and protect water and power systems before departure spend their trip enjoying the quiet trails instead of troubleshooting frozen gear.
The real trade off is time and cost. Adding ground insulation, a stove setup, and cold rated water gear takes an afternoon of prep and a modest budget, and campers who skip these steps often cut trips short once temperatures drop overnight. Anyone camping only in mild shoulder season weather can likely skip the more involved steps, such as a dedicated stove jack shelter.
Value wise, most of this winterizing checklist reuses gear you may already own, such as sleeping pads, tarps, and existing water filters, with targeted additions like snow stakes or a stove jack shelter representing the bulk of new cost.
Overall, a properly winterized basecamp turns late season camping from a gamble into a reliable extension of your camping calendar. Start with ground insulation and a tested heat source, then layer in water and power protection as your trips get longer and colder.
Frequently Asked Questions
What is the most important step in winterizing a basecamp?
Ground insulation matters most, since losing heat through contact with frozen ground undermines every other winterizing step. Start with a closed cell pad or subfloor layer before addressing heat and water systems.
Can I run a stove overnight in a bell tent or hot tent?
Yes, if the shelter includes a properly installed stove jack with correct clearance from the canvas. Always confirm manufacturer clearance specifications and never leave an unattended wood stove burning without a rating for that use.
How do I keep water from freezing at camp?
Drain hoses and filters after each use and store them inside your shelter or vehicle cab overnight. Keeping a gravity filter reservoir near your heat source also helps prevent it from freezing solid.
Does cold weather really affect battery power that much?
Yes. Lithium batteries lose usable capacity significantly once temperatures drop below their rated operating range. Insulating battery boxes and charging during the warmest part of the day helps offset the loss.
Should I choose a wood stove or a diesel heater for winter camping?
Choose a wood stove for shorter trips where you do not mind refueling overnight, and a diesel heater for longer stationary camps where unattended, consistent heat matters more.
How much does it cost to winterize a basecamp?
Costs typically range from $50 for basic ground insulation and repair supplies to $400 or more if you add a stove jack shelter or a dedicated heater, depending on what gear you already own.
A quick heads-up: If you snag something through our affiliate links or check out our sponsored content, we might earn a commission at no extra cost to you. But fear not, we’re all about recommending stuff we’re truly stoked about!