



I’ve been overlanding for most of my adult life, and the trips where something went sideways almost always had one thing in common: I skipped a step in pre-trip preparation. Not from laziness, but from familiarity. The more time you spend in the field, the more tempting it becomes to abbreviate the process because nothing has gone wrong in a while. Long-distance overlanding preparation is where discipline pays off, because when you’re 200 miles from the nearest town on a two-track in southern Utah, a missed fluid check or a flat spare costs you in ways a day-trip failure never does.
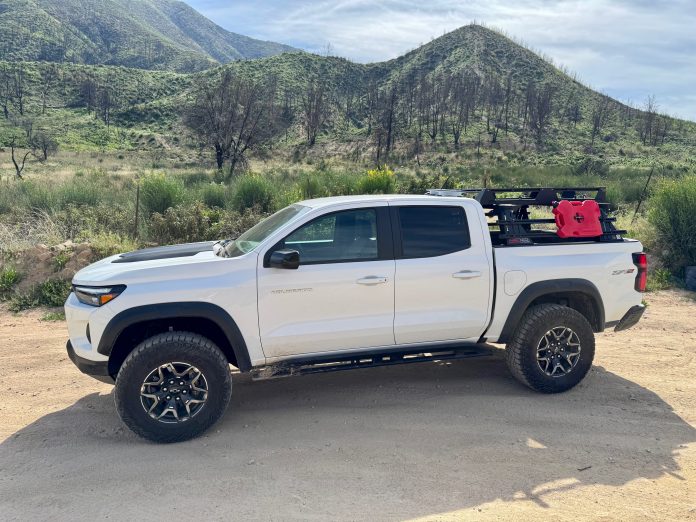
I founded 4WD Talk after years of wheeling, overlanding, and camping in some of the most remote terrain in the American West. My current rig is a Chevy Colorado ZR2 with 33-inch tires, and I’ve run MORRFlate gear for years across multiple builds. The TenSix PSI Pro Gen 2 has been my exclusive air compressor for several years, and it’s central to how I think about tire management on long trips. This guide walks through the complete pre-trip vehicle prep process I run before any multi-day or long-distance overland trip, in the order I follow it each pre-trip.
Quick Facts:
- Topic: Long-distance overlanding preparation, full vehicle pre-trip checklist
- Skill Level: Beginner to intermediate
- Time Required: 2 to 4 hours for a thorough pre-trip inspection
- Key Equipment Featured: MORRFlate TenSix PSI Pro Gen 2 ($325) + Quad hose kit ($215-$255)
- Trip Length Covered: Multi-day trips of 200 to 2,000+ miles
- Best For: Overlanders planning remote routes where services are 50+ miles away
8 min read
In This Article
- Why Long-Distance Overlanding Preparation Is Different
- Fluids and Filters: Start Here
- Tires, Spare, and Pressure Management
- Your Air System Is Mission-Critical Gear
- Recovery Gear Checklist
- Electrical and Lighting
- Communication and Navigation
- Load Management and Weight Distribution
- Pros and Cons of a Thorough Pre-Trip Process
- Final Verdict
- Frequently Asked Questions
Why Long-Distance Overlanding Preparation Is Different From a Trail Day
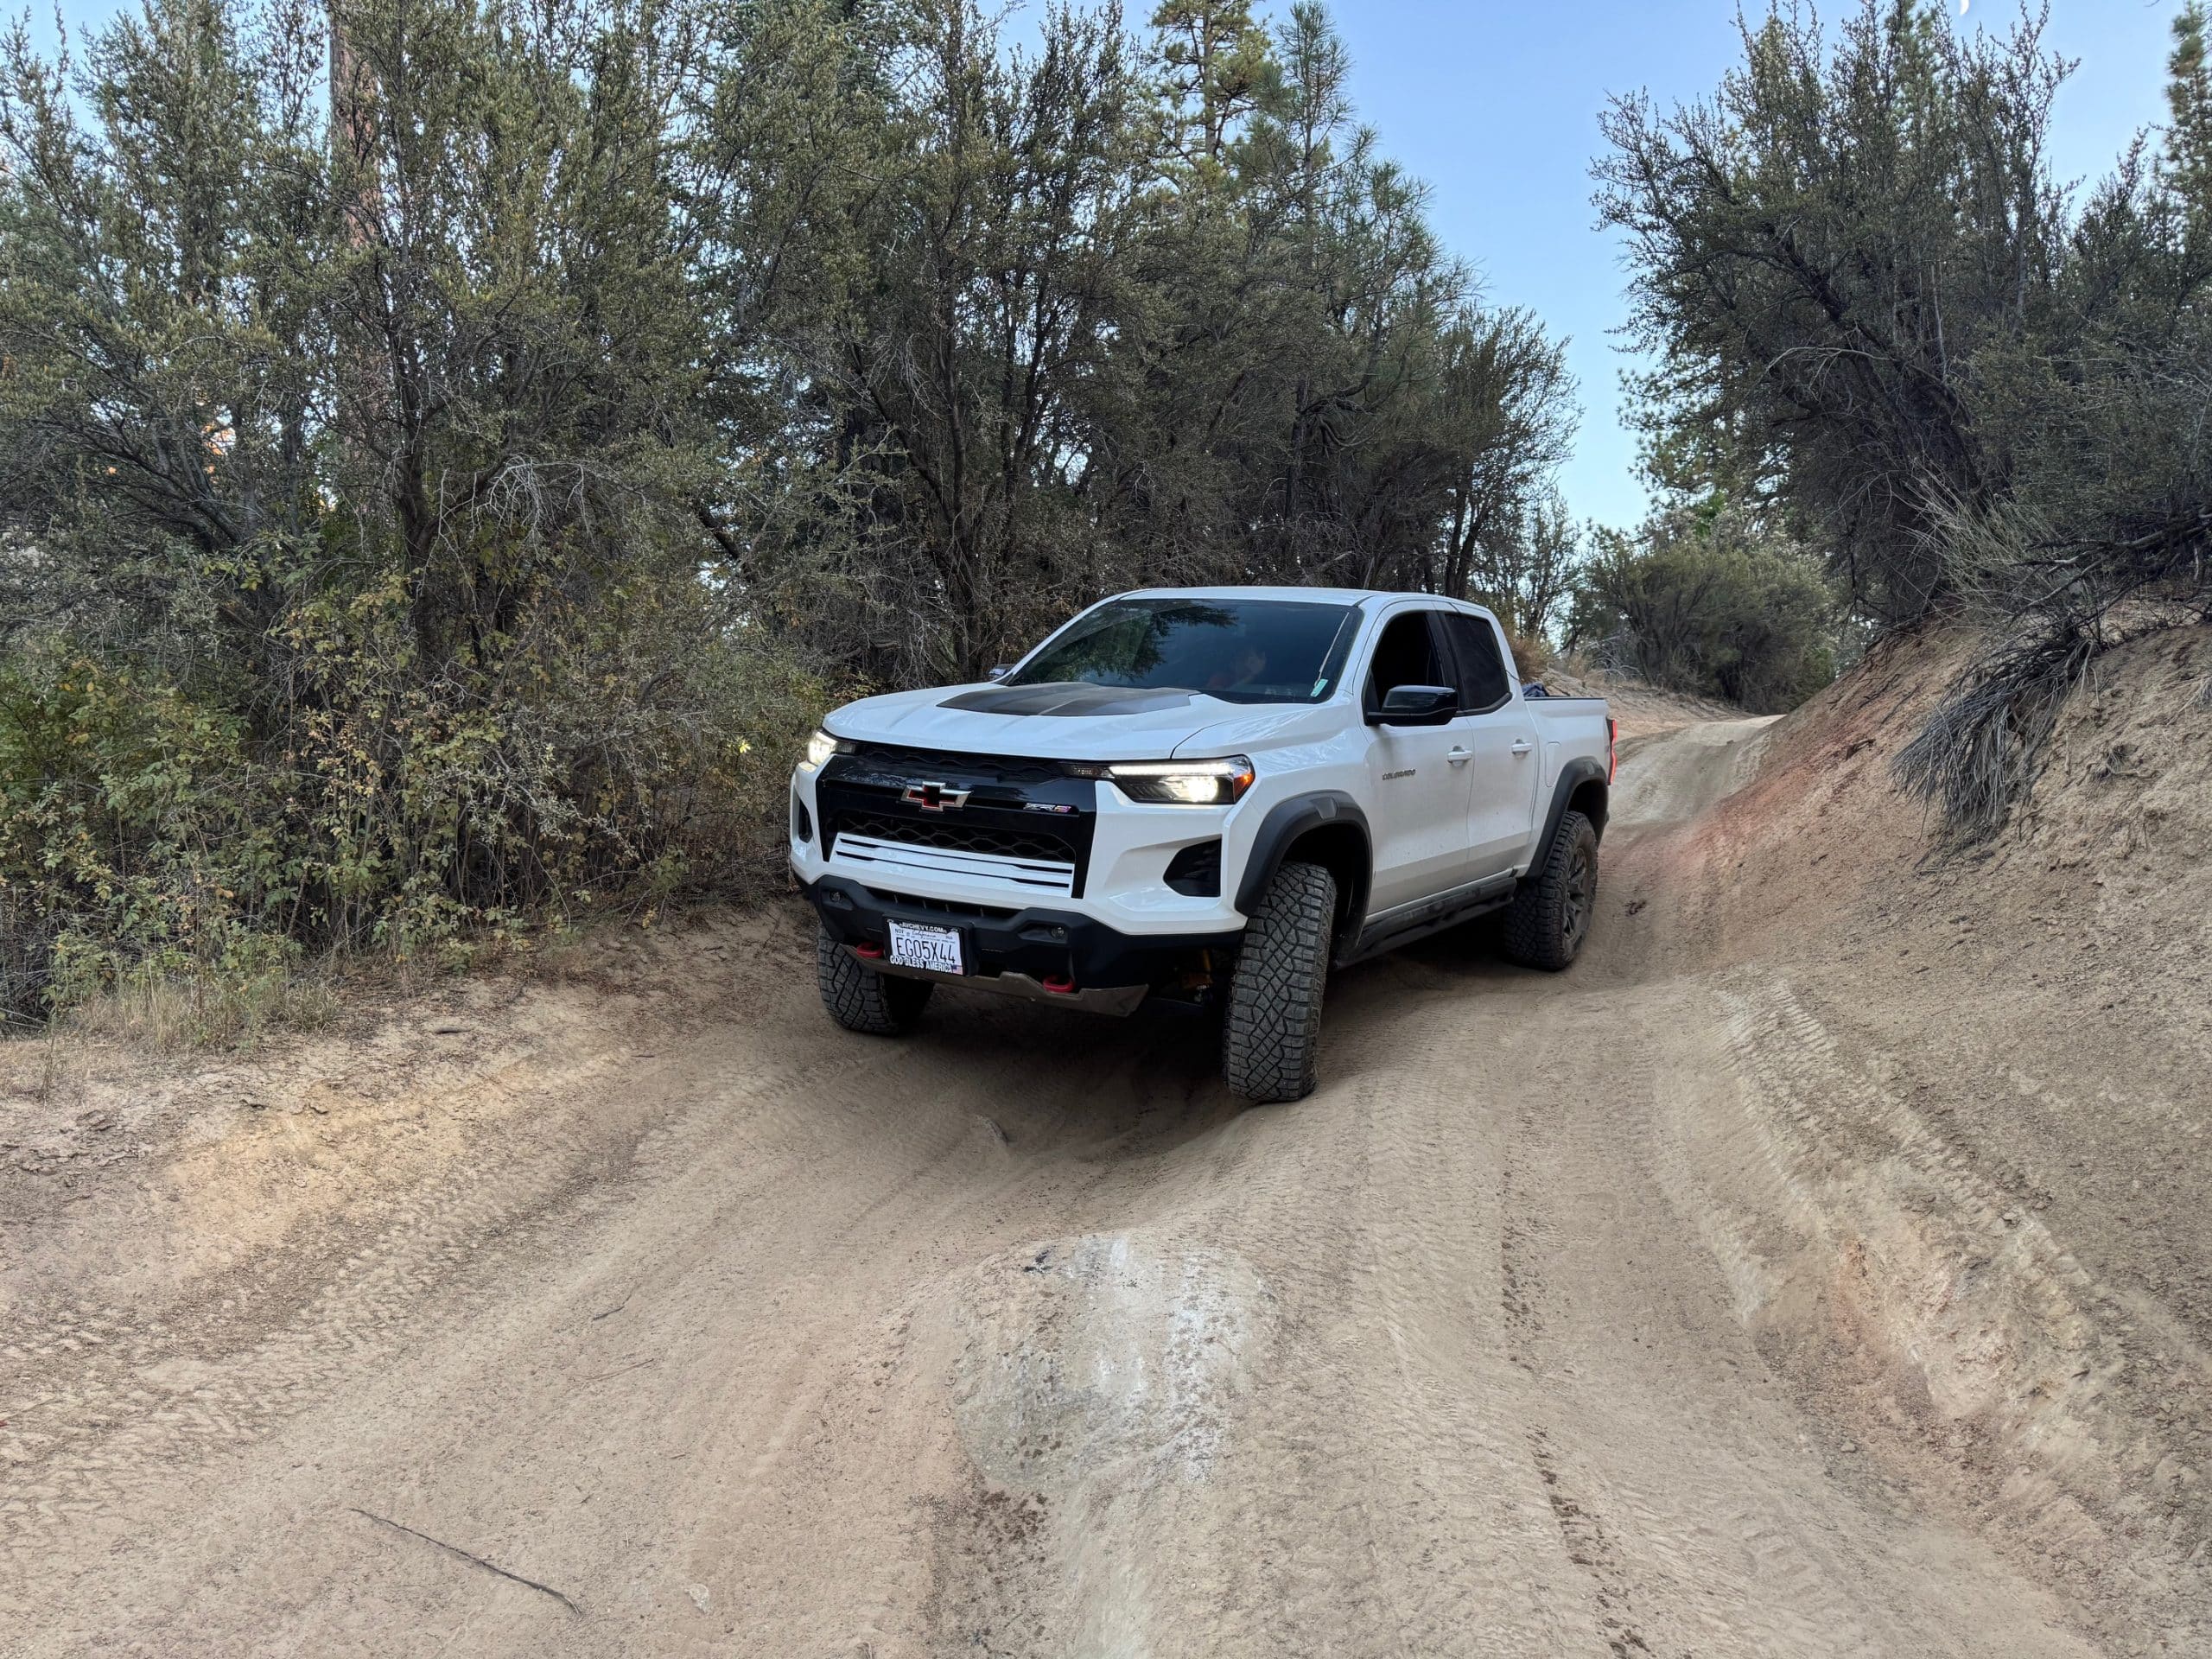
A single-day trail run forgives a lot. If you forget your deflators, someone in the group probably has a set. If your recovery boards are dirty and packed at the bottom of a bin, you dig them out once and it’s fine. Long-distance overlanding preparation operates on a different margin. When you’re three days into a 10-day route through the Great Basin or the Owens Valley, every system on your vehicle needs to work every day across the full trip duration.
The failure modes are also different. On a trail day, a dead auxiliary battery is an inconvenience. On day six of a remote overland route, it means your fridge isn’t running, your satellite communicator isn’t charging, and your recovery lights are dark. Distance amplifies every gap in preparation. Specifically, the long-distance overlanding preparation checklist I use addresses whether systems will work for the full duration of the trip under sustained off-road and highway load.
The other factor is route-specific preparation. A 500-mile route through Utah canyon country has different demands on your air system, recovery gear, and water supply than a 500-mile route on the Pacific Crest corridor. Before the mechanical checks, study the route, identify the stretches farthest from services, note the terrain types and elevations, and build your prep around the hardest segment, not the average one.
Fluids and Filters: Start Here
The first step in an off-road pre-trip inspection is the full fluid inventory. Engine oil gets checked at cold start the morning of my prep day. If the level is below mid-mark or the oil is dark and gritty on the dipstick, it gets changed before departure. On a long trip, I also carry a full quart of the correct weight in the vehicle, because even healthy engines burn a small amount of oil over thousands of miles of hard terrain.
Coolant is next, specifically the condition as well as the level. The overflow reservoir shows the level, but also look at the color. Coolant breaks down over time, and degraded coolant in desert heat or mountain grades causes temperature spikes. If it’s been more than two years since a flush, do it before a long trip. Transmission fluid, transfer case fluid, and differential fluid each get a visual check for level and color. Differentials run hot on sustained climbs, and degraded gear oil shortens bearing life in ways a multi-day trip amplifies noticeably.
Brake fluid absorbs moisture over time, which lowers its boiling point. On steep descents on heavily loaded rigs, brake fade from overheated low-quality fluid is a real risk. Bleed the brakes if the fluid has been in the system for more than two years. Power steering fluid and windshield washer fluid round out the check. Also inspect the air filter while you’re under the hood. A clogged filter hurts power output and fuel economy, both of which matter more on a long trip than on a day run.
Tires, Spare, and Pressure Management
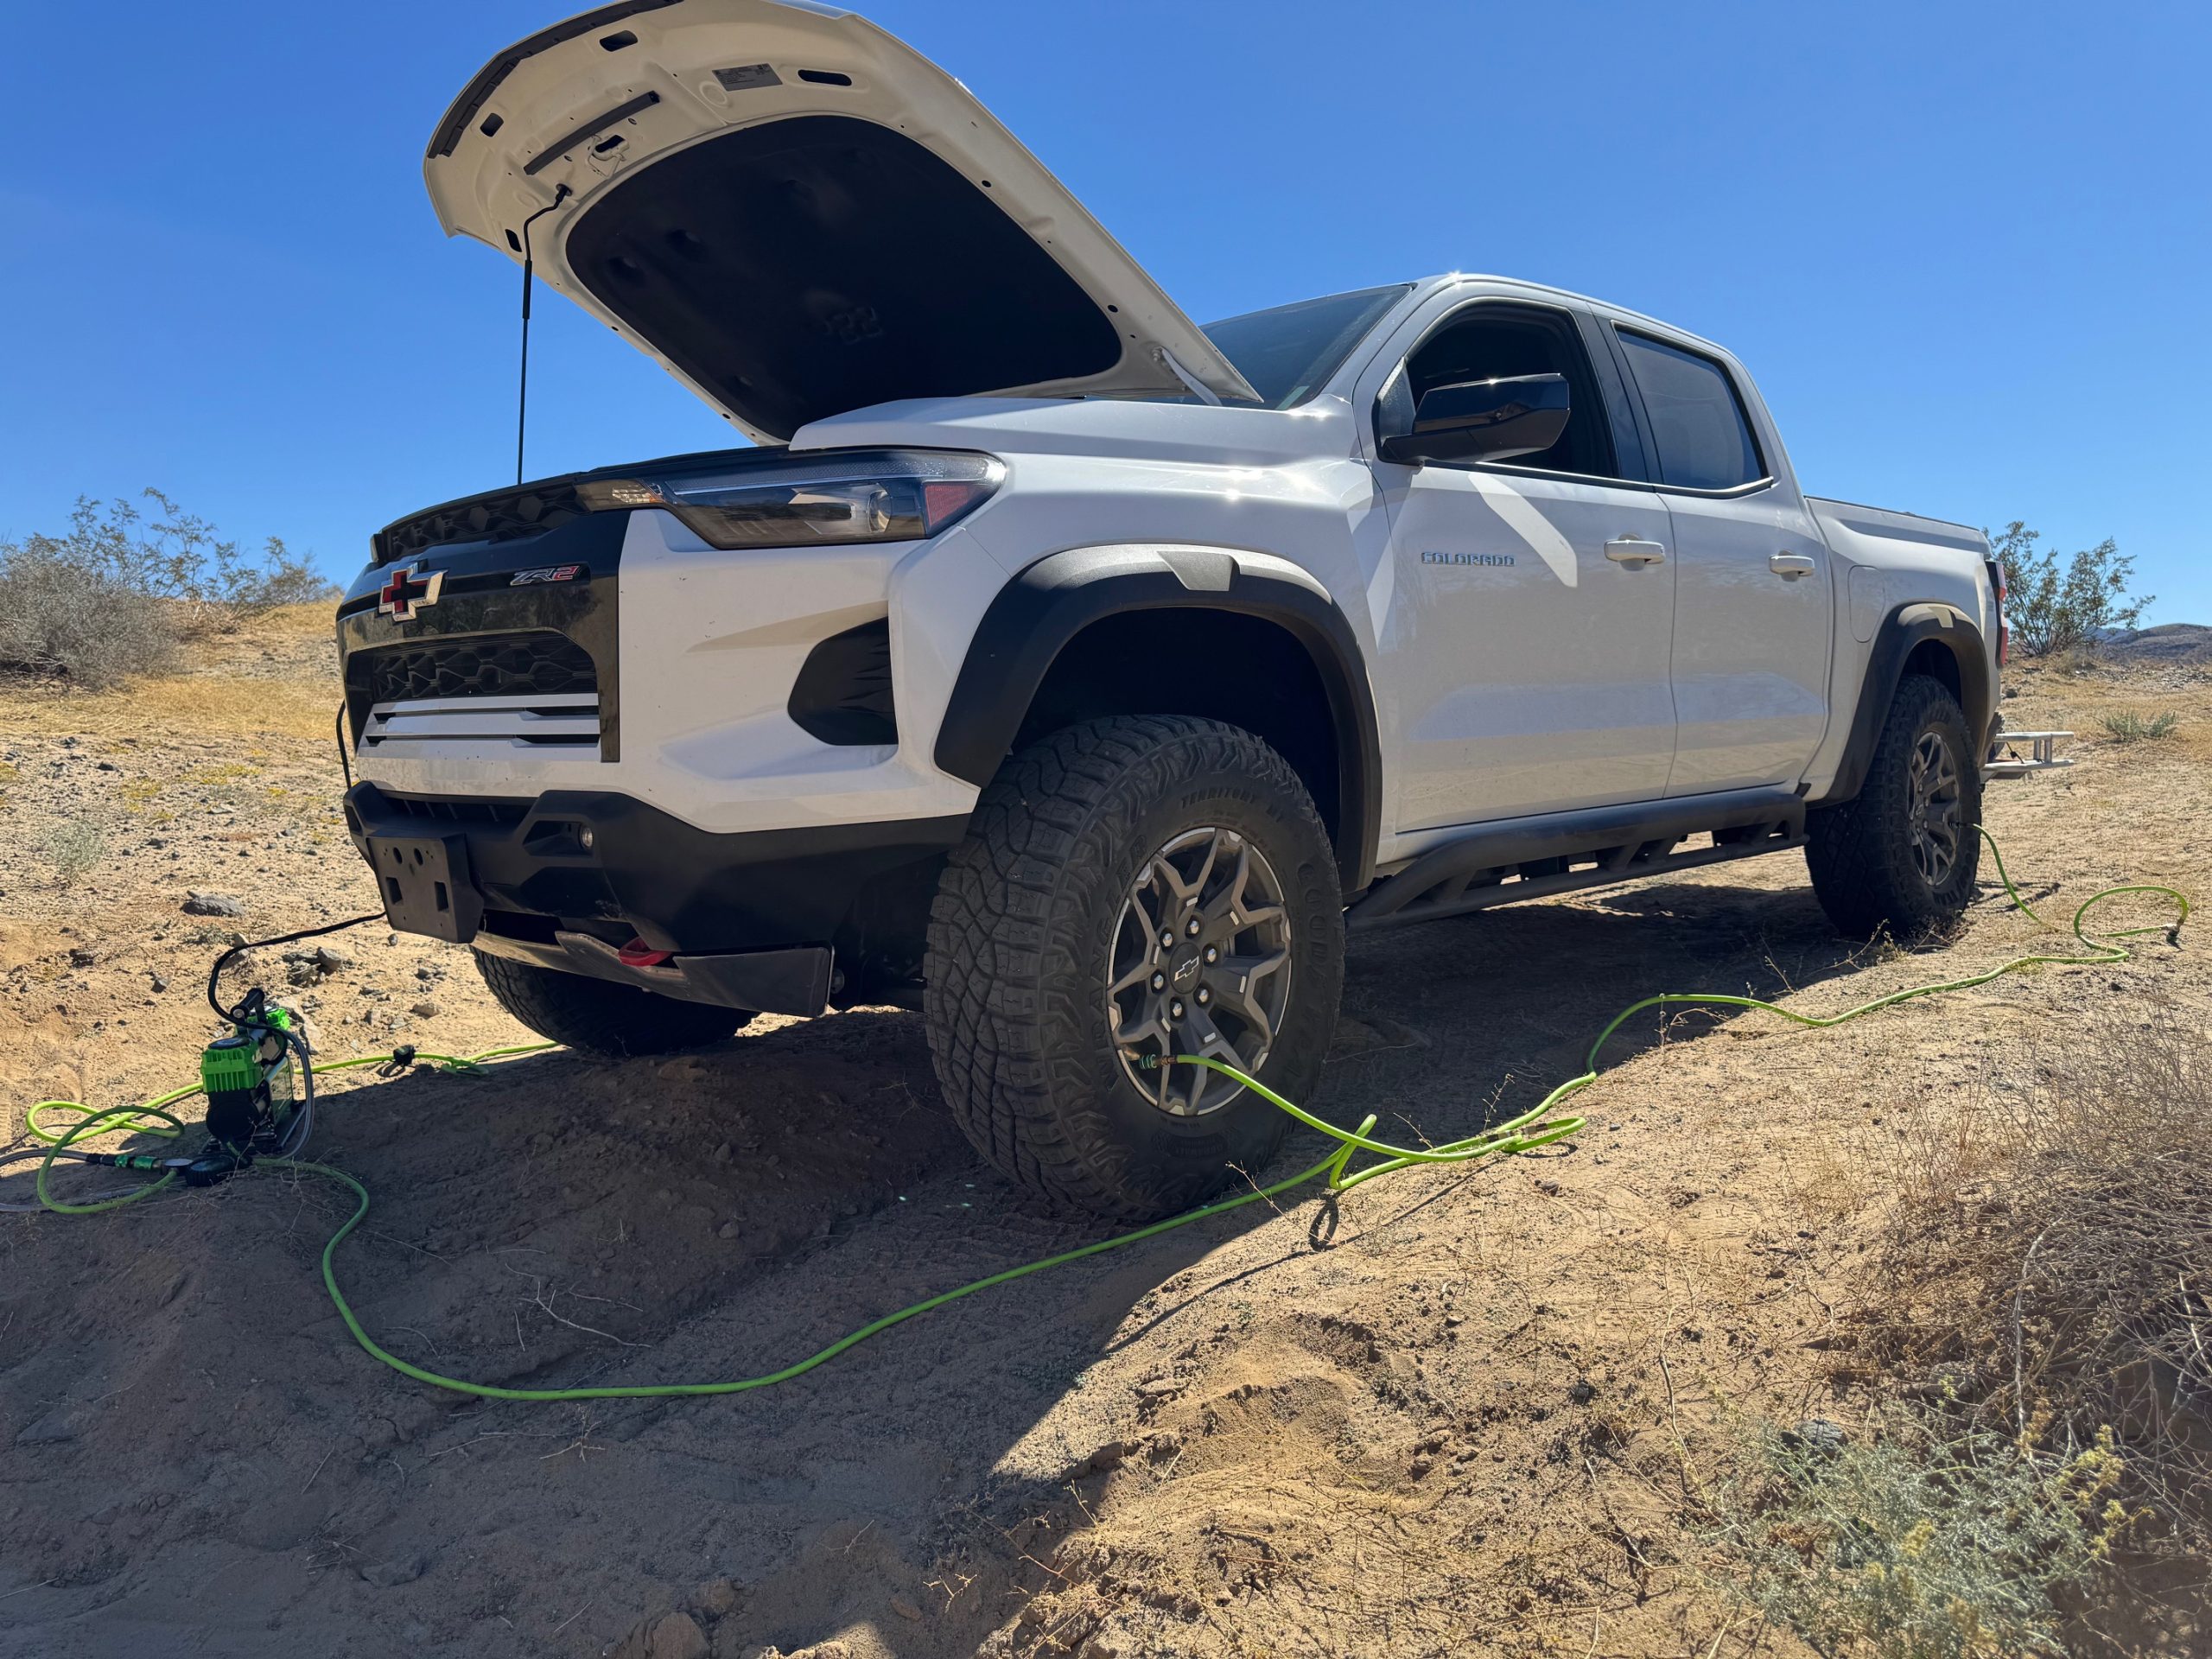
Tire prep for long-distance overlanding starts with a physical inspection of every tire, including the spare. Run your hand around the full circumference of each tire and look for sidewall cracking, embedded rocks or debris, uneven tread wear patterns, and bulges. Sidewall cracking deeper than 2mm warrants replacement before a remote trip. Embedded metal fragments also need to come out before departure, not on the trail.
Check tread depth with a penny or a dedicated gauge. A Lincoln penny inserted upside-down into the tread groove shows the wear limit: if you see Lincoln’s full head, the tire is at or past its wear limit. On an overlanding rig with loaded gear, worn tires lose traction and puncture resistance faster on rocky terrain than they would on an empty street vehicle.
Spare tire condition and inflation often get skipped. Check the spare pressure before every multi-day trip because spares lose pressure over months in storage, and a flat spare discovered on the trail helps nothing. On routes 50+ miles from the nearest town, I carry both a full-size mounted spare and a plug kit with CO2 cartridges for sidewall punctures where a plug is the only field repair option. For a deeper look at how tire pressure errors compound on the trail, the guide on common tire pressure mistakes new off-roaders make covers the most frequent issues and their fixes.
Buy Direct From MORRFlate
MORRFlate TenSix PSI Pro Gen 2
10.6 CFM, 80% duty cycle, PSI Pro auto-shutoff. Inflates four 35-inch tires from 10 to 40 PSI in under 5 minutes. 3-year No Hassle warranty.
Your Air System Is Mission-Critical Gear on Long Overland Trips

On a long-distance overlanding trip, your air compressor is not optional gear. It belongs in the same category as your recovery boards and first-aid kit, because without a working air system, you’re either driving on incorrect pressure for every terrain type or sitting at the trailhead with no way to air back up for the highway. Neither outcome is acceptable on a remote multi-day route.
Before departure, test the overlanding air compressor under load. Connect it to your vehicle battery, run it through a full 4-tire inflation cycle with the hose kit attached, and confirm the PSI Pro auto-shutoff hits the target within 1 PSI. If it’s been in storage, inspect the hose connections, check the purge valve, and blow out the intake filter. The TenSix PSI Pro Gen 2’s 80% duty cycle at 0 PSI means it handles 6 to 8 consecutive vehicles before needing a cooldown, which is more than enough for any long-distance route even with a group. Also verify the battery clamps and power cables are corrosion-free and secure; a loose connection causes voltage drops under load and shortens compressor life.
The daily tire pressure routine on a long overland trip involves airing down before technical sections and airing up before highway segments. On my ZR2 with 33-inch tires, I run 32 PSI highway, 20 to 22 PSI on rocky technical terrain, and 15 to 18 PSI on soft sand. Setting the target on the PSI Pro controller and walking away is how I manage this without turning each transition into a 20-minute ordeal. If you’re planning your long-distance overlanding preparation around building or upgrading your air system, the guide on building a scalable air system covers the full framework for sizing and choosing gear as your rig evolves.
Recovery Gear Checklist

Recovery gear for a long-distance overlanding trip needs to match the terrain and the travel party size. Solo trips require self-recovery capability at every step because there’s no group to help winch you out. Group trips distribute the load but also require compatible gear between vehicles. Before departure, verify the following items are present and in working condition:
A kinetic recovery rope (not a tow strap) rated for at least twice your vehicle’s gross vehicle weight is the first item. On a 5,500-pound loaded rig, a 20,000-pound-rated kinetic rope is appropriate. Traction boards, specifically two per vehicle on solo trips, provide the most versatile self-recovery option on sand, mud, and snow. A high-lift jack with a base plate is next, especially on loaded rigs where a standard scissor jack provides inadequate height on rough terrain. Recovery shackles, both D-ring and soft shackles, connect gear to recovery points. Verify all recovery points on the vehicle are rated and properly installed before departure. Finally, a shovel and a traction board for manual digging rounds out the core kit for most terrain types.
Check every item physically. Kinetic ropes fray from UV exposure and abrasion. Traction boards crack under cold storage. Shackle pins corrode and seize. Discovering broken gear on a prep day is a minor inconvenience. Finding it on the trail is a serious problem.
Save on Your Overland Air Setup
The Air System Alex Trusts on Every Long-Distance Trip
Set your target PSI, press go, and walk away. The TenSix PSI Pro Gen 2 paired with a Quad hose kit handles the full pressure range from trail to highway without monitoring.
Electrical and Lighting
Electrical systems get more stress on long-distance overlanding trips than on day runs. Your auxiliary battery or power station charges and discharges repeatedly over multiple days. Wiring runs vibrate on rough terrain. Fuses and connectors work loose on corrugated roads. A pre-trip electrical check addresses each of these failure points before departure.
Start with the chassis battery. Test it under load, not at rest voltage alone. A battery showing 12.6 volts at rest but dropping to 11.0 under the starter load is on its way out. Replace it before a remote trip rather than risk a no-start in the field. Check the auxiliary power system next: verify the fridge, communication devices, and lighting all draw correctly from the auxiliary source and confirm the charge circuit works while the engine runs. On long-distance overlanding trips, the fridge typically draws 3 to 5 amps continuously. Over a 10-day trip, a 100Ah auxiliary battery needs consistent recharging from the alternator or solar to stay ahead of the continuous draw.
Lighting gets a full-function test: headlights, taillights, brake lights, reverse lights, and all auxiliary driving lights. Night driving on remote routes is a real possibility, and driving lights failing on a narrow mountain road at altitude has no good outcome. Replace any failed bulbs before departure and carry spares for the most likely failure points.
Communication and Navigation

Cell coverage on most worthwhile long-distance overland routes is unreliable at best and absent for long stretches. A satellite communicator is not a luxury on remote trips. The Garmin inReach Mini 2 ($350) provides two-way satellite messaging and SOS capability on the Iridium satellite network, which covers 100% of Earth’s surface. Spot 3 is an alternative at $150 for one-way messaging and SOS. Either option is non-negotiable for solo trips and strongly recommended for groups on remote routes.
Navigation requires offline maps loaded before departure, because expecting a cellular data connection in the Great Basin or the Escalante canyons is a planning error. Apps like onX Offroad and Gaia GPS both allow full offline map downloads with route overlays. Download the maps for your entire route, including the legs you expect to have coverage. Also carry a paper backup map of the region. Phones fail, batteries die, and a paper topo map has never needed an update or a charge.
For group trips, a GMRS radio with a $35 FCC license provides clear voice communication between vehicles without relying on cell towers. The Midland MXT275 ($100) covers most group-size distances on open terrain. GMRS significantly improves group coordination on technical sections and at split points where the route forks.
Load Management and Weight Distribution
Long-distance overlanding trips carry more weight than day runs, and weight distribution directly affects handling, braking distance, and suspension load. Before departure, weigh the loaded vehicle at a truck scale or CAT scale location to verify you’re within your gross vehicle weight rating and your rear axle isn’t overloaded. A full load of fuel, water, camping gear, food, and recovery equipment adds up faster than most people expect.
Heavy items belong low and centered: fuel and water cans in the bed, heavy recovery gear on the floor behind the seats or in a drawer system. Gear mounted on roof racks raises the center of gravity, which increases body roll on sidehill terrain. Limit roof rack weight to 15% of your total load where possible, and secure everything with straps rated for off-road vibration. Loose gear inside the cab or in the bed becomes a projectile on rough terrain and is a safety risk in a rollover.
Also check your trailer hitch and wiring loom if you’re towing. Trailer connections vibrate loose on washboard roads. A failed trailer brake circuit means driving with inadequate braking on loaded downhill grades. Inspect the hitch ball, safety chains, and all trailer electrical connections before departure. If you’re running a trailer with its own tires, those get added to your long-distance overlanding preparation tire checklist. For a detailed breakdown of the air system setup needed for vehicle-plus-trailer tire management, the three-year long-term review of the MORRFlate TenSix covers the 6-tire simultaneous inflation process in detail.
Pros and Cons of a Thorough Pre-Trip Preparation Process
Pros
- A 2 to 4-hour pre-trip inspection prevents mechanical failures on routes where roadside assistance is 50 to 200+ miles away.
- Tire pressure management with an accurate auto-shutoff compressor protects tires across all terrain types and reduces highway blowout risk from underinflation.
- Verifying fluid levels and filter condition before departure removes the most common causes of engine and drivetrain failures on sustained long-distance use.
- Satellite communicator pre-registration ensures SOS capability works on day one, not after a learning curve in an emergency.
- Offline navigation maps downloaded before departure eliminate dependency on cellular coverage the route won’t provide.
- Load weight verification before departure prevents overloading scenarios where suspension, braking, and tire load ratings are exceeded silently.
Cons
- A thorough pre-trip inspection requires 2 to 4 hours, which demands scheduling discipline before departure day, not the morning of.
- Identifying issues during prep (worn tires, degraded fluids, battery failures) creates additional repair costs and time before departure.
- A complete long-distance overlanding vehicle prep kit, including a quality air compressor, satellite communicator, and recovery gear, represents a significant initial investment across multiple systems.
- Overpreparation on heavily stocked rigs adds weight, which reduces fuel economy and payload margin on loaded vehicles near their GVWR.
Final Verdict
Overland trip vehicle prep at the long-distance level is a different discipline from loading a cooler and driving to a trailhead. Remote multi-day routes require every system on your vehicle to function reliably for the full duration of the trip, not only on departure day. The checklist approach works because it removes decisions from the day of departure and moves the discovery of problems to a time when you still have options.
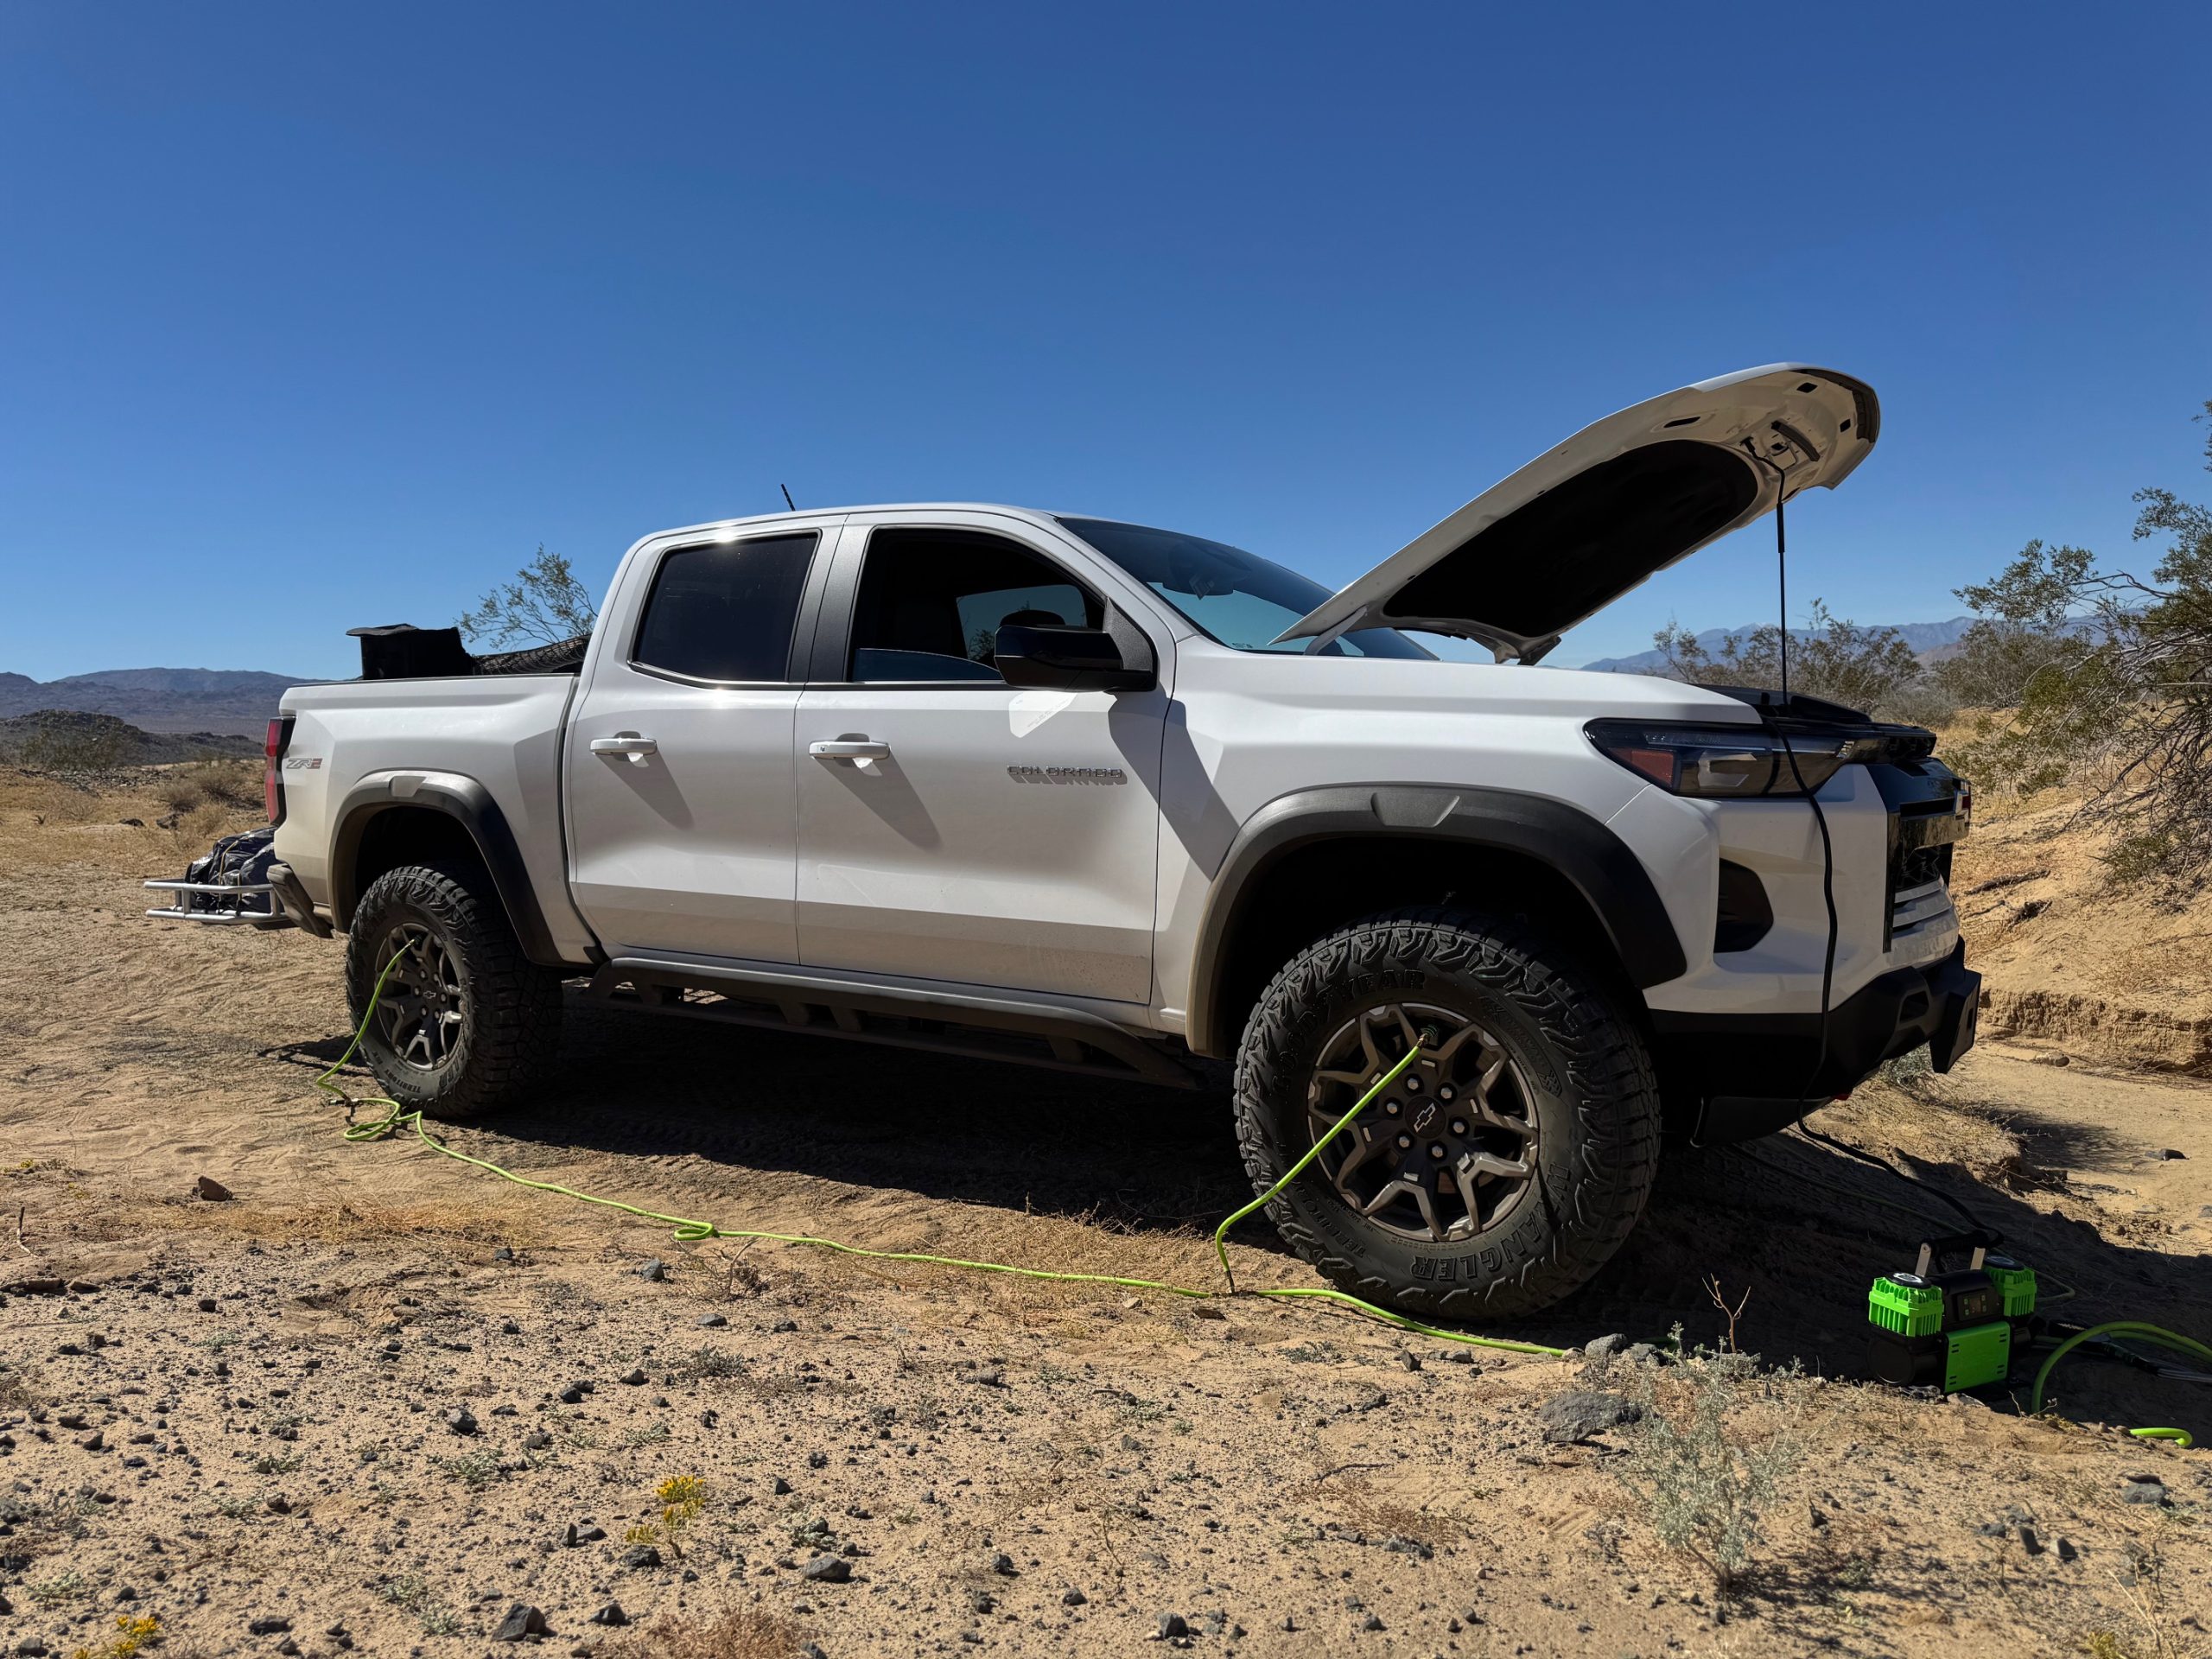
The air system deserves specific attention in any long-distance overlanding preparation process. Every terrain transition requires a pressure change, and doing those changes manually one tire at a time wastes time and risks inconsistent pressure between tires. The MORRFlate TenSix PSI Pro Gen 2 with a Quad hose kit addresses this completely: set the target, connect the hoses, and walk away. After years of running this system across remote terrain in Wyoming, Utah, California, and Nevada, it has never failed to deliver accurate, hands-free inflation exactly when the route demanded it.
The vehicle prep process also extends past mechanical systems. Recovery gear, communication equipment, navigation tools, and load management all contribute to whether a long-distance overland trip succeeds or creates a situation requiring outside rescue. Each category has its own checklist, and the checklist only helps if you run it before departure, not during the trip when corrections are no longer possible. A complete overlanding vehicle checklist, run two days out, puts every system on record before the route begins.
Schedule your pre-trip prep for two days before departure. Address any issues on day minus-two and use day minus-one for final packing and verification. Leaving with a confirmed, fully prepped vehicle is the difference between a 10-day route you complete and one you manage from the side of the road.
Ready to Buy?
Check Today’s Price on the TenSix PSI Pro Gen 2
Backed by a 3-year No Hassle warranty. Ships with battery clamps, carry bag, and PSI Pro digital controller. Bundle with a Quad hose kit for complete 4-tire coverage.
Frequently Asked Questions
How long before a long-distance overlanding trip should I do vehicle prep?
Run your full pre-trip inspection two days before departure, not the morning of. A two-day buffer gives you time to address any discovered issues, whether a tire replacement, a fluid change, or an electrical repair, without compromising your departure schedule. Reserve the day before departure for final packing and a second-pass confirmation of critical systems: tires, air compressor function, and satellite communicator registration.
What PSI should I run for long-distance overlanding on mixed terrain?
The right tire pressure overlanding approach varies by terrain. Highway driving on 33 to 37-inch tires typically calls for 32 to 38 PSI depending on vehicle weight and load. Rocky technical terrain drops to 18 to 22 PSI. Soft sand drops further to 12 to 18 PSI. On long-distance overlanding trips covering multiple terrain types per day, a fast and accurate air compressor with auto-shutoff capability handles these transitions without turning each adjustment into a 20-minute process.
Is a satellite communicator necessary for long-distance overlanding?
On any route where cell coverage is unreliable for stretches of 20 miles or more, yes. The Garmin inReach Mini 2 provides two-way satellite messaging and SOS capability on the Iridium network. On solo long-distance overlanding trips, a satellite communicator is non-negotiable. Even on group trips, at least one vehicle in the group should carry one. The $35 to $65 monthly service cost is minimal against the risk of a medical emergency or serious mechanical failure with no communication option.
What recovery gear is essential for solo long-distance overlanding?
Solo long-distance overlanding preparation requires self-recovery capability at every step because there is no group available to assist. The minimum kit includes: a kinetic recovery rope (rated at least twice your GVWR), two full-size traction boards, a high-lift jack with a base plate, D-ring and soft shackles for recovery point connection, a plug kit with CO2 cartridges for trail tire repairs, and a quality shovel. On routes with technical terrain far from assistance, a compact 12,000-pound winch adds self-recovery capability for situations where traction boards and kinetic rope are insufficient.
How do I check if my MORRFlate compressor is ready for a long trip?
Run a full 4-tire inflation cycle on your driveway before departure. Connect the Quad hose kit, set the PSI Pro controller to your highway target pressure, and confirm it auto-shuts within 1 PSI of the set value on all four tires. Inspect the hose connections and fittings for cracks or corrosion, blow out the intake filter with compressed air, and test the purge valve. Check the battery clamps for corrosion. A compressor failing the driveway test before departure is a recoverable situation. One failing in the field is not. For the full field durability and performance record of the TenSix across three years of desert and mountain use, read the three-year long-term review of the MORRFlate TenSix PSI Pro Gen 2.
A quick heads-up: If you snag something through our affiliate links or check out our sponsored content, we might earn a commission at no extra cost to you. But fear not, we’re all about recommending stuff we’re truly stoked about!