


The trail doesn’t care about marketing claims. It cares about heat, vibration, voltage, dust, and time. When the sun drops and tires are still clawing forward, lighting becomes one of the most important systems on your rig.
The wrong lights (or the right lights installed the wrong way) can leave you outrunning your beam, misreading terrain, or dealing with electrical gremlins in the dark. Cheap lighting usually fails quietly, fading into thermal dim or flickering under voltage loss long before it dies completely. That kind of failure on off-road terrain isn’t dramatic. It’s sneaky. And it’s avoidable.
Boss Lighting builds lights for environments that break lesser equipment. Their engineering DNA comes from more than 25 years of LED system development, paired with patented flow-through cooling, fully dimmable drivers, CNC-machined 6061 aluminum, sealed multi-volt electronics, and real American manufacturing. But even the best hardware needs a smart Boss Lighting installation to perform at full capacity…
Great lights earn their reputation through design. Legendary lights earn it through execution. Installation is where power turns into performance, where lumens turn into usable vision, and where reliability stops being a feature and becomes a habit.
Table of Contents
- Defining Performance for Off-Road and Overlanding Lights
- Reliability Starts With Power Delivery
- Heat Management Isn’t Optional
- Why Controller and Dimming Integration Matters
- Mounting Strategy: Strength, Stability, and Serviceability
- Environmental Proofing Your Boss Lighting Installation
- System-Level Thinking: Lights, Battery, Alternator, and Load Planning
- Testing, Tuning, and Trail Validation
- A Smarter Boss Lighting Installation Mindset
- Turning the Night Into Your Co-Pilot
- FAQ
Defining Performance for Off-Road and Overlanding Lights

Performance in off-road lighting isn’t one thing. It’s a stack of things. It’s stable output when housing temps spike. It’s optics that don’t blow out the foreground or leave blind holes at distance. It’s switches that shrug off rain and silt. It’s drivers that don’t collapse under voltage swing. It’s the difference between raw brightness on paper and light you can actually use at 11 p.m. on a ridge line.
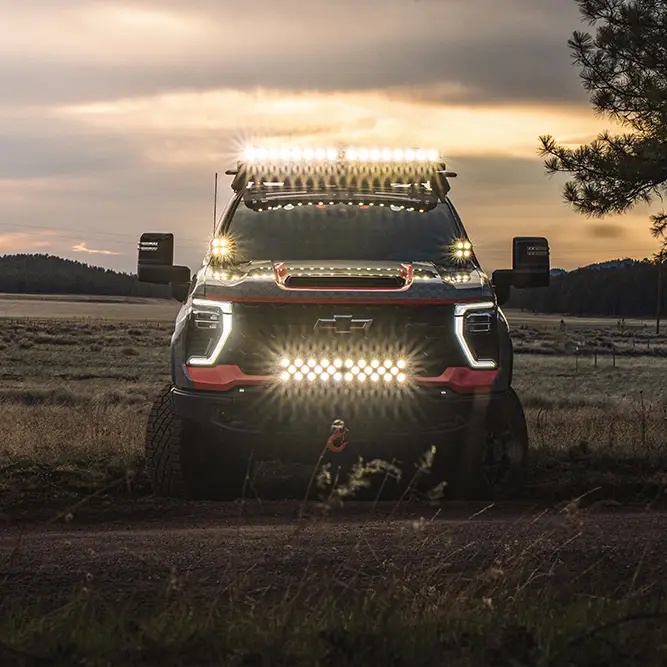
Boss Lighting engineers lights to maintain output under load instead of dumping excess power into heat. Their patented flow-through cooling architecture actively evacuates thermal energy by moving air through the housing rather than relying on passive fin surface area alone. That matters because dense light systems like the Premier Series 14 (50,000 lumens) or Premier Series 20 (70,000 lumens) don’t just make heat; they battle it. When heat is managed correctly, LEDs hold their color temp, beam shape, and output curve. When it isn’t, drivers throttle, phosphors shift, and optics get sloppy.
Optical control is another pillar. Boss Lighting light bars are built to create balanced illumination, where the foreground doesn’t scorch your retinas and the distance doesn’t fall into a gray haze. A premium light bar should feel natural to your eyes, not violent. Boss Lighting aims for a beam that helps your brain interpret trail information quickly. If you’ve ever driven off-road at night and felt like the world was flatter than it should be, you know why beam quality is a safety feature, not an accessory.
Boss Lighting Installation: Reliability Starts With Power Delivery
The number-one enemy of lighting performance is voltage loss. Long cable runs, undersized wire, cheap butt connectors, and lazy grounding steal output before your lights ever reach operating temperature. LEDs are efficient, but drivers are not magic. Feed them weak voltage, and they’ll deliver weak light. Feed them noisy grounds, and they’ll deliver flicker, EMI, or early failure.
Boss Lighting systems are designed for 12–24V DC multi-volt stability, which gives installers more flexibility and less risk when tying into different electrical architectures. That’s huge for overland rigs that may run dual batteries, DC-DC chargers, or variable alternator systems. The included Boss Lighting installation harnesses feature sealed waterproof cabling, illuminated push-button switches, and dimming controllers that are built to take hits from mud, vibration, and moisture. These switches and cables aren’t an afterthought. They’re a solution to the parts that usually fail first on cheaper lighting systems.
Best practices are simple but critical: Use true copper wire. Size for the run, not the device. Ground to clean chassis steel, not painted brackets. Fuse close to the battery, not close to the light. And avoid the $3 connectors that were meant for trailers that never leave pavement. A Boss Lighting installation should start with power that’s as robust as the lights themselves. The payoff? Stable output that doesn’t fade when the trail gets long or the weather gets loud.
Heat Management Isn’t Optional in Off-Road Terrain
Heat is the silent killer. Most LED bars derate slowly as internal temps climb, dropping output in stages. Drivers throttle current to protect electronics, but the driver on the trail sees only the result: less light, less range, and more uncertainty. On off-road terrain, you don’t always notice gradual dimming until you need distance most.
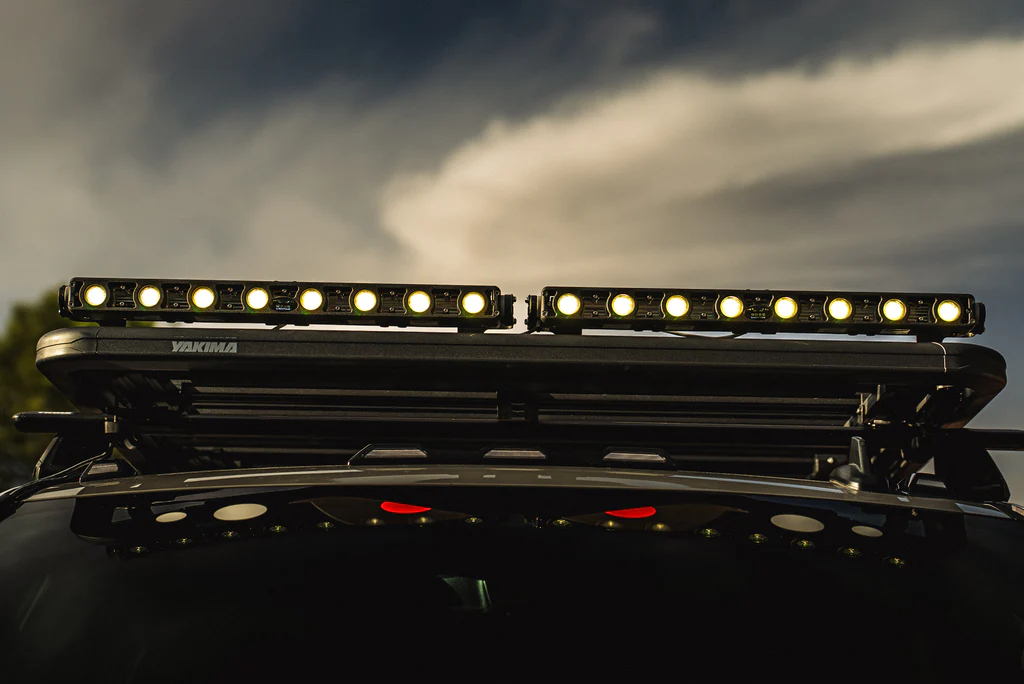
Boss Lighting fixes this at the hardware level with flow-through cooling, which prevents thermal saturation inside the housing. Air moves through the chassis, heat exits faster, and LEDs stay within their optimal thermal band longer. That means more sustained output, better phosphor stability, and fewer thermal swings. A Boss Lighting installation should also respect airflow. Mount bars where air can move, not where it stagnates. Roof racks and bull bars look cool, but if they block airflow or trap heat against a fairing, you’re trading reliability for aesthetics.
Orientation matters, too. Horizontal bars benefit most from a slight forward tilt when mounted high to prevent hot air recirculation. Cube lights tucked in bumpers should have breathing room behind them, not foam insulation or tight shrouds. Boss Lighting housings are built tough enough to manage heat, but placement determines how well they use that advantage. If you want output that doesn’t fade into the night, plan airflow like you plan traction.
Boss Lighting Installation for Real Control: Why Controller and Dimming Integration Matters

Off-road terrain changes constantly. Trees swallow light. Dust reflects it. Snow amplifies it. Narrow canyons make it ricochet. The best lighting system isn’t just bright. It’s adjustable. Boss Lighting systems are fully dimmable, giving drivers instant command over output intensity instead of forcing them to battle glare or blow out their night vision.
Dimmers aren’t just comfort features. They’re safety tools. Dropping output in dust or fog reduces reflected glare and increases usable forward vision. Bringing it back up in open sections gives you distance without frying your cones. Boss Lighting dimming controllers are sealed and illuminated, designed for glove-friendly use and vibration-heavy environments. When you install dimmers within reach—not buried in a console or taped under a dash—you turn lighting into a real-time driving instrument.
Controller integration should include strain relief and vibration planning. Zip-tie cables to fixed points. Avoid hard bends at connectors. Leave service loops so trail repairs don’t require rewiring. Boss Lighting installation planning means thinking beyond “does it work?” to “can I fix it in the dirt if I have to?” With Boss Lighting, that answer is almost always yes, as long as you leave access to do it.
Boss Lighting Installation Done Right: Mounting Strategy for Off-Road Terrain

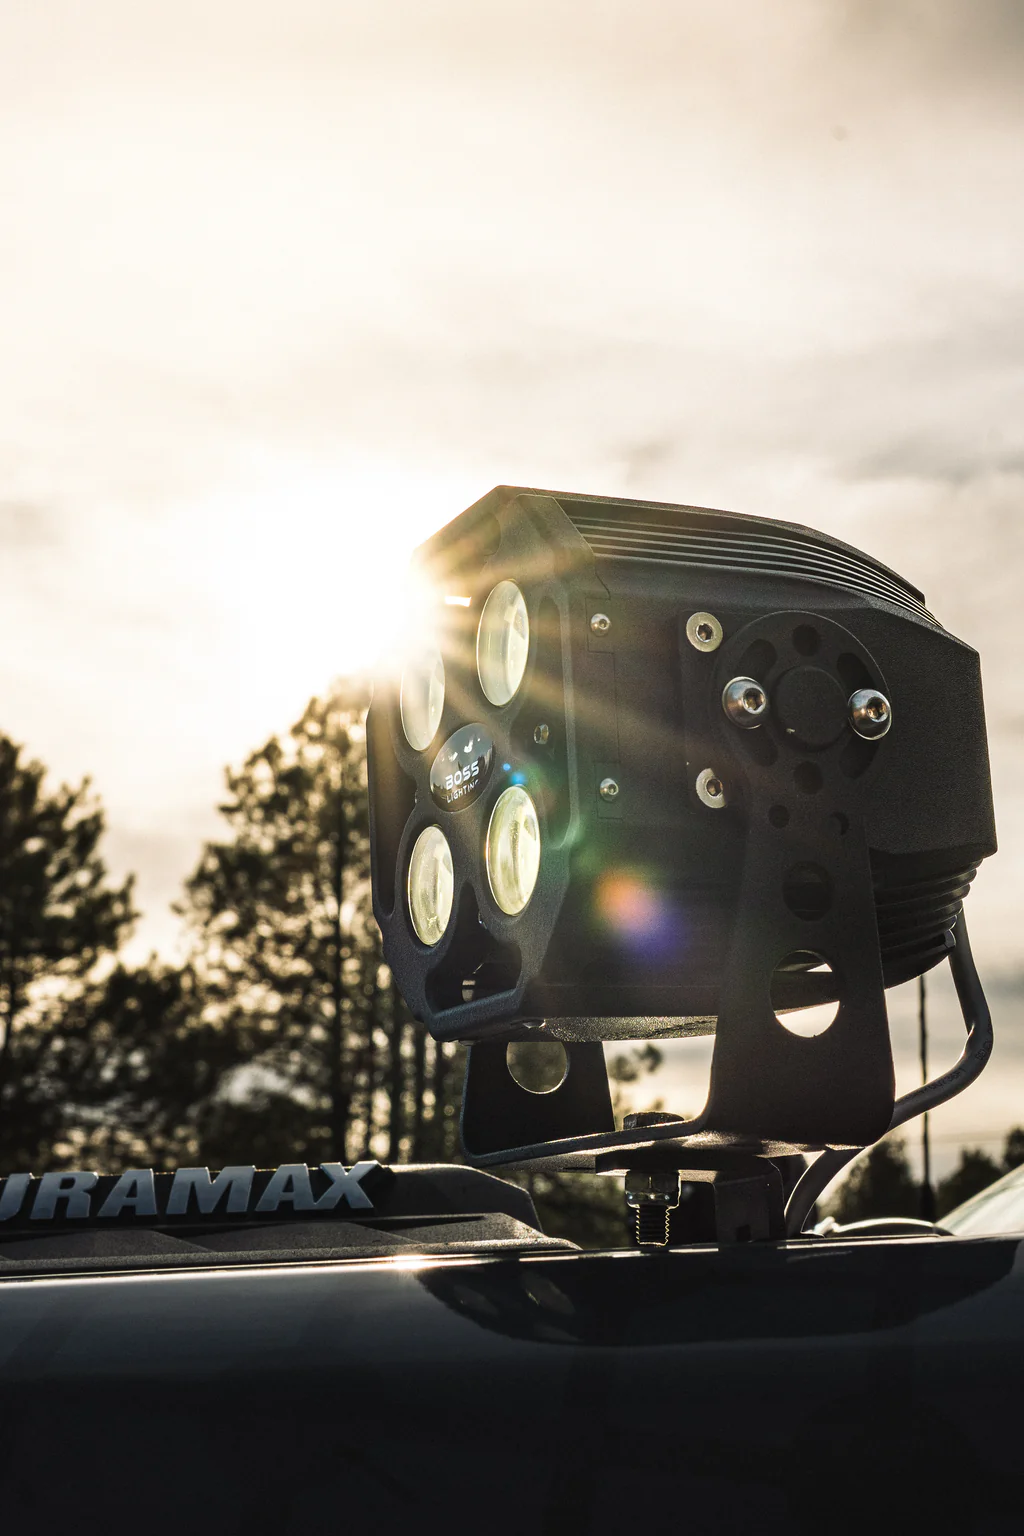
Vibration will find your weak point. If your mounts resonate, over-torque, or rely on thin cast brackets, you’re giving the trail an easy win. Boss Lighting bars are CNC-machined from 6061 aluminum for structural rigidity. They don’t flex like thin cast housings. They don’t spider-crack like pot-metal frames. But your brackets can still fail if you treat mounting like decoration instead of structure.
A Boss Lighting installation should aim for three goals: stability, alignment, and serviceability. Stability means mounting to thick, reinforced points, not sheet metal or accessory tabs. Alignment means locking the beam where you want it so you’re not adjusting every few hours. Serviceability means leaving space for hands to reach switches and connectors without disassembling half the rig.
Rubber isolation mounts can help on harsh corrugated off-road sections, but only when used correctly. Isolation stops high-frequency vibration, but it can introduce wobble if the mounting point isn’t reinforced. Boss Lighting housings give you a high ceiling for vibration tolerance. Your mounts determine whether you actually reach it.
Boss Lighting Installation for Off-Road Durability: Environmental Proofing
Water crossings, silt beds, snowstorms, and desert nights all expose lighting weaknesses fast. Boss Lighting finishes are corrosion-resistant and marine-grade sealed at the driver level. That means the housings and electronics already solve many of the usual ingress problems.
Your Boss Lighting installation should finish the job. Use grommets on all pass-throughs. Apply dielectric grease to every connection. Mount switches high enough to avoid direct spray but reachable enough for trail use. Never leave connectors facing upward where water can pool. And never assume a wire loom alone will keep you dry.
Boss Lighting cables are sealed, but abrasion still matters. Run cables inside frame rails or protected channels when possible. Secure them with fixed anchor points. The goal isn’t to hope your lights survive the trail. It’s to install them so the trail never gets a chance.
Boss Lighting Installation Means Thinking System-Level

Lights are part of your electrical ecosystem, not separate from it. Overlanders running fridges, winches, air compressors, radios, and inverters know that load planning is everything.
As noted earlier, Boss Lighting systems operate cleanly within 12–24V architectures without demanding exotic power conditions. That makes them easier to integrate into auxiliary power boards, fused distribution blocks, and relay systems.
Plan for load distribution. Spread circuits across buses. Fuse close to the battery. And treat your lighting system like a core system, not a last add-on. Boss Lighting installation done right means you’ll never worry about it pulling your system into chaos when you need it most.
Trail Validation: The Most Important Step in Any Boss Lighting Installation

Never assume a lighting install is finished until you test it at night on real off-road terrain. Paper testing is great. Garage testing is fine. But trail testing tells the truth.
Test voltage under load. Sweep the dimmer from 0–100%. Watch for flicker. Feel the housing for thermal stability after 20–30 minutes. Check cable strain at full steering lock and suspension droop.
Boss Lighting products are built to hold output thermally and electronically, but validation proves your installation respects that engineering. From personal experience, the best installers are the ones who finish the job on the trail, not the garage.
Installation Mindset: Doing It Right Once

Boss Lighting installation planning should aim for confidence, not constant maintenance. If you overbuild your wiring, plan your airflow, mount for vibration, and leave access to switches, you’re not installing lights; you’re installing trust.
Boss Lighting engineering gives you the hardware foundation. Installation gives you the delivered result. Do it once. Do it right. And you’ll never be adjusting beams or tracing voltage loss in the dark again!
Lighting the Trail, Owning the Night

Lighting isn’t just a tool for seeing off-road terrain. It’s your co-pilot at night. A Boss Lighting installation done right means the trail feels readable again, reaction time improves, and fatigue drops.
Boss Lighting innovation means the hardware will outlast the night, the season, and often the rig it’s mounted to. Mount smart. Wire smart. Seal smart. And the night stops feeling unpredictable. It starts feeling fun again!
FAQ
What wiring gauge should I use for a Boss Lighting installation?
Use 12 AWG minimum for cubes, 10–8 AWG for bars depending on run length to prevent voltage loss.
Do I need a relay for Boss Lighting installs?
Yes, if wiring into factory switches. No, if using Boss Lighting sealed switches and dimmer controllers.
Where should I mount a premium light bar for airflow?
High with open rear clearance. Avoid fairings or tight shrouds that trap hot air.
Does flow-through cooling replace good mounting decisions?
No. It protects thermal stability, but placement should still support airflow.
Should I use dielectric grease during installation?
Yes. On every connector, even sealed ones, for extra environmental protection.
A quick heads-up: If you snag something through our affiliate links or check out our sponsored content, we might earn a commission at no extra cost to you. But fear not, we’re all about recommending stuff we’re truly stoked about!