


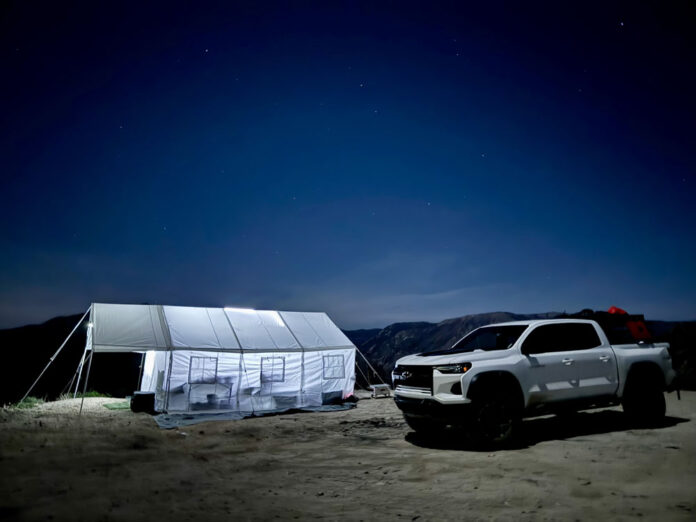

I’ve set up dozens of canvas wall tents over many years of testing overlanding gear. Most wall tents follow a similar process. However, the Elk Mountain 13×16 has a few extra steps that trip people up the first time. This guide walks through the exact order I use now, after learning a few lessons the hard way on my first setup.
The first time I pitched this tent, it took about an hour. I want to save you that hour. So, this guide breaks the process into clear steps, starting with the frame and ending with the awning. Every detail here comes from hands on setup, not a manual or a marketing sheet. You will also learn where most people make mistakes, like tucking the sod cloth before laying the floor.
Quick Facts:
- Tent: Elk Mountain 13×16 canvas wall tent with awning
- Setup time: About 30 to 40 minutes for two people once you know the steps
- Frame material: Lightweight aluminum poles and rafters
- Fabric: Elk Mountain’s poly blend canvas, lighter and more durable than cotton canvas
- Floor: Sold separately, heavy duty and textured for grip
- Heating: Includes a stove jack for a wood stove or gas heater
- Best for: Larger groups, hunting camps, or anyone who wants a big basecamp with real living space
7 min read
In This Guide
Setting Up the Elk Mountain 13×16: What to Know First
The Elk Mountain 13×16 is a big tent. It has aluminum rafters, three windows on each side, and two large doors. So, before you start, clear a flat site with enough room for the awning to extend fully out front.
Bring a second person if you can. The frame is light, but the canvas is large and awkward to manage alone. Two people also make the sod cloth and floor steps much faster.
Plan for 30 to 40 minutes once you know the process. Your first setup will likely take longer, closer to an hour, simply because the parts are unfamiliar. That is normal, and it gets faster every time after that.
Setup Checklist at a Glance
| Stage | What Happens |
|---|---|
| Frame | Assemble the aluminum poles and rafters into the full skeleton |
| Canvas | Drape the poly blend canvas over the frame and align the doors |
| Sod cloth | Tuck the sod cloth under the frame legs before placing the floor |
| Floor | Lay the separate floor down and tie it around the tent perimeter |
| Stakes | Drive the heavy duty stakes and secure guy lines |
| Awning | Extend the awning poles and adjust the vent cords |
Step by Step Setup Instructions
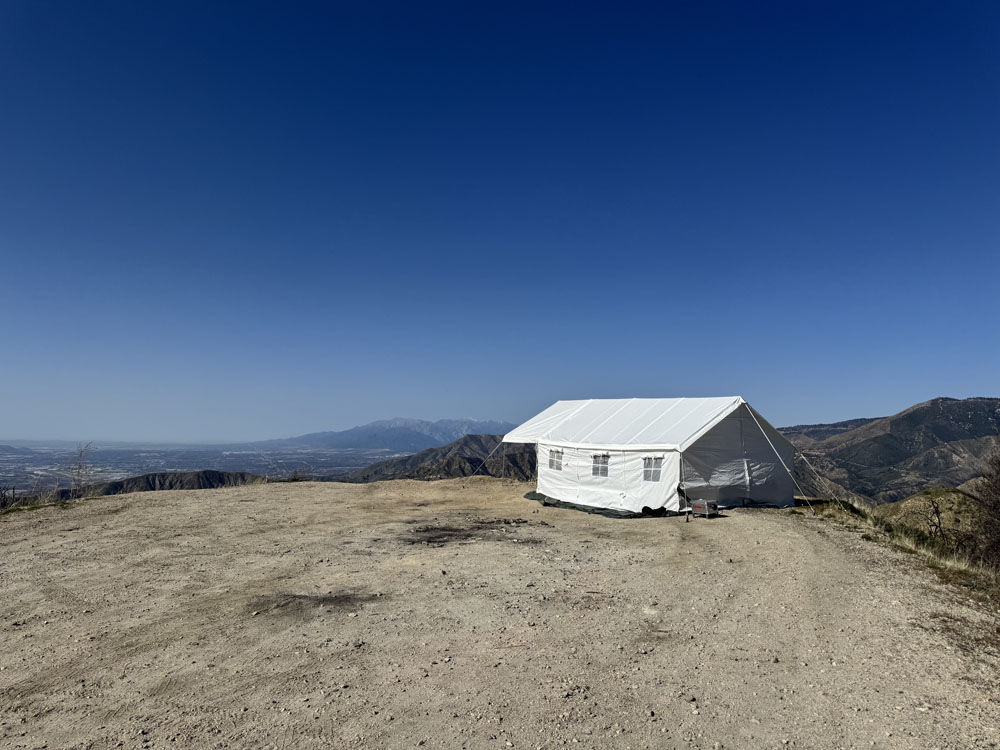
Follow these steps in order. Each one builds on the last, so skipping ahead usually creates more work later.
1. Lay Out the Frame Parts
Unpack the aluminum poles and rafters first. Spread them out so you can see every piece. This tent uses a lot of rafters, so organizing them early saves confusion once you start connecting sections.
2. Assemble the Frame
Connect the poles into the wall sections, then attach the rafters across the top. The aluminum keeps everything light, so one person can lift most sections alone. Still, a second person helps hold the frame steady while you connect the harder joints.
3. Drape and Align the Canvas
Pull the poly blend canvas over the assembled frame. Line up the door openings on each end before you tighten anything. This fabric is more forgiving than stiff cotton canvas, so it drapes and adjusts easily.
4. Tuck the Sod Cloth
This step trips up a lot of first time campers. The sod cloth runs around the base of the tent. Push it inward, underneath the frame legs, before you place the floor on top. Skipping this step leaves a gap that lets in bugs and drafts.
5. Place and Secure the Floor
The floor is sold separately, so make sure you bring it. Lay it inside the tent once the sod cloth is tucked. Tie the floor around the tent’s perimeter to hold it in place. The textured surface helps prevent slipping once it’s down.
6. Drive the Stakes
Elk Mountain includes heavy duty stakes with this tent, and they hold well in most ground conditions. Drive each stake at an angle away from the tent for maximum holding power. Then, tighten the guy lines evenly around the structure.
Buy Direct From Elk Mountain
Check Out the 13×16 Wall Tent
Poly blend canvas, aluminum rafters, and a stove jack built for a large basecamp.
Setting Up the Awning

The awning is one of the best parts of this tent. It extends out over the front door and creates a shaded space for chairs, coffee, or a camp kitchen. Extend the awning poles and lock them into place, then adjust the tension so the canopy sits flat.
Look for the small cord along the vent. Pulling it lowers the vent flap, and pulling it again raises it back up. It’s a simple detail, but it makes adjusting airflow easy without climbing up on anything.
You can also add optional side walls to the awning. These close off the space completely, turning it into an enclosed room. Leave them off if you want an open view, or add them for extra weather protection and privacy.
Common Setup Mistakes to Avoid
Most setup problems come from skipping the sod cloth step. Always tuck it under the frame before laying the floor, not after. Otherwise, you’ll need to lift the floor back up and start that step over.
Another common issue is folding the tent back into its storage bag. The included bag is snug, and many campers find it difficult to repack the tent into it. Elk Mountain has confirmed a larger bag is in development, so this should improve on future production runs.
Finally, don’t rush the stake placement. Loose stakes on a tent this size can lead to sagging walls or a shifted frame overnight, especially in wind.
Pros and Cons of This Setup
Pros
- Lightweight aluminum frame is easy for one person to lift
- Poly blend canvas drapes easily and resists wear
- Heavy duty stakes hold well without extra hardware
- Awning adds a full shaded living space up front
- Three windows per side bring in plenty of natural light
Cons
- First time setup can take close to an hour
- Included storage bag is snug and hard to repack
- Floor is sold separately, so budget for it upfront
- Large footprint needs a genuinely flat, open site
Final Verdict
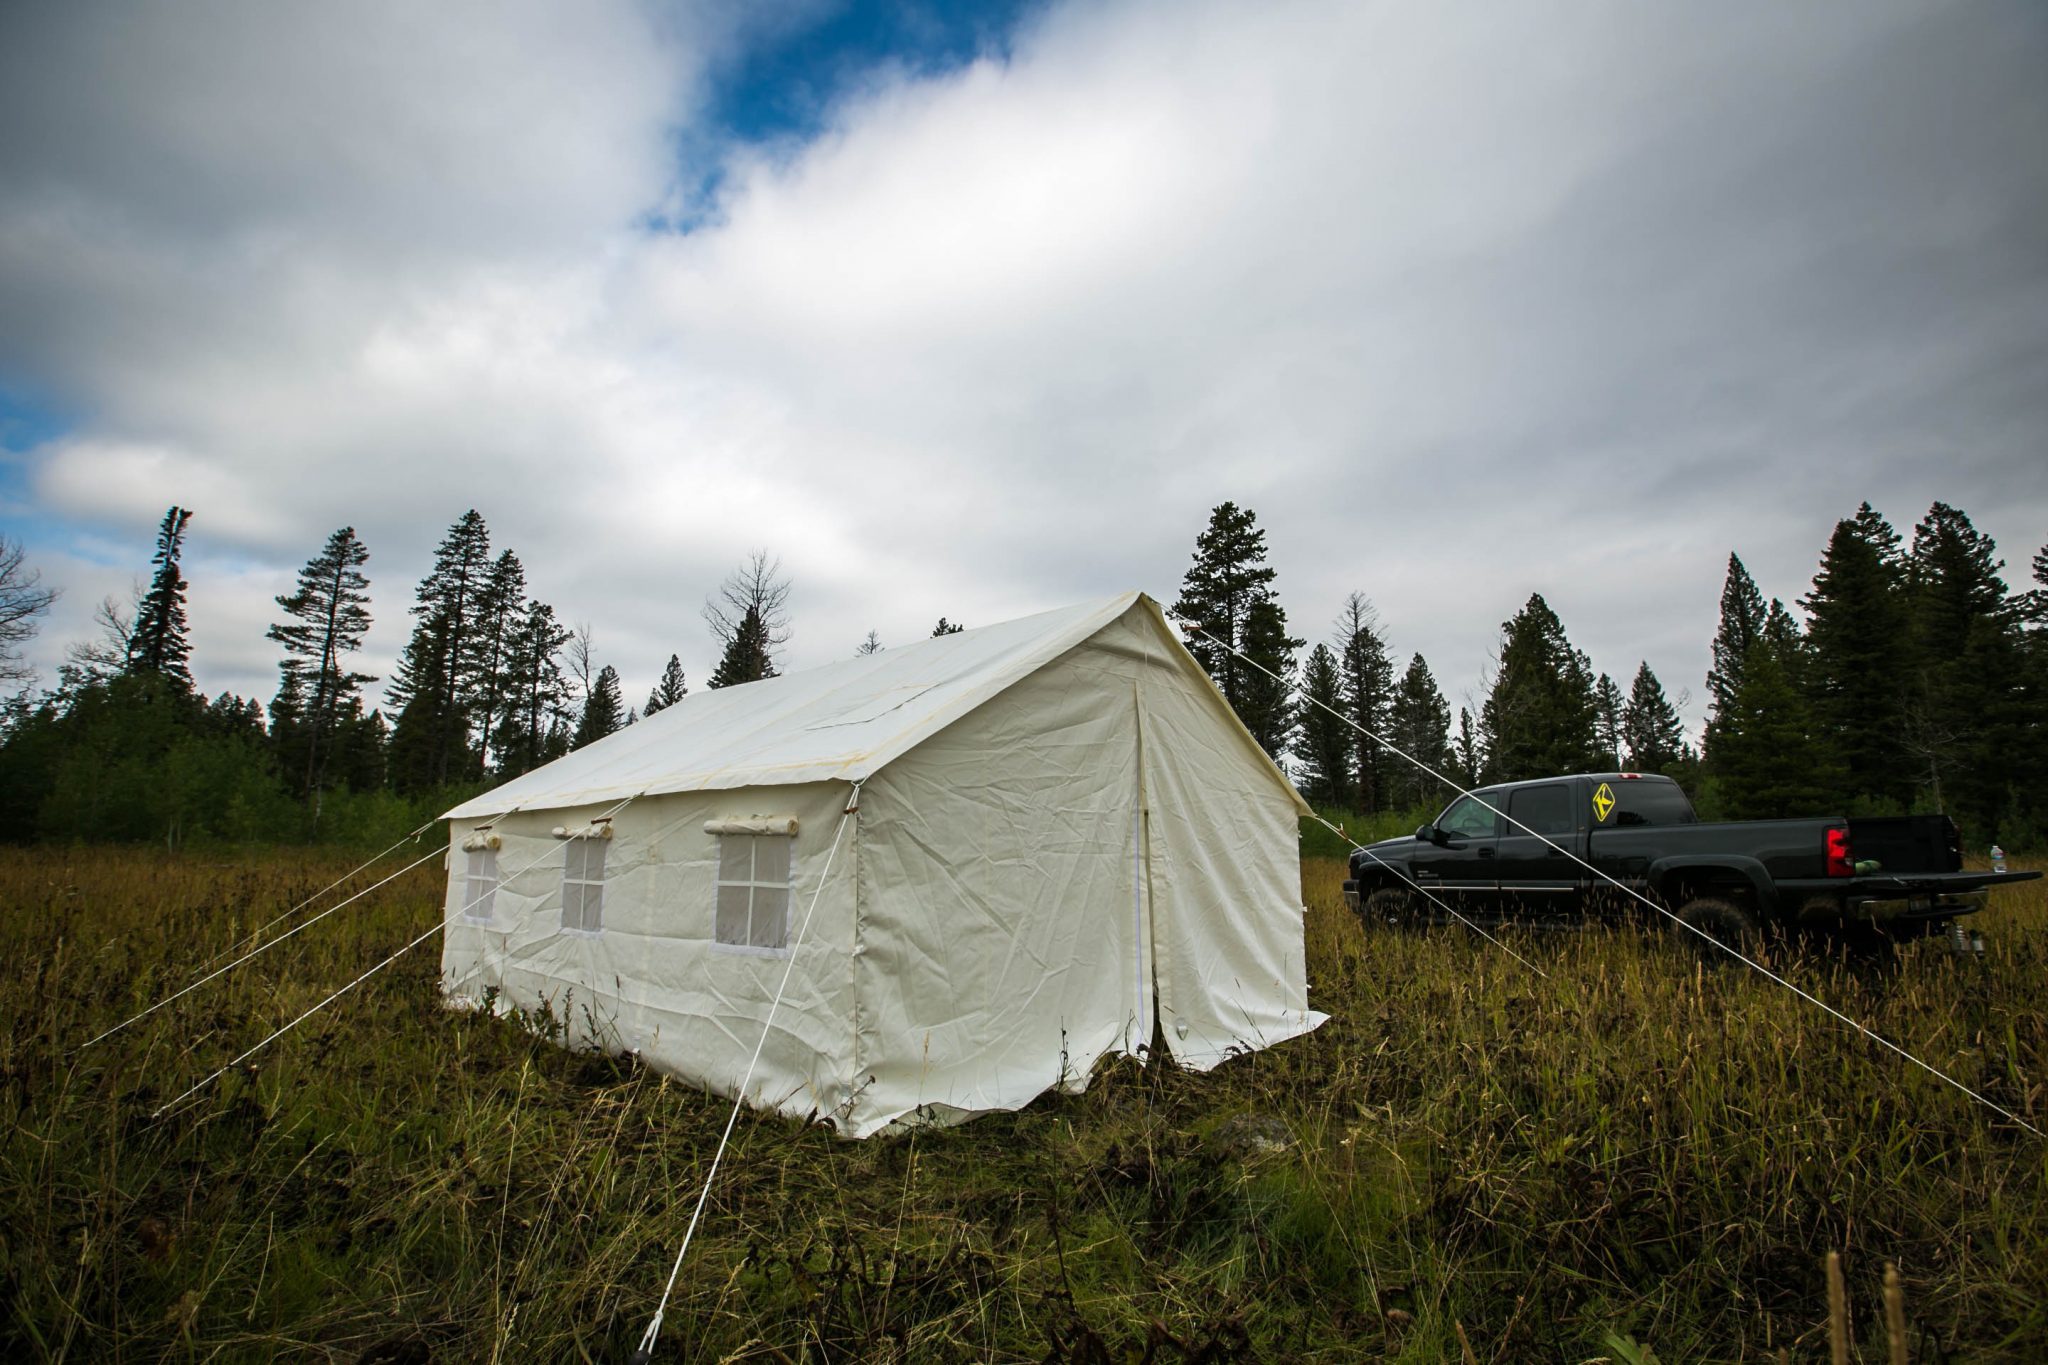
The Elk Mountain 13×16 sets up faster than its size suggests, once you know the order of steps. The sod cloth and floor stage catches most first time campers, but it becomes second nature after one setup.
This tent rewards patience on the first try. Budget an hour the first time, then expect 30 to 40 minutes on every setup after that. The payoff is a huge, bright, comfortable basecamp with a shaded awning out front.
Overall, this is one of the more straightforward large wall tents to pitch, especially with two people. Follow the steps above in order, and you’ll avoid the small mistakes that slow most first time setups down.
Ready to Buy?
Get the 13×16 Wall Tent With Awning
See sizing, pricing, and floor options straight from Elk Mountain.
Frequently Asked Questions
How long does the Elk Mountain 13×16 take to set up?
Expect about an hour the first time. After that, most people finish in 30 to 40 minutes with two people working together.
Does the tent come with a floor?
No. The floor is sold separately. It’s heavy duty and textured, so it’s worth adding to your order along with the tent.
Why does the sod cloth matter so much?
The sod cloth blocks bugs and drafts at the base of the tent. Tuck it under the frame legs before you lay the floor, or you’ll need to redo that step later.
Can I close off the awning space?
Yes. Optional side walls attach to the awning and fully enclose that area, which is useful in wind, rain, or for extra privacy.
Is one person enough to set up this tent?
One person can manage the frame alone since it’s aluminum and lightweight. However, two people make the canvas, sod cloth, and floor steps much faster.
What is the biggest complaint about this tent?
The included storage bag is snug and can be difficult to repack after use. Elk Mountain has confirmed a larger bag is in development for future production.
A quick heads-up: If you snag something through our affiliate links or check out our sponsored content, we might earn a commission at no extra cost to you. But fear not, we’re all about recommending stuff we’re truly stoked about!