


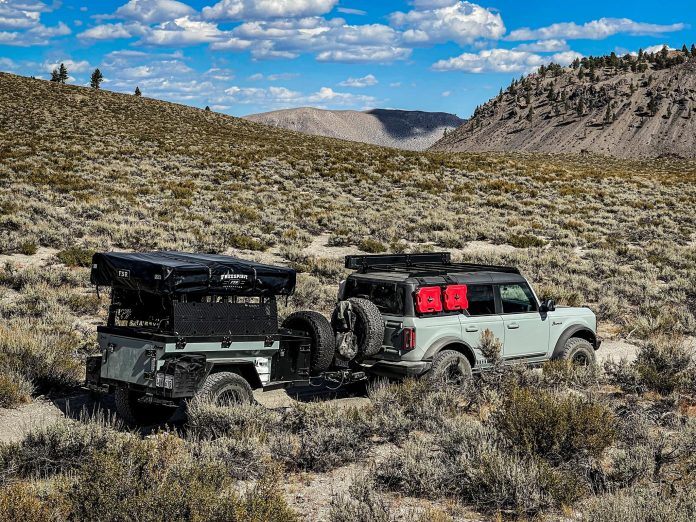

I’ve spent 15 years as an overlander — and 30 as a camper before that — but I still remember my first real overland route. Three days, 200 miles, more topo lines than I’d ever seen in one place. I had the Jeep, I had the gear, and I had the time off. What I didn’t have was a clue how to translate “that looks epic” to a plan that would actually get me there.
Looking back, what I really needed was a guide like the ones Rustic Mountain Overland publishes for their Patrol XCT off-road trailer. Something to point out the details I hadn’t thought of — the nuances of the terrain, the gaps in my fuel planning, all the little route tweaks that add up to the difference between a dream trip and an expensive tow truck ride.
In this article, I’ll be that guide. As the founder of 4WDTalk and a frequent tester of Rustic Mountain Overland gear, I’ve planned and led hundreds of overland routes across some of the toughest terrain North America has to offer. Along the way, I’ve learned that every great route starts with five key planning factors. Let’s unpack each one, and I’ll walk you through exactly how I attack a new trip.
Quick Facts:
- Topic: Planning an overland route
- Distance: 200-300 miles is considered the minimum for overlanding
- Key tools: Topo maps, Gaia GPS, FunTreks guidebooks, local 4×4 forums
- Main considerations: Distance, time, road conditions, terrain, campsites, fuel
- Biggest mistakes: Not estimating mileage or vetting conditions
- Minimum days to plan: At least 2-3 days, plus 1-2 shakedown drives
- Best for: Overland travelers planning multi-day off-pavement routes
12 min read
In This Guide
- Factor 1: Route Length and Mileage
- Factor 2: Terrain and Road Conditions
- Factor 3: Fuel Planning and Gas Stops
- Ready to Overland? Here’s Your Rig
- Factor 4: Navigation and Maps
- Factor 5: Campsites and Overnight Stops
- Real-World Example: Moab to Ouray
- The Perfect Overland Trailer for Your Next Route
- My Favorite Route Planning Resources
- Frequently Asked Questions
- Ready to Buy? Check Today’s Price on the Patrol XCT
Factor 1: Route Length and Mileage
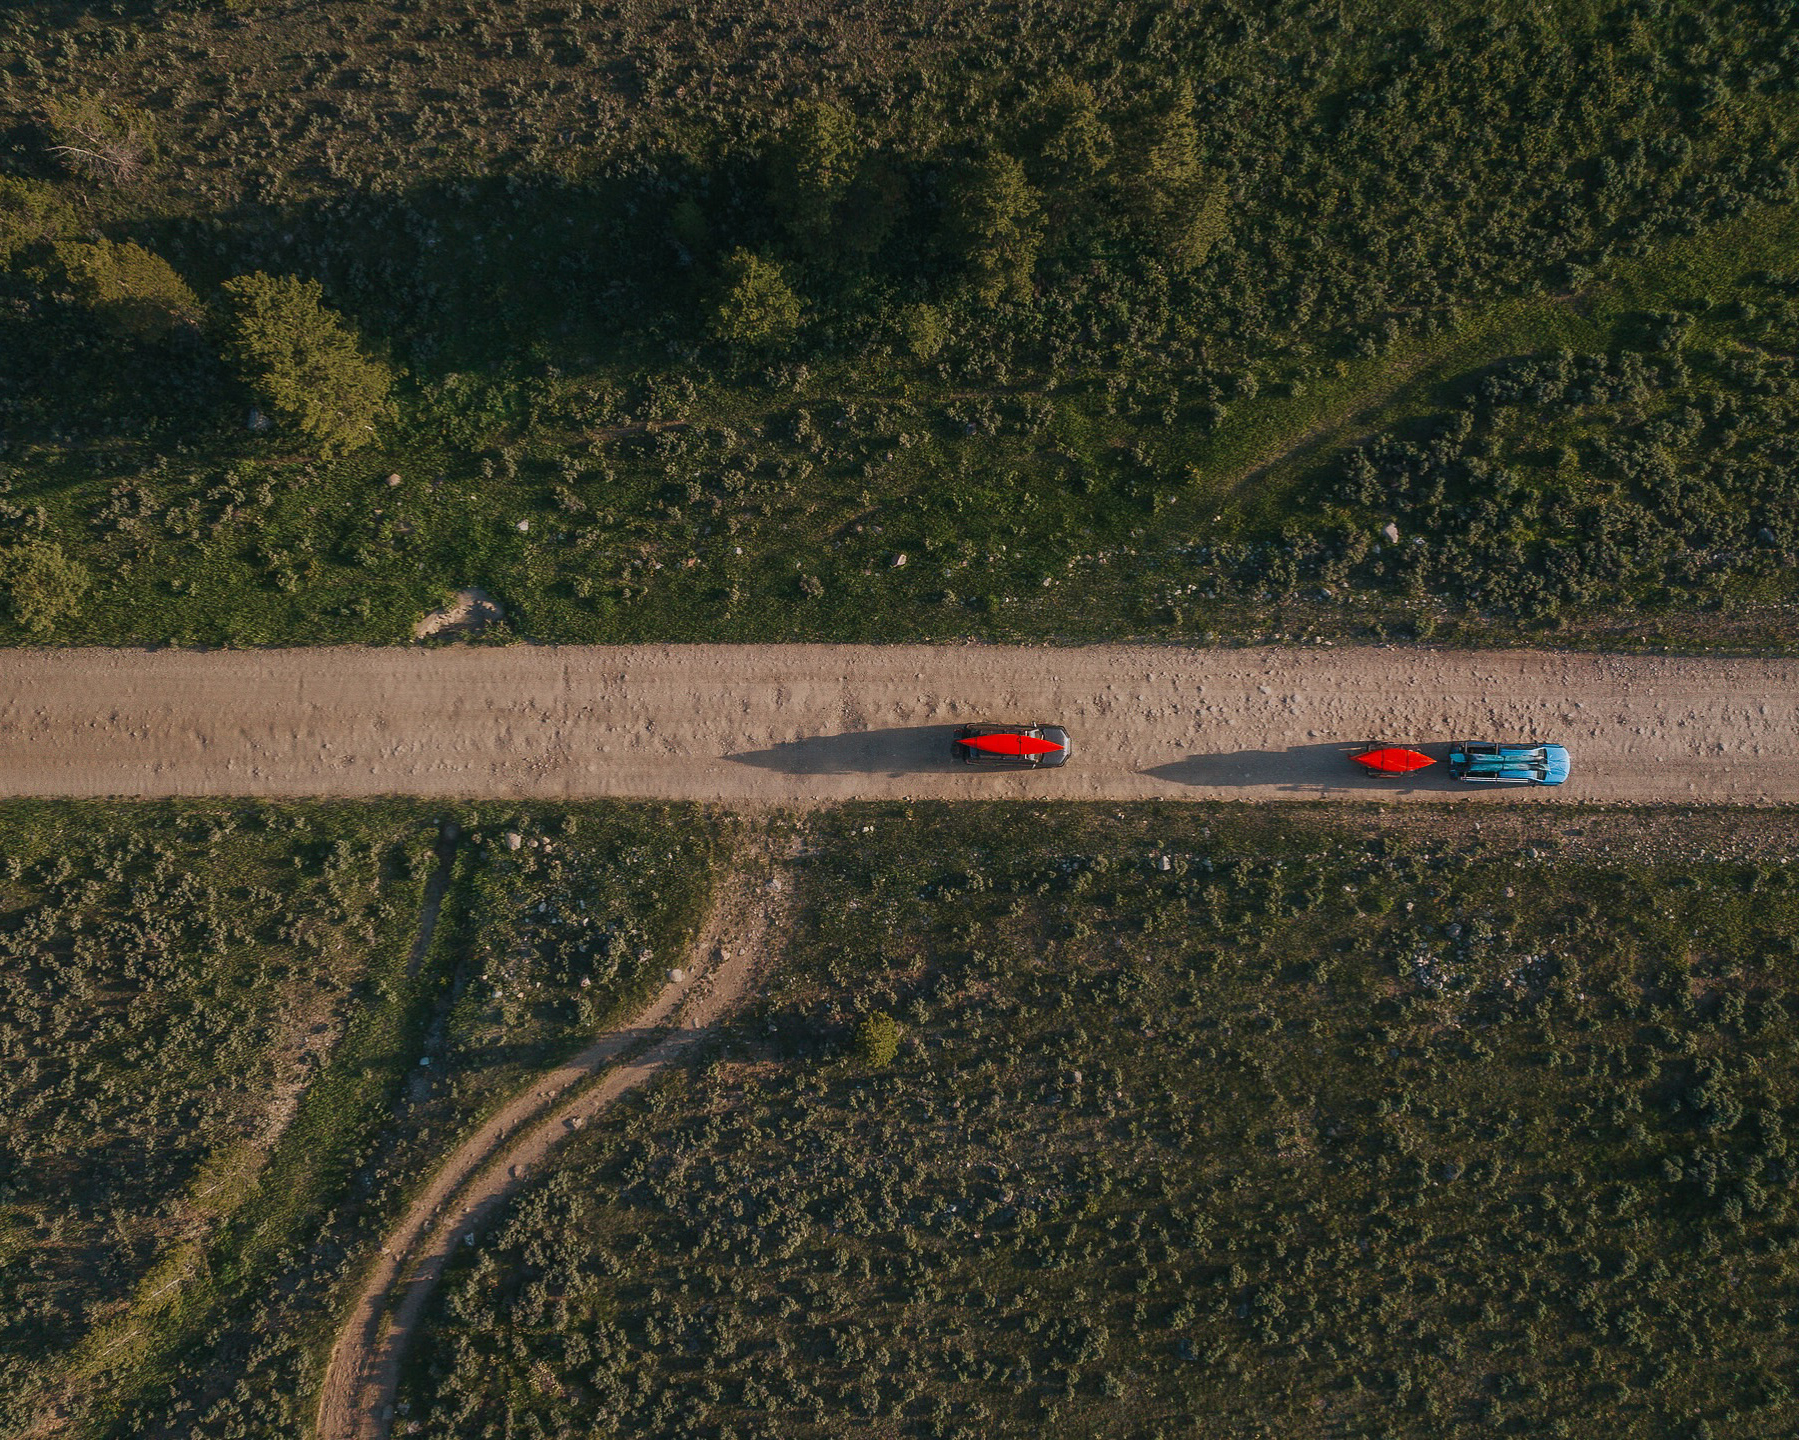
The first question I ask about any overland route is the simplest: how long is it? Not in days — that’s the next question — but in miles. Because here’s the truth: until you put a number on your map, you have no idea what you’re getting into.
Most experienced overlanders consider 200-300 miles the minimum distance for a true “overland” route. Anything less feels more like an off-road day trip with a camping stop. That’s not a knock on short routes — I’ve had epic weekends on 50-mile trails — but it’s an important classification. In my experience, once you crack 300 miles off pavement, the planning takes on a new level of complexity.
So start by roughing out your route idea on a map and adding up the mileage. Use whatever mapping app you’re comfortable with — Google MyMaps, Gaia GPS, or even a good old-fashioned paper map and a string. The goal is a conservative estimate of the total distance you’ll cover from start to finish, including bailouts and alternates (more on those later).
With that number in hand, you can start to piece together a timeline. Remember, overland travel is almost always slower than highway travel. How much slower depends on your vehicle, your terrain, and your comfort level, but I typically plan for an average moving speed of 20-30 mph. So a 250-mile route that would take 4-5 hours on the interstate becomes a 3-4 day journey off the beaten path.
Of course, that’s just a rough estimate. To really dial in your timeline, you need to consider the next factor: the terrain you’ll be covering.
Factor 2: Terrain and Road Conditions
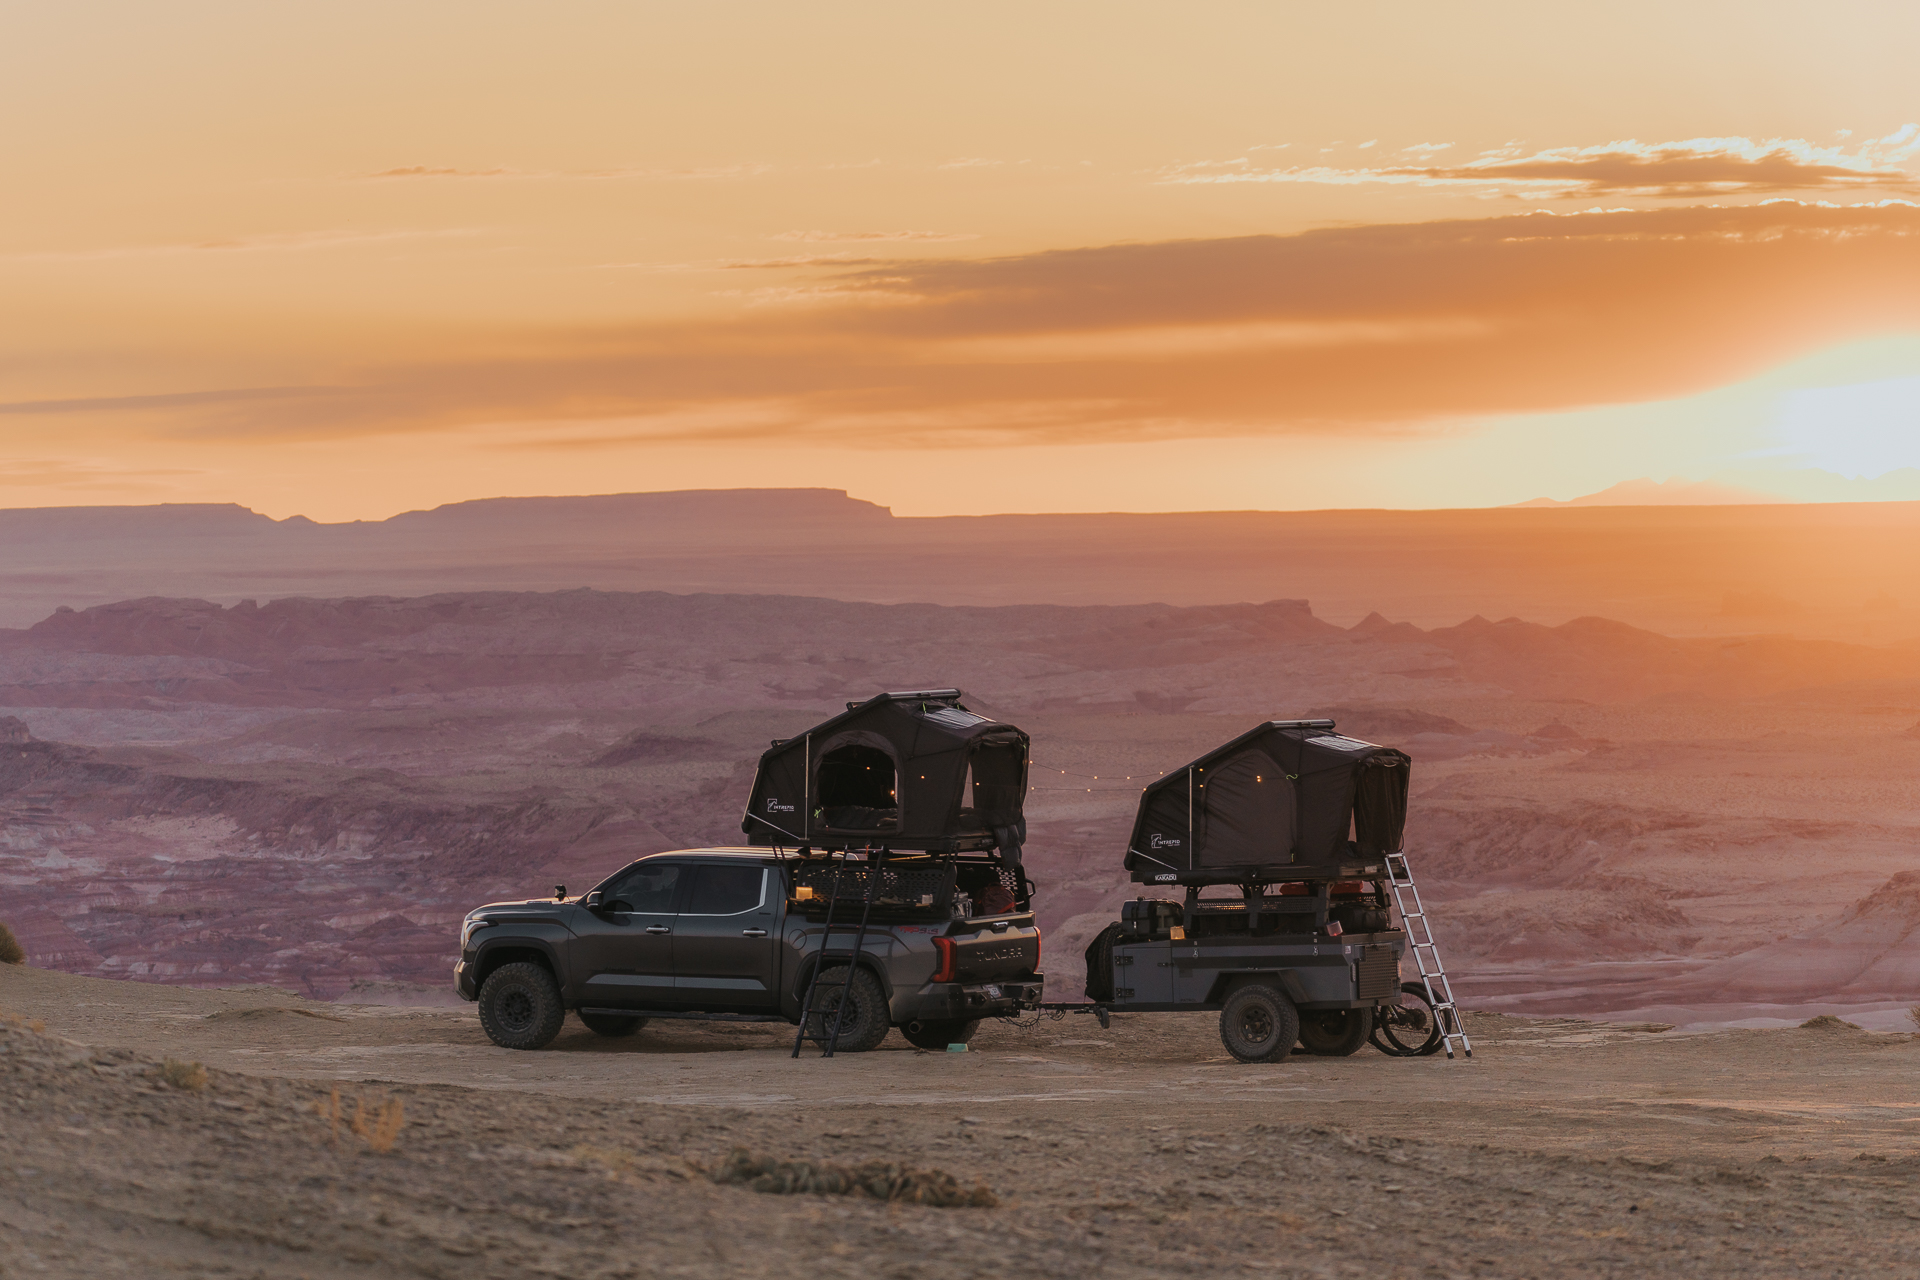
Spend enough time on overland forums and Facebook groups, and you’ll see a common theme: “I’m planning a route through [insert remote region], what are the road conditions like?” Usually followed by a dozen replies along the lines of “I drove that in my stock [insert 4×4] and it was no problem, you’ll be fine.”
Here’s the thing: that guy’s “no problem” might be your worst nightmare. Road conditions — and opinions about road conditions — are highly subjective. What feels like a smooth gravel cruise to someone in a built Jeep might rattle the fillings out of a newbie in a Subaru. And even the most capable 4×4 can get stuck, break down, or roll over on an “easy” trail if the driver hits it at the wrong speed or the wrong angle.
That’s why, when I’m planning an overland route, I always vet the terrain and road conditions from multiple sources. I start with guidebooks and trip reports, looking for details about the type of surface (gravel, dirt, sand, rocks), the degree of rutting and erosion, and any mentions of deep water crossings, boulder fields, or cliff exposure. If I can find photos or videos of the gnarliest sections, even better.
Next, I pull up a topo map and trace my route, paying close attention to the contour lines. Am I looking at gentle hills or steep switchbacks? What’s the maximum elevation gain? How many ridges and valleys will I have to cross? Topo lines tell a story that even the most detailed trip report can’t match.
Finally, I check with local experts. That might mean calling the nearest ranger station, posting in a 4×4 club forum, or even dropping into the local gear shop for some real-world beta. The key is to get eyes on the route from someone who knows the area intimately and can speak to current conditions.
Armed with that intel, I assign each section of my route a terrain grade: green for easy gravel and dirt, yellow for moderately rough or rutted roads, and red for “this will take all day and I might need to winch.” Those colors become the basis for my fuel and mileage estimates later on.
Factor 3: Fuel Planning and Gas Stops
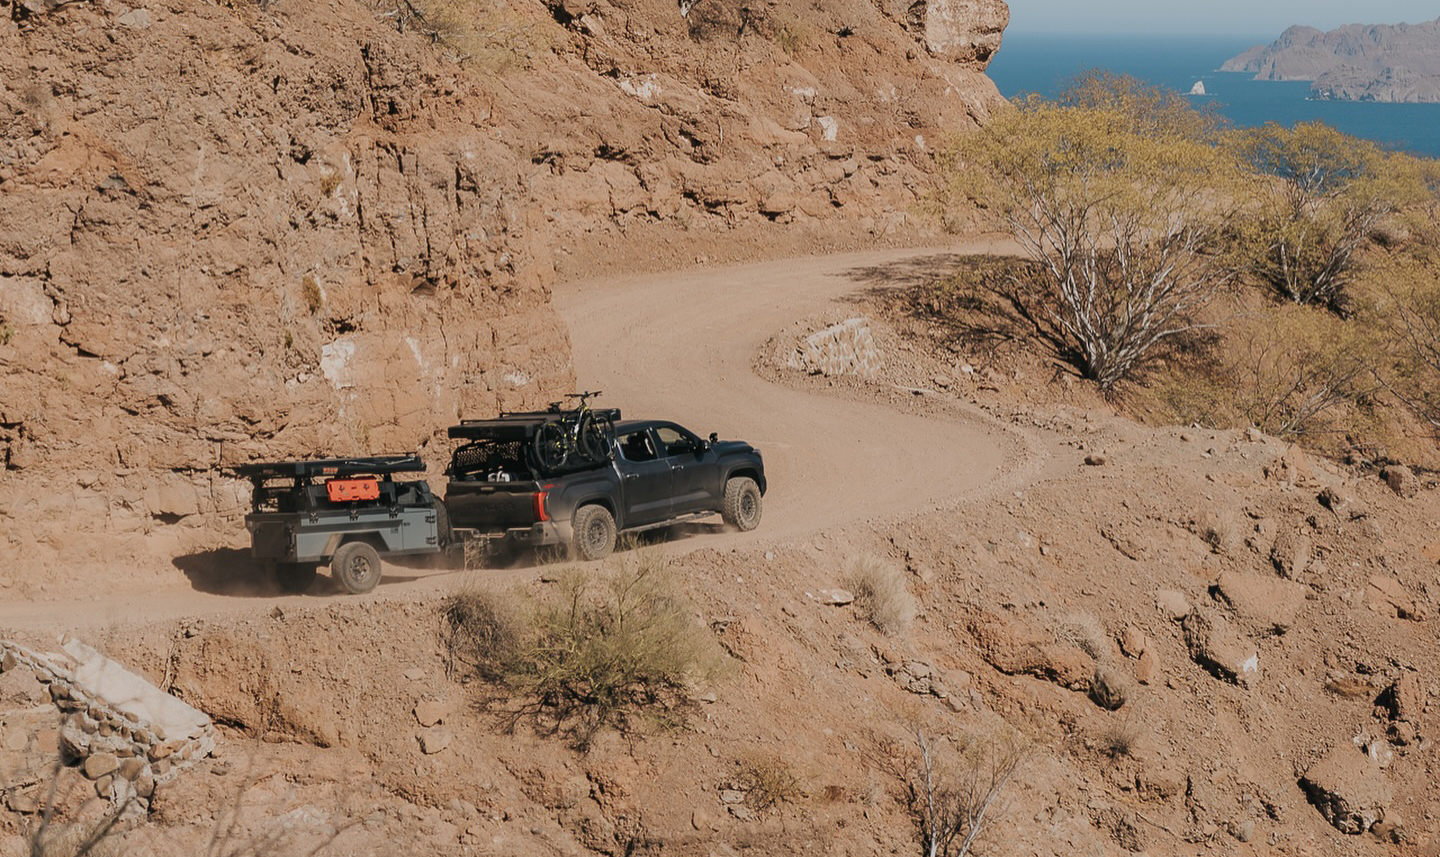
On any multi-day overland route, gas is a constant consideration. Running out of fuel is, at best, a hassle that costs you hours or days of your trip. At worst, it’s a life-threatening emergency that ends with a very expensive rescue.
To avoid either scenario, I plan my fuel stops with the same care that I plan my campsites. The first step is to mark every potential gas station on my route map, including those off my direct path. In remote areas, that might mean a dot every 100 miles or more.
Next, I estimate my expected mileage for each leg of the trip based on the terrain grade. For gravel and dirt roads (green), I typically assume 14-18 mpg when I’m towing my Rustic Mountain Overland Patrol XCT trailer with a full load. On rough 4×4 trails (yellow), that drops to 8-12 mpg. And for full-on rock crawling (red), I plan on 4-6 mpg.
With those numbers, I can start to rough out my fuel stops. As a general rule, I never let my tank drop below half on an overland route unless I know for certain I can refill within the next 50 miles. So if I’m looking at a 120-mile leg with no gas stations, I either need to carry extra fuel or reroute to a closer fill-up point.
I also build in contingencies for the unexpected. A good rule of thumb is to add 20% to your estimated fuel needs for each leg. So if I think I’ll need 15 gallons to cover a 200-mile section, I’ll plan for 18 just to be safe.
Once I have my fuel stops mapped out, I add them to my navigation plan. Speaking of which…
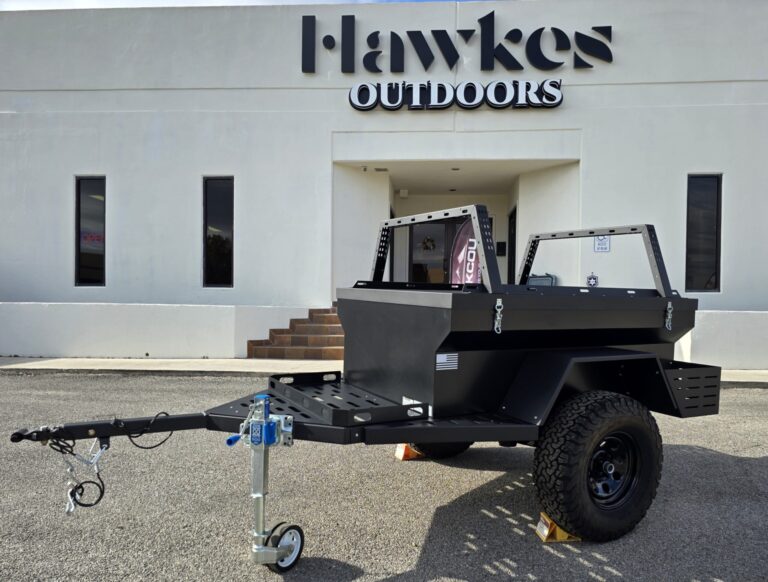
2025 Rustic Mountain Overland Patrol XC
The baseline Patrol, and the cheaper of the two Rustic Mountain trailers Hawkes Outdoors has on the lot. Enclosed cargo bay with a tilting lid and rear tailgate, Timbren HD 2200 lb axleless suspension, and 31-inch AT tires on 15-inch wheels. Listed at $10,737 in black, stock SA1124.
- Enclosed, lockable cargo bay
- Timbren HD 2200 lb axleless suspension
- 31-inch AT tires on 15-inch wheels
- Lock-N-Roll articulating hitch
- ARK tongue jack
- No tongue box, so galley gear rides in the main bay
- One unit on the lot at this price
Factor 4: Navigation and Maps
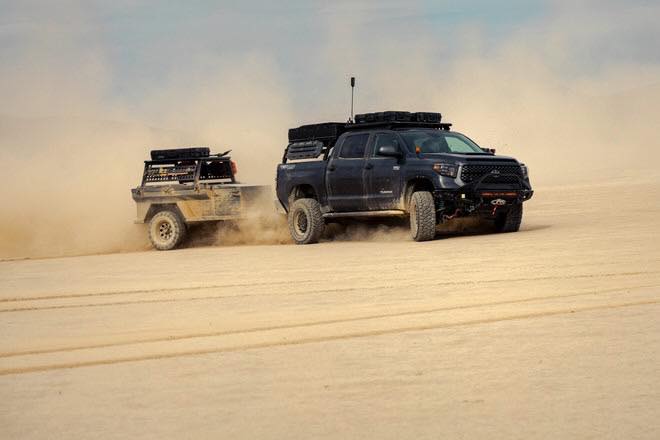
An overland route is only as good as your ability to follow it. And in the backcountry, that means having the right navigation tools — and the skills to use them.
At a minimum, you’ll need a detailed topo map of your route area. The US Geological Survey (USGS) and US Forest Service (USFS) both offer free, high-resolution topo maps for download. If you’re traveling outside the US, check with the local land management agency for similar resources.
In addition to a paper map, I always carry a GPS device loaded with my route plan. Gaia GPS is my go-to app for building and following routes on my phone or tablet. It lets me download maps for offline use, track my progress in real-time, and even share my location with friends and family back home.
But here’s the thing: electronics fail. Batteries die, screens crack, and satellites don’t always play nice in deep canyons or dense forests. That’s why I also carry a good old-fashioned compass and the knowledge to use it with my paper map for dead-reckoning navigation.
Before I hit the trail, I make sure I have all my maps and GPS files downloaded and stored in multiple places (phone, tablet, cloud backup). I also print out a hard copy of my route plan and leave it with a trusted friend or family member, along with my expected check-in schedule.
That way, even if I lose all my fancy gadgets, I still have a way to stay found — and a way for someone to find me if I don’t show up when and where I’m supposed to.
Factor 5: Campsites and Overnight Stops
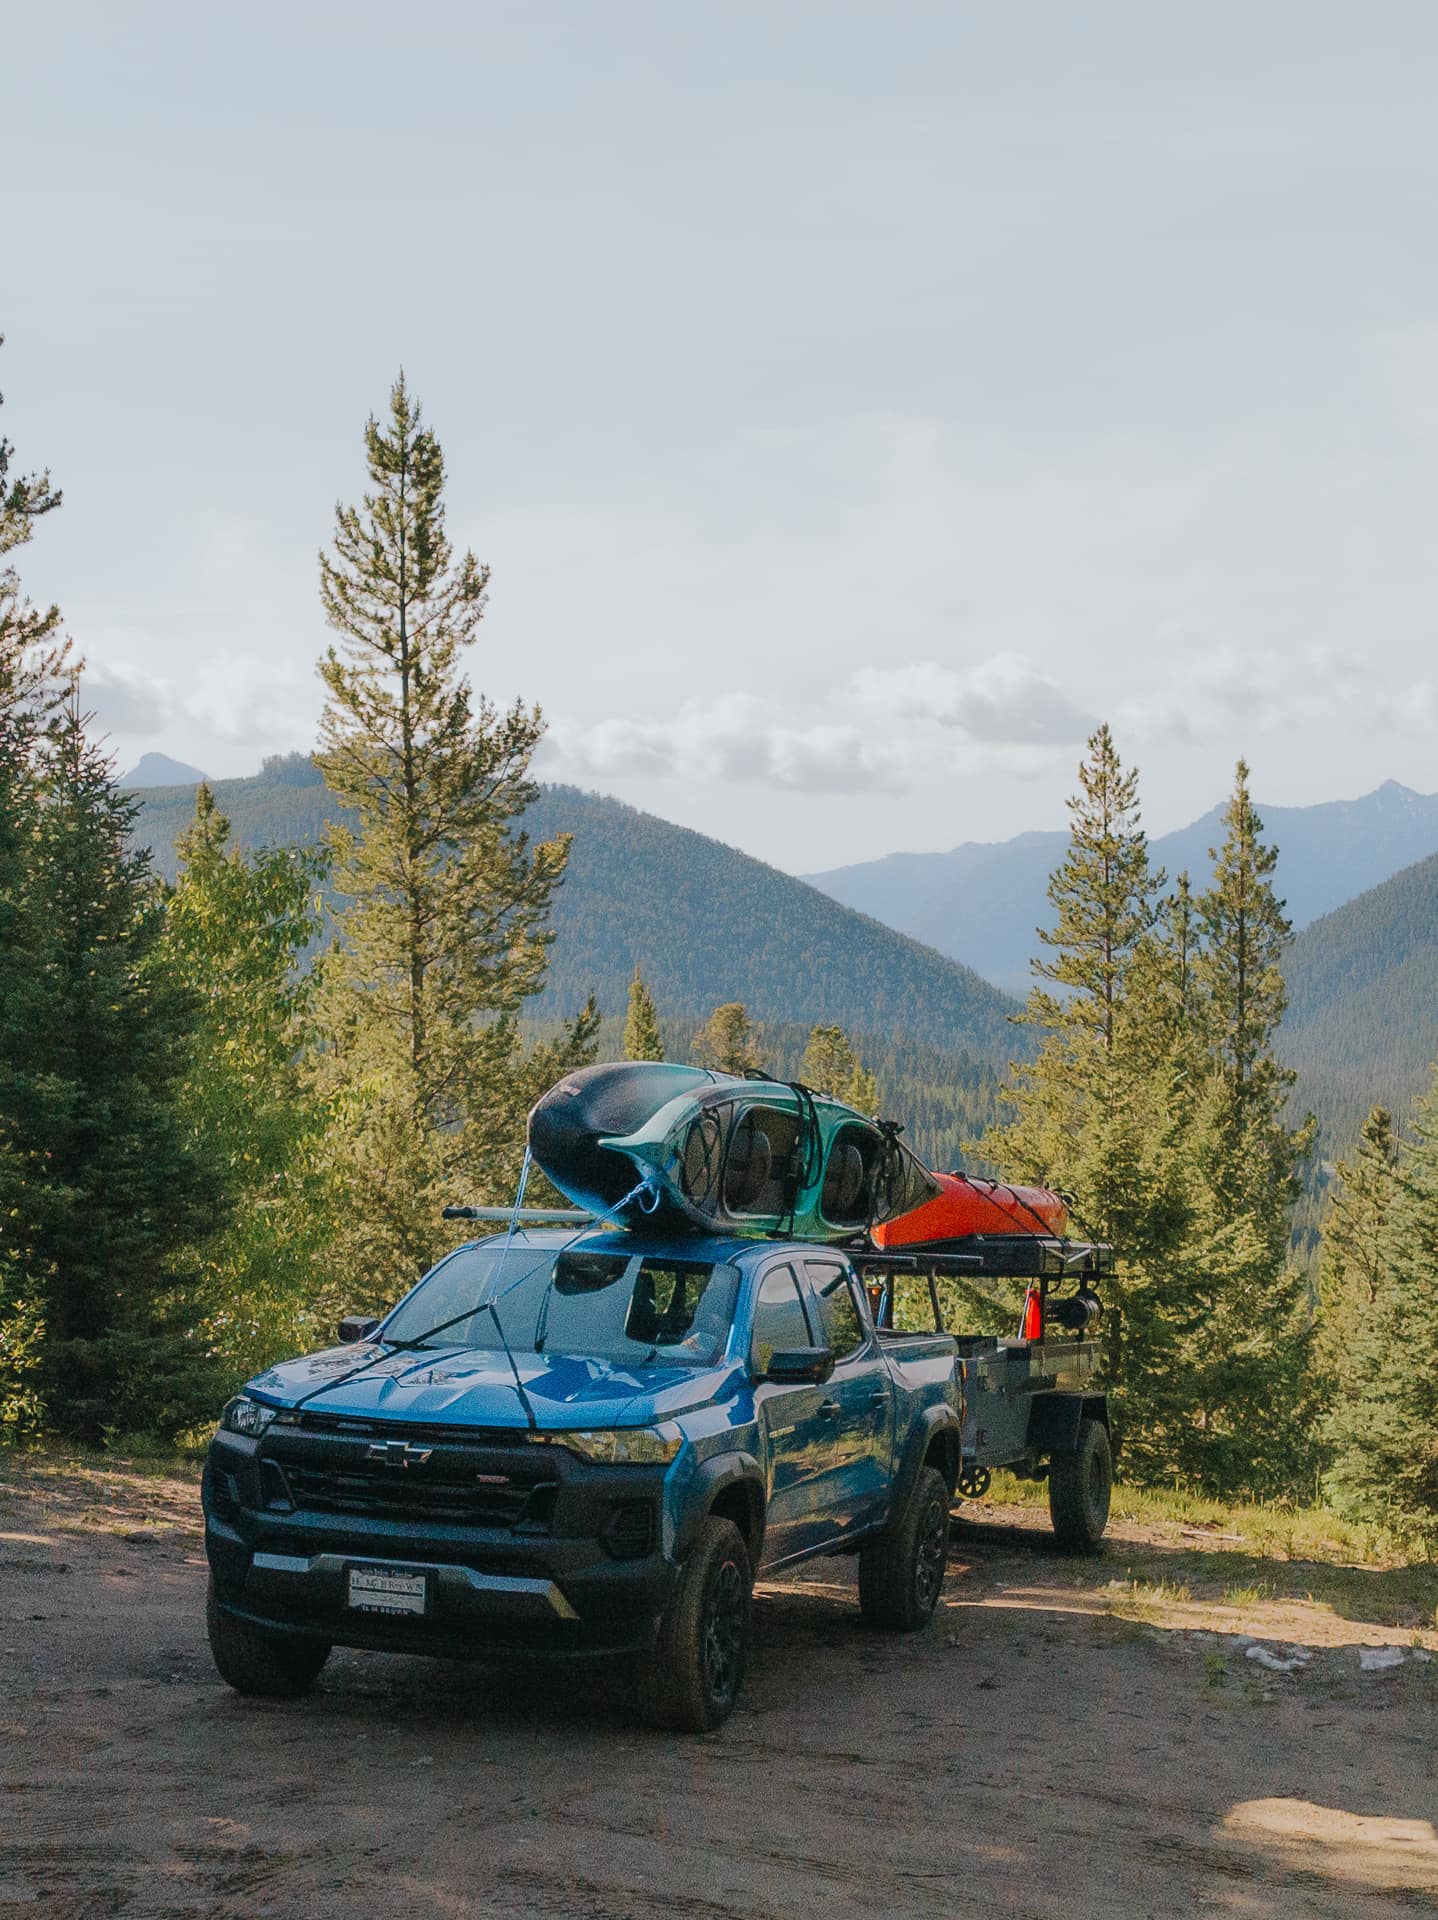
Last but definitely not least, every great overland route needs a place (or two, or three) to lay your head at night. And just like with fuel stops, a little planning goes a long way.
When I’m mapping out a route, I always look for potential campsites first. Depending on the area, that might mean established campgrounds, dispersed camping areas on public land, or even just a flat spot off the side of the road.
I start by marking all the obvious options on my map — the developed campgrounds, the well-known boondocking spots, the scenic overlooks with room to park. Then I look for bailout options: places I could camp in a pinch if my planned site is full, closed, or inaccessible.
Next, I consider my daily mileage and terrain to rough out a schedule. If I’m looking at a 50-mile day on easy gravel roads, I might plan to knock out the whole distance and camp near my endpoint. But if I’m facing a grueling 12-mile crawl through a boulder field, I’ll want to break that up with an overnight stop (or two) along the way.
As I piece together my itinerary, I try to balance daily mileage with campsite quality. Sure, I could push through to Camp Spot A and shave 30 miles off tomorrow’s drive. But if Camp Spot B is a secluded alpine lake with peak views and a natural hot spring, I might just call it a day early and enjoy the scenery.
Of course, even the best-laid plans can go sideways in the backcountry. That’s why I always travel with a good backup shelter, like the Rustic Mountain Overland Patrol XCT’s rooftop tent option, and enough food and water to self-support for a night or two if needed. That way, even if I can’t make it to my planned campsite, I can still bed down somewhere safe and comfortable.
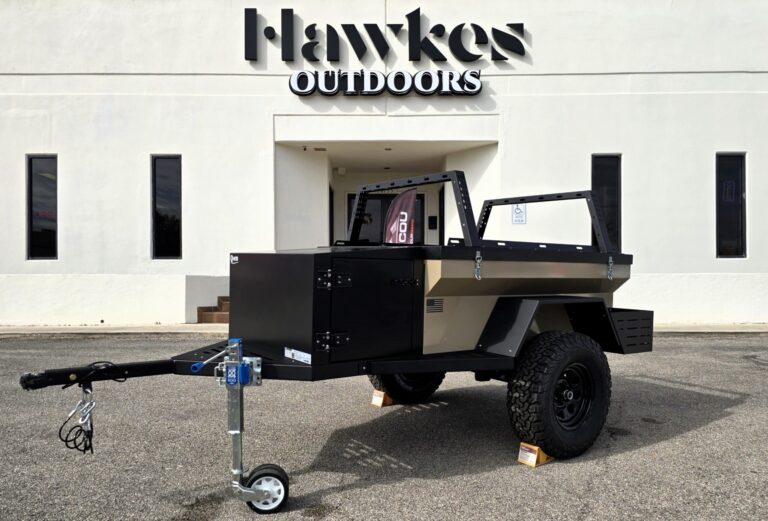
2025 Rustic Mountain Overland Patrol XCT
The XC with a lockable tongue box added forward on the frame, sized for a fridge, electrical, and galley gear, with an access door on the driver and passenger side. That is the piece that keeps cooking gear out of the main bay entirely. 1,250 lbs, tan, listed at $11,489, stock SA1122.
- Tongue box with driver and passenger access doors
- Enclosed main bay with tilting lid and rear tailgate
- Timbren HD 2200 lb axleless suspension
- Custom 16-inch roof rack and front cargo basket
- 1,250 lbs dry
- About $750 more than the Patrol XC
- One unit on the lot at this price
Real-World Example: Moab to Ouray
To help tie all these factors together, let’s walk through a real route I planned last year: a 5-day overlanding trip from Moab, Utah to Ouray, Colorado via the famous Alpine Loop backcountry byway.
I started by mapping out the broad strokes in Gaia GPS, following the suggested track from a FunTreks guidebook. All told, the route covered about 225 miles, mostly on dirt and gravel forest roads with a few stretches of moderate 4×4 trails.
Next, I broke the route down into daily segments based on mileage and terrain. The first and last days were mostly highway driving to and from the trailheads, so I planned for longer mileage (150-200 miles per day). The middle three days were all off-pavement, with a mix of easy gravel (50-70 miles per day) and slower, more technical 4×4 trails (20-30 miles per day).
With my daily mileage roughed out, I started vetting the terrain and road conditions. I read through a dozen trip reports, watched YouTube videos of the gnarliest sections, and called the local ranger stations for current beta. Based on that intel, I assigned each segment a color grade: green for the gravel roads, yellow for the easier 4×4 trails, and red for the tougher, more technical sections.
From there, I estimated my fuel needs for each segment based on my Gladiator’s expected mileage when towing the Patrol XCT (15-18 mpg for green, 8-12 for yellow, 4-6 for red). I made sure I had enough gas to cover the longest stretch between fill-ups (a 120-mile green segment on day 3) with a 20% buffer for the unexpected.
Next, I plotted out my planned campsite for each night, plus a few bailout options along the way. I aimed to camp near the end of each day’s mileage, with a slight preference for nicer spots over more miles. In a few cases, that meant calling it quits a bit early to snag a prime dispersed site with a view.
Finally, I printed out hard copies of my route plan, trail descriptions, and topo maps, loaded everything into Gaia GPS on my phone and tablet, and shared my itinerary with a few trusted contacts back home. Then, with a tank full of gas, a Patrol XCT loaded with gear, and a cooler full of food, I hit the road for five days of epic alpine adventure.
My Favorite Route Planning Resources
By now, you’ve probably gathered that planning an overland route takes some specialized resources. Here are a few of my go-tos:
- Gaia GPS: My favorite mapping and navigation app, with downloadable topo maps, route planning tools, and real-time GPS tracking.
- FunTreks guidebooks: Detailed, step-by-step trail guides for popular overland routes across the US, complete with mileages, GPX tracks, and camping recommendations.
- Ioverlander: A crowdsourced database of camping spots, water sources, and other points of interest for overlanders around the world.
- US Geological Survey (USGS) Topo Maps: Free, high-res topo maps for the entire US, available for download in various formats.
- US Forest Service Interactive Visitor Map: Online map with detailed info on USFS roads, trails, campgrounds, and other facilities.
- Local forums and Facebook groups: The best source for up-to-date intel on trail conditions, closures, and local tips.
Frequently Asked Questions
What maps should I use for overland route planning?
A combination of digital topo maps (like Gaia GPS) and paper topos (like USGS 7.5-minute quads) is ideal. Supplement with satellite imagery and crowdsourced info from apps like Ioverlander.
How do I estimate my fuel needs for an overland trip?
First, assign each segment of your route a terrain grade (easy, moderate, difficult). Then, estimate your expected mileage for each grade based on your vehicle and setup. Finally, calculate your total fuel needs for each segment, adding a 20% buffer for the unexpected.
What’s the best way to find dispersed camping spots along my route?
Start by marking established campgrounds and well-known boondocking sites on your map. Then, look for potential dispersed spots on public land, using resources like Ioverlander, USFS maps, and satellite imagery. Always have a few backup options in case your first choice is occupied or inaccessible.
How far in advance should I start planning my overland route?
For a multi-day trip, I recommend starting your planning at least a month out. That gives you time to research conditions, vet your route, gather permits, and dial in your gear. For a longer expedition (a week or more), start planning 3-6 months out.
A quick heads-up: If you snag something through our affiliate links or check out our sponsored content, we might earn a commission at no extra cost to you. But fear not, we’re all about recommending stuff we’re truly stoked about!