


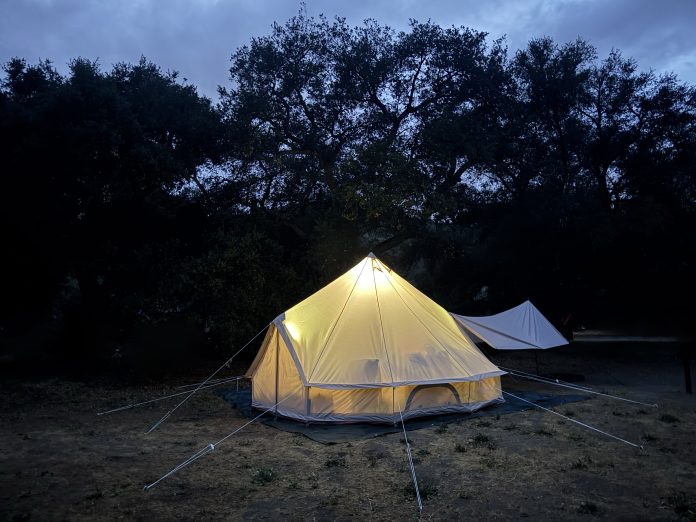

Over the years, I’ve pitched tents on bad ground more times than I want to admit. A low spot flooded at 2 a.m. once. Another site sat downwind of a fire ring, and one tent door faced straight into the morning sun. A good campsite layout prevents these problems before they start. It is one of the few parts of camping costing nothing but a little planning.
This guide walks through how I lay out a site today, built from years of trial and error rather than guesswork. It covers picking the right ground, zoning your camp for sleep, cooking, and fire, and keeping safe distances between everything. None of it requires special gear. It only requires setting up in the right order, in the right spots.
Quick Facts:
- Topic: Campsite layout and setup planning
- Skill level: Beginner
- Time required: 20 to 45 minutes to plan and set up
- Tools needed: Tent, camp kitchen gear, fire ring or pit, ground tarp
- Difficulty: Easy
- Cost: Free, uses gear you already own
- Best for: Any camper setting up a multi-day or basecamp-style site
9 min read
In This Guide
- Campsite Layout Overview
- Campsite Layout Essentials at a Glance
- Choosing the Right Spot for Your Tent
- Zoning Your Camp: Sleep, Kitchen, and Gear
- Fire Safety and Distance Guidelines
- Wind, Water, and Wildlife Considerations
- Small Tent Layout vs. Large Basecamp Layout
- Pros and Cons of Planning Your Layout Ahead of Time
- Final Verdict
- Frequently Asked Questions
Campsite Layout Overview
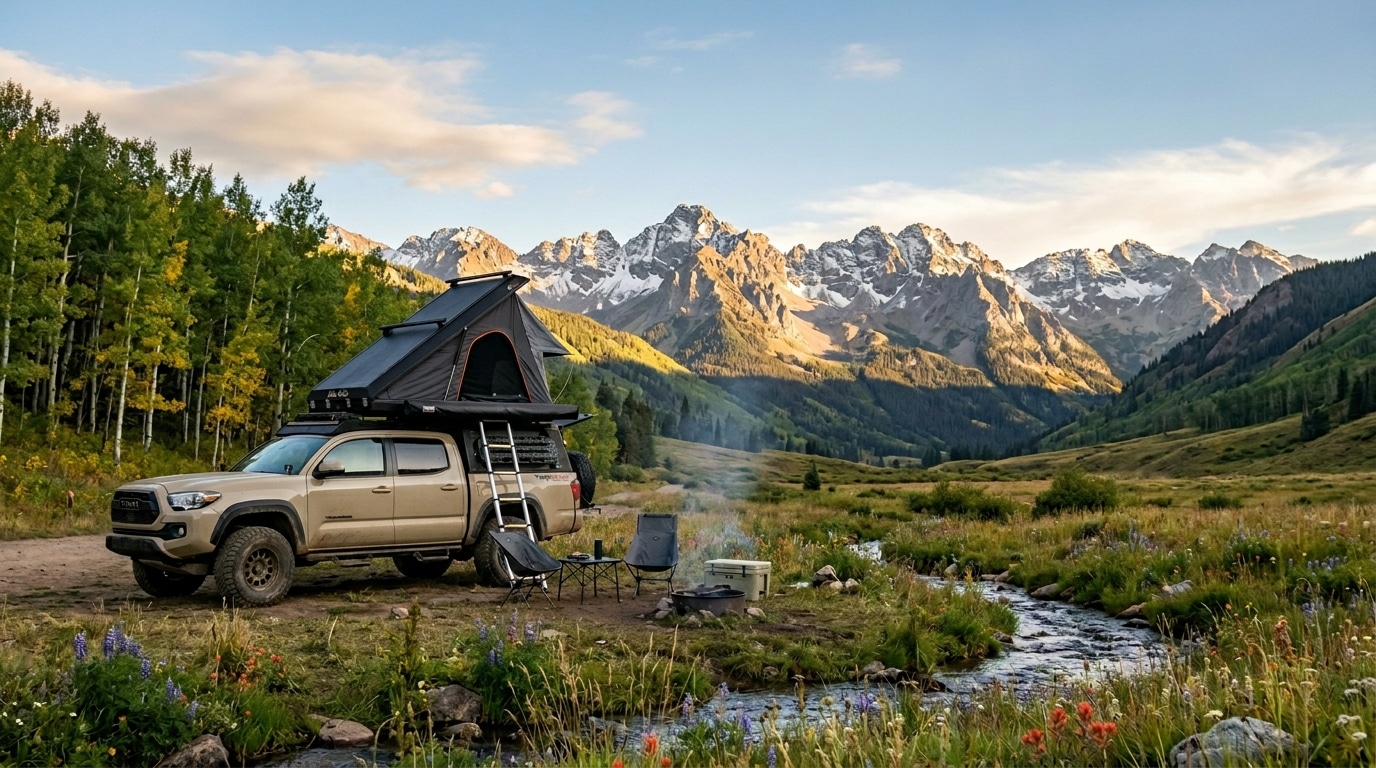
A campsite layout is the plan for where everything goes: tent, kitchen, fire, gear storage, and any vehicle or trailer. Get it right, and camp feels organized from the first night. Get it wrong, and you spend the whole trip working around problems avoidable from the start.
Good layout planning starts before you unpack. Walk the site first. Look at the ground, the tree cover, and the direction of the wind. Decide where the tent goes, then build everything else around this anchor point. This sequence matters more than any single piece of gear, since even the best tent performs poorly on a bad site.
For example, a tent pitched in a low spot might look fine at 8 p.m. and sit in an inch of water by midnight after a storm rolls through. A fire ring placed too close to the tent risks embers landing on the canvas. A kitchen area with no wind break makes cooking miserable on a breezy evening. Planning the layout first prevents all three, and it takes only a few extra minutes.
Campsite Layout Essentials at a Glance
| Zone | Placement Guideline |
|---|---|
| Tent | Flat, high ground, upwind of the fire |
| Fire pit or ring | At least 15 feet from tents and flammable brush |
| Camp kitchen | Near the fire, downwind of the tent, shaded if possible |
| Food storage | 100+ feet from tents in bear country, sealed containers |
| Gear and vehicle | Edge of camp, clear path to tent and kitchen |
| Waste and dish station | Downwind, away from water sources |
Buy Direct From Stout Tent
The 5M Pro Anchors a Layout With Room to Spare
A 212 sq. ft. canvas footprint gives you enough space to keep sleeping, gear, and living areas separate under one roof.
Choosing the Right Spot for Your Tent
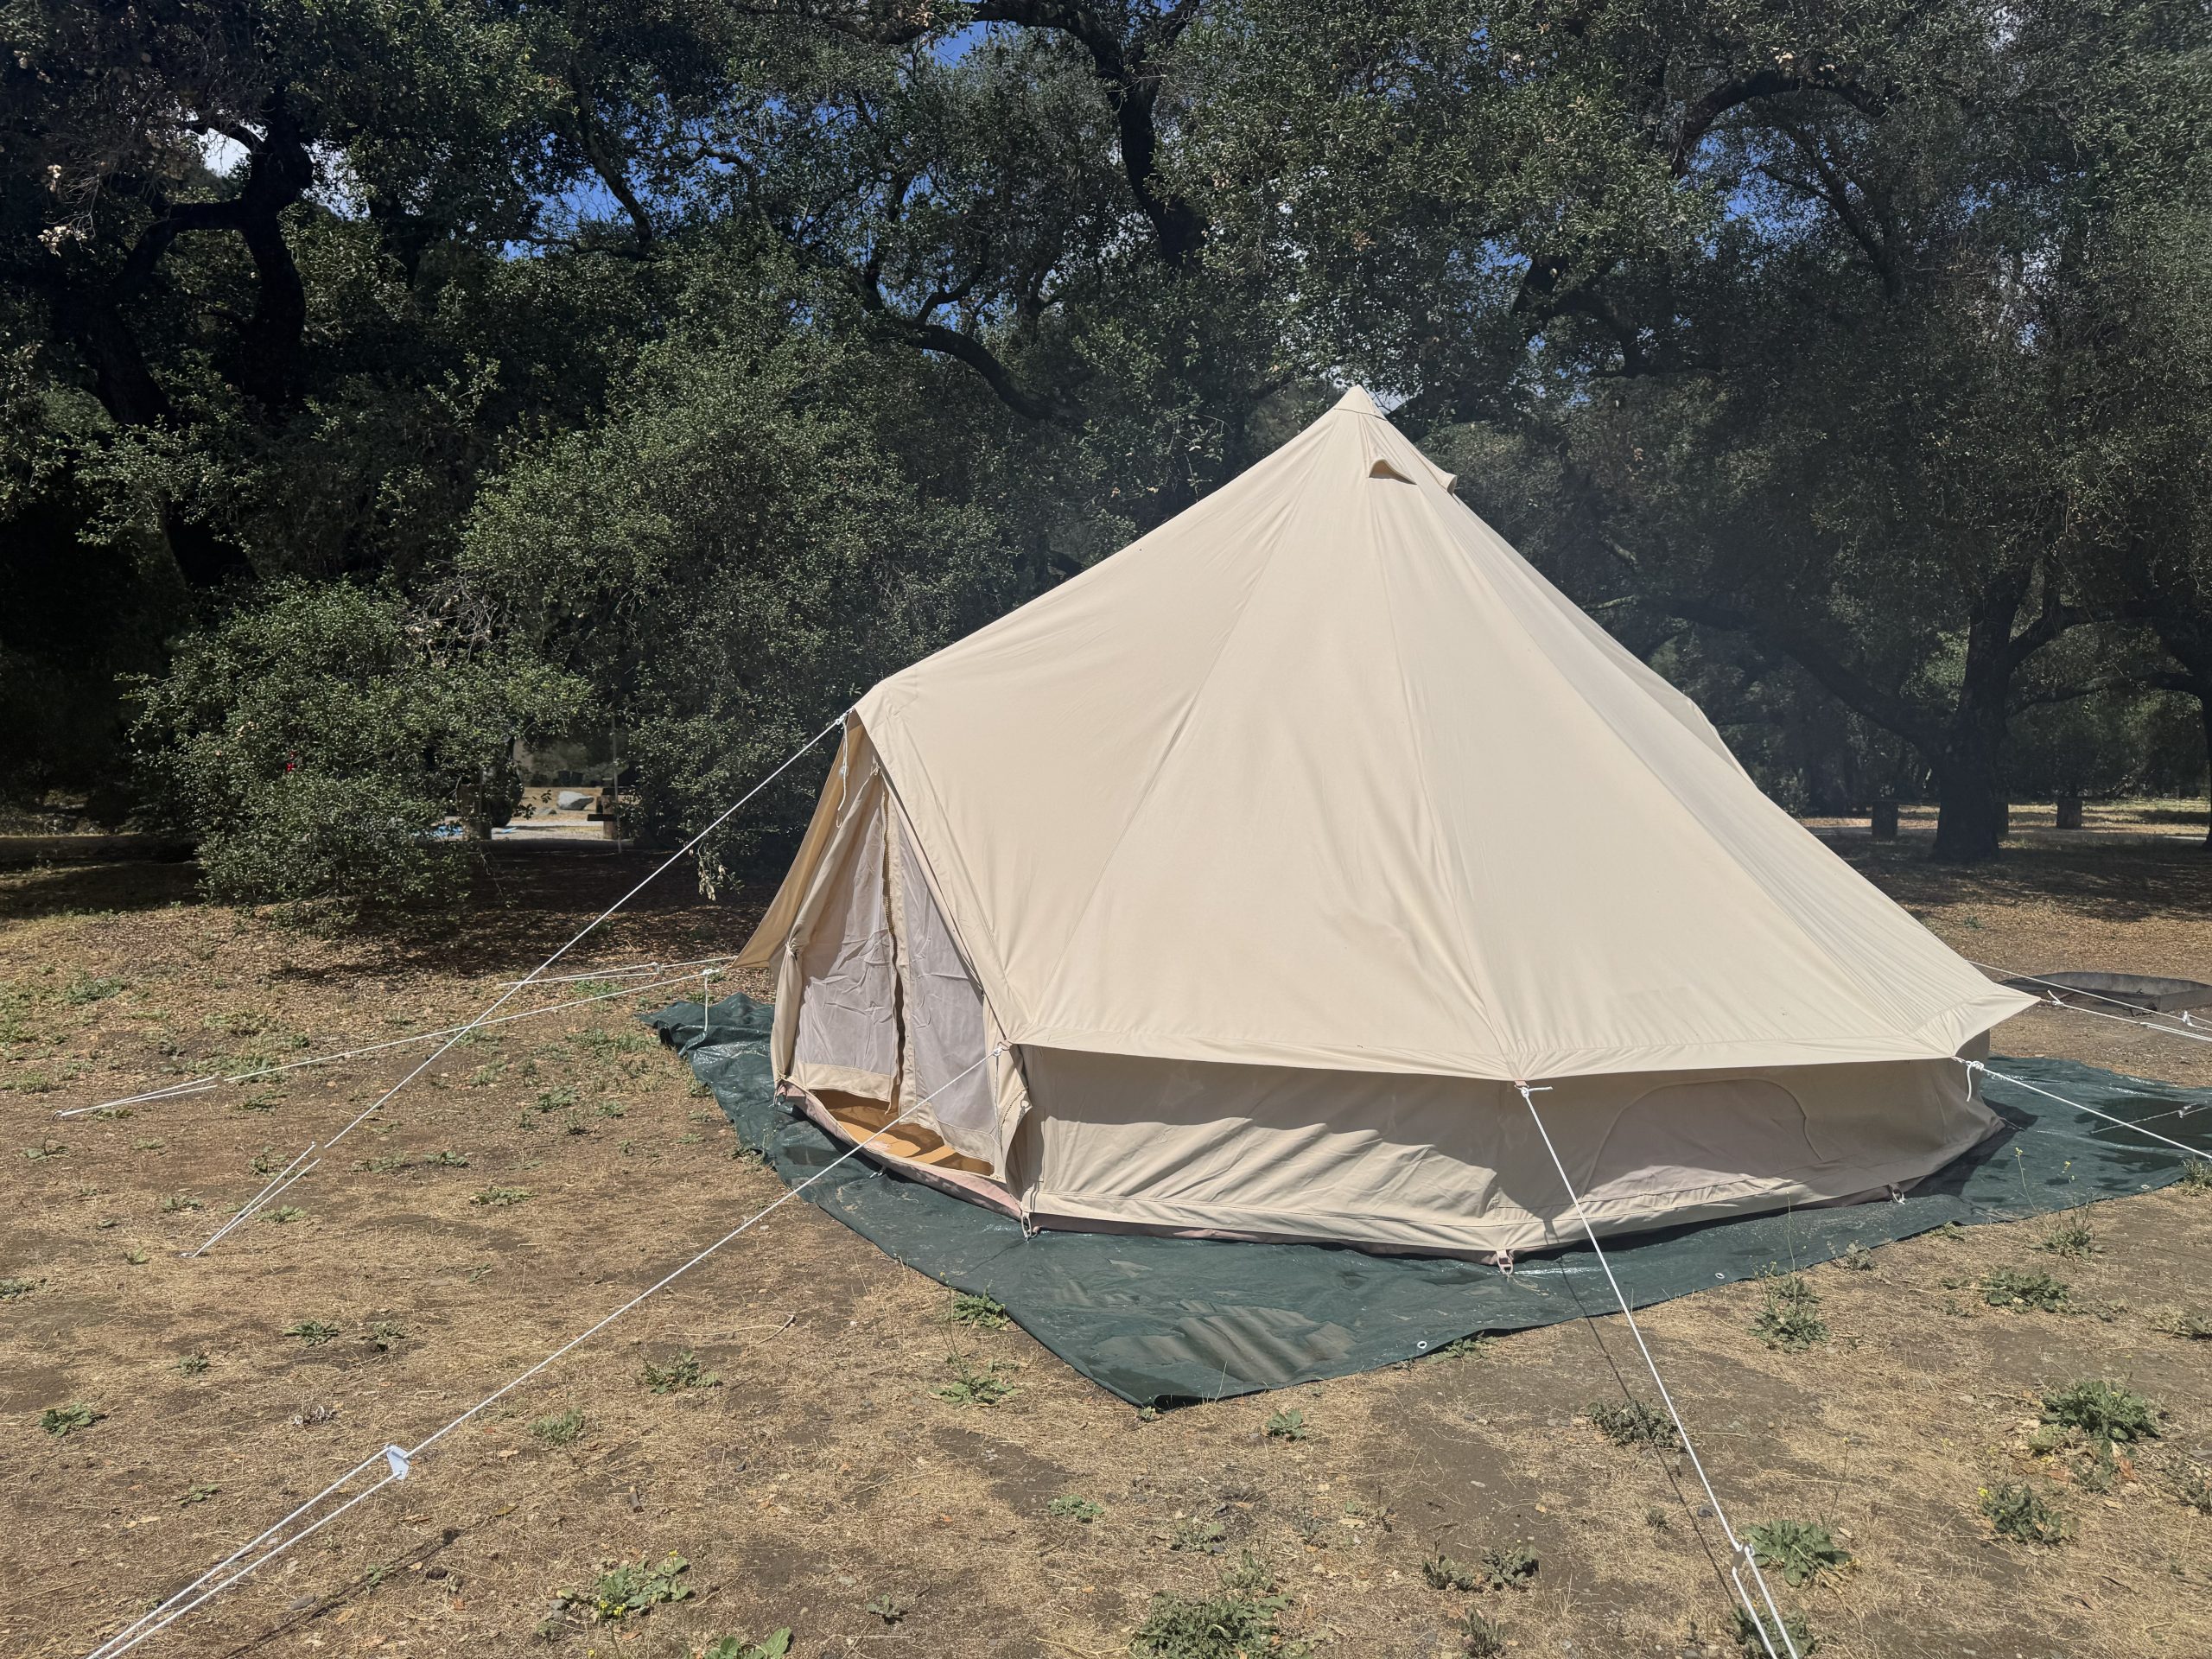
Your tent site sets the anchor for the rest of camp, so choose it first. Look for flat, level ground clear of rocks and roots. Avoid low spots where water pools during rain. Skip riverbanks or dry creek beds too, since both flood without warning. Sun direction matters more than most campers expect, too. A tent door facing east catches the morning sun early, which warms the interior fast but also wakes you up sooner than planned. Facing the door west or north delays this effect. Check for overhead hazards too. Dead branches, sometimes called widow-makers, pose a real risk if they fall during wind or storms, so scan the tree canopy before you commit to a spot.
Ground texture affects comfort as much as safety. Pine needles and packed dirt drain well and pack down evenly under a tent floor. Loose gravel and standing grass hold moisture and stay uneven no matter how you set up. A quick walk of the site, checking for slope, drainage, and overhead branches, takes five minutes and saves a rough night later.
Zoning Your Camp: Sleep, Kitchen, and Gear
Treat your campsite like a small home with separate rooms. The sleeping zone stays quiet, dry, and upwind of smoke and cooking smells. The kitchen zone sits close enough to the fire for convenience but far enough from the tent so grease and food scraps do not attract animals overnight. Gear storage belongs at the edge of camp, out of the main walking path but still reachable.
A dedicated gear zone keeps clutter out of your living space. Use bins, a folding table, or a vehicle tailgate to keep tools, coolers, and packs organized in one spot. This matters even more on a spacious basecamp tent, since a large interior invites gear to spread out unless you assign it a place from the start.
Leave clear walking paths between zones, especially the path from the tent to the fire and from the kitchen to the dish station. A tripping hazard in the dark, whether a guy-line, a cooler, or a loose tent stake, causes more minor camp injuries than almost anything else. Our beginner’s guide to setting up camp covers additional zoning basics for first-time campers.
Fire Safety and Distance Guidelines
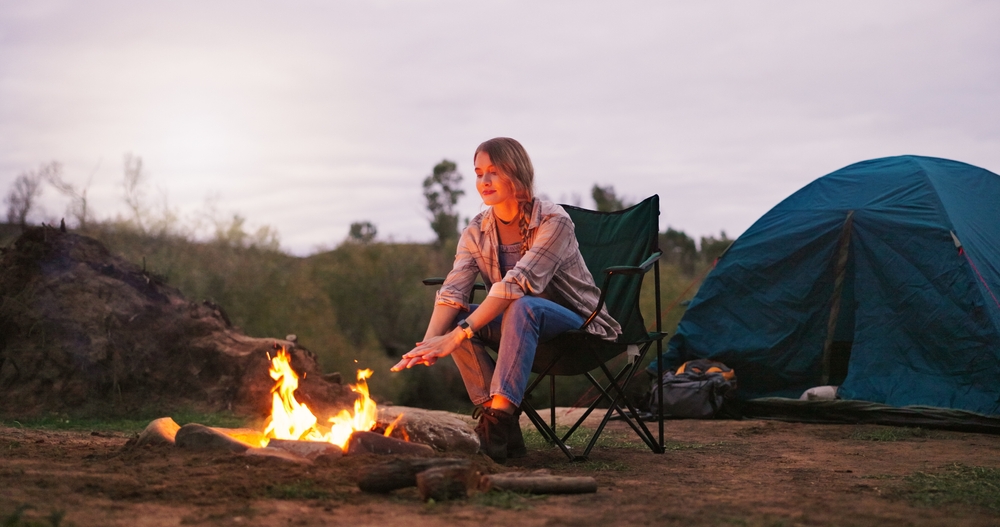
Fire distance is the layout rule with the least room for error. Keep any campfire or fire ring at least 15 feet from tents, vehicles, and flammable brush. This distance stops stray sparks from reaching canvas or dry grass, even on a windy night. Never place a fire ring downwind of your tent, since smoke and drifting embers both travel with the wind.
Clear a 3-foot radius of dry leaves, needles, and debris around the fire pit itself. Keep a bucket of water or a small extinguisher within reach the entire time the fire burns. Before bed, drown the fire completely, stir the ashes, and drown it again. A fire looking out is often still smoldering underneath. For a deeper look at fire rules and general safety, our camping safety tips for beginners covers regional fire bans and extinguishing methods in more detail.
Save on Your Basecamp Setup
Planning a Bigger Camp? Try the 5M Pro Double Door
A second entrance makes it easier to move between zones without cutting through the middle of your sleeping area.
Wind, Water, and Wildlife Considerations
Wind direction shapes almost every other layout decision. Pitch your tent with the narrowest side facing the prevailing wind to reduce flex on the frame and canvas. Use natural windbreaks, such as a tree line or rock outcropping, when the site offers one. Position your kitchen so wind carries cooking smells away from the sleeping area instead of straight through the tent door.
Water access changes the math too. Camp close enough to a water source for convenience, but never inside the flood zone of a stream or river, since water levels rise fast after storms upstream. In bear country, store food and scented items at least 100 feet from your tent, ideally in a bear-proof container or hung between two trees. This single habit prevents most nighttime wildlife encounters.
Small Tent Layout vs. Large Basecamp Layout
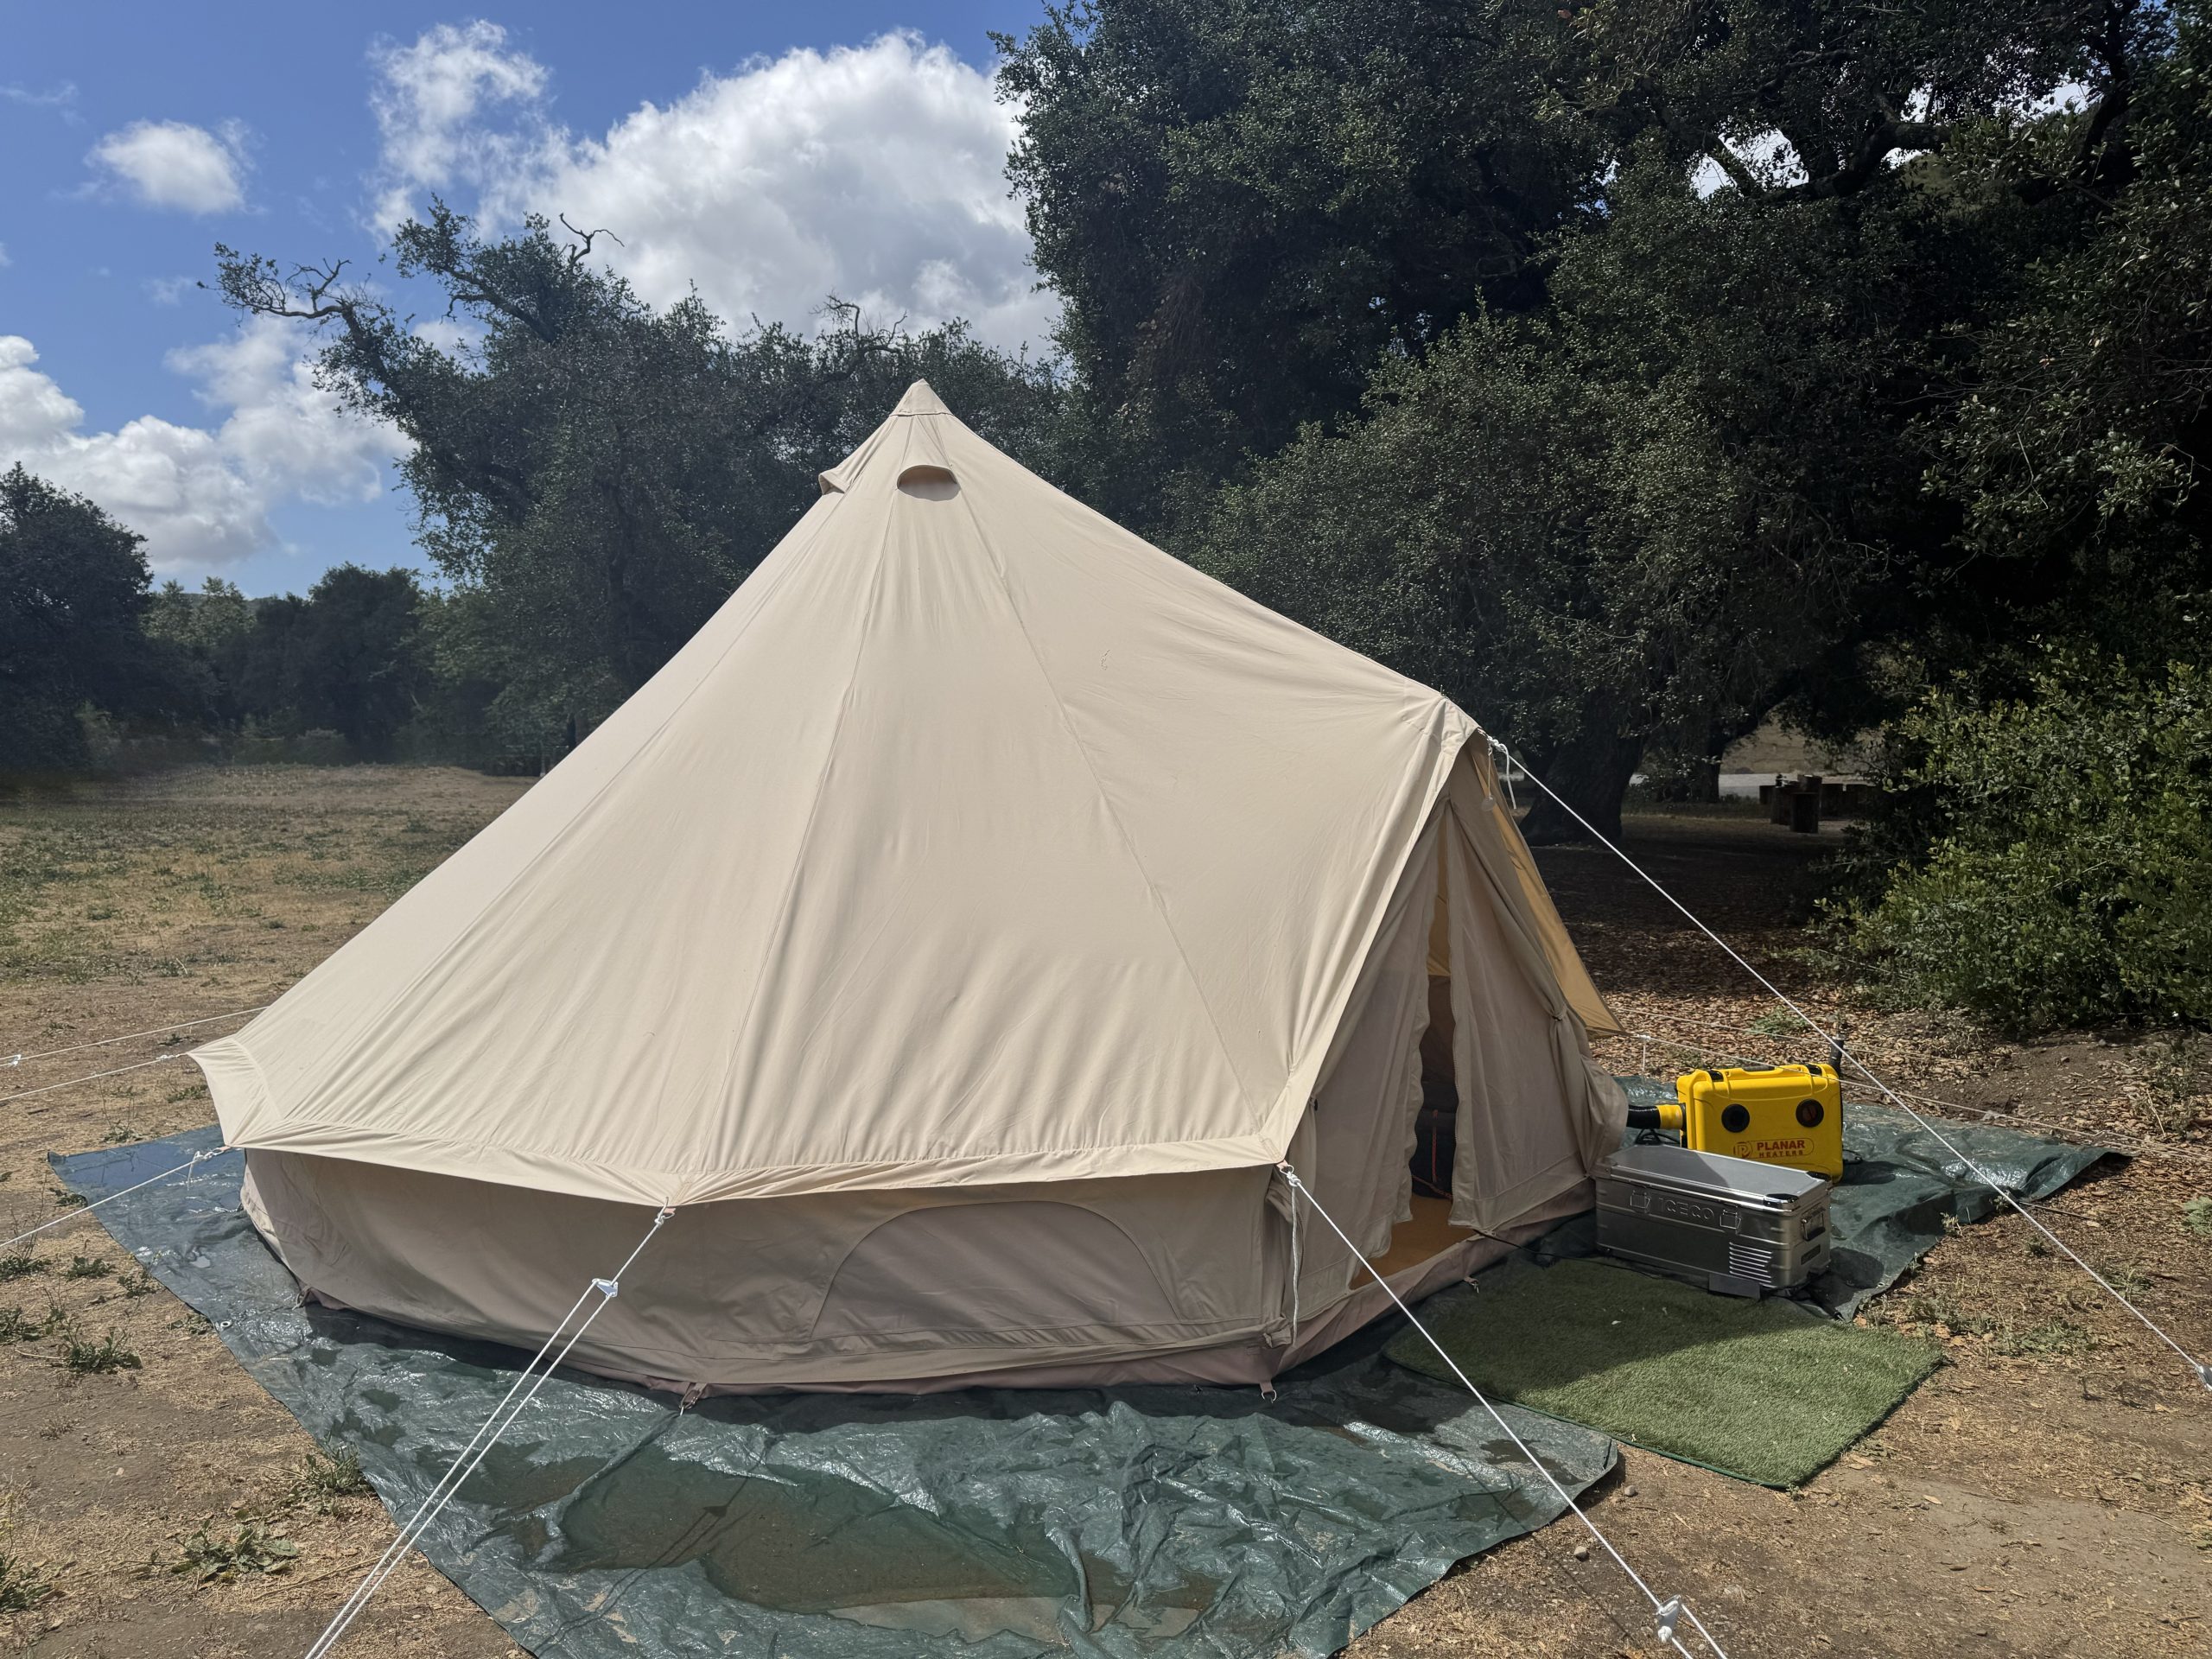
A small backpacking or dome tent limits your layout options, since most gear and activity happen outside the tent by necessity. This works fine for quick overnight trips, where you spend little time in camp during daylight hours.
A larger basecamp-style tent, such as the Stout Tent 5M Pro pictured above, changes the layout equation. With over 200 square feet of interior space, you zone activities inside the tent itself: a sleeping area, a gear corner, and even a dry space to sit out bad weather. This matters most on multi-day trips, where you are likely to spend real time in camp rather than only sleeping there.
The 5M Pro is built for exactly this kind of layout planning. Its 212 square feet and 9’9″ center pole height give you enough interior room to zone a sleeping area, gear corner, and dry sit-out space without crowding, and the 340 gsm canvas with a built-in stove jack means the tent itself holds up as a real anchor point for camp, not just a place to sleep. For campers who want a second entrance to keep traffic moving between zones, the double door variant adds that flexibility.
The trade-off is footprint. A larger tent needs a bigger flat site and takes longer to pitch, so factor this into how you scout a location. For weekend trips with good weather forecasts, a smaller tent keeps setup simple. For extended stays or unpredictable weather, the extra planning for a larger tent pays off in comfort.
Pros and Cons of Planning Your Layout Ahead of Time
Pros
- Reduces fire and wildlife risk with proper zone distances
- Keeps sleeping area dry, quiet, and away from smoke
- Cuts down on tripping hazards in the dark
- Speeds up daily camp routines once zones are set
- Prevents flooding and drainage problems overnight
- Takes only 5 to 10 extra minutes of site scouting
Cons
- Requires walking the full site before setup begins
- Ideal spots are not always available at busy campgrounds
- Larger tents need more flat ground than small ones
- Takes discipline to maintain zones once camp gets busy
Final Verdict
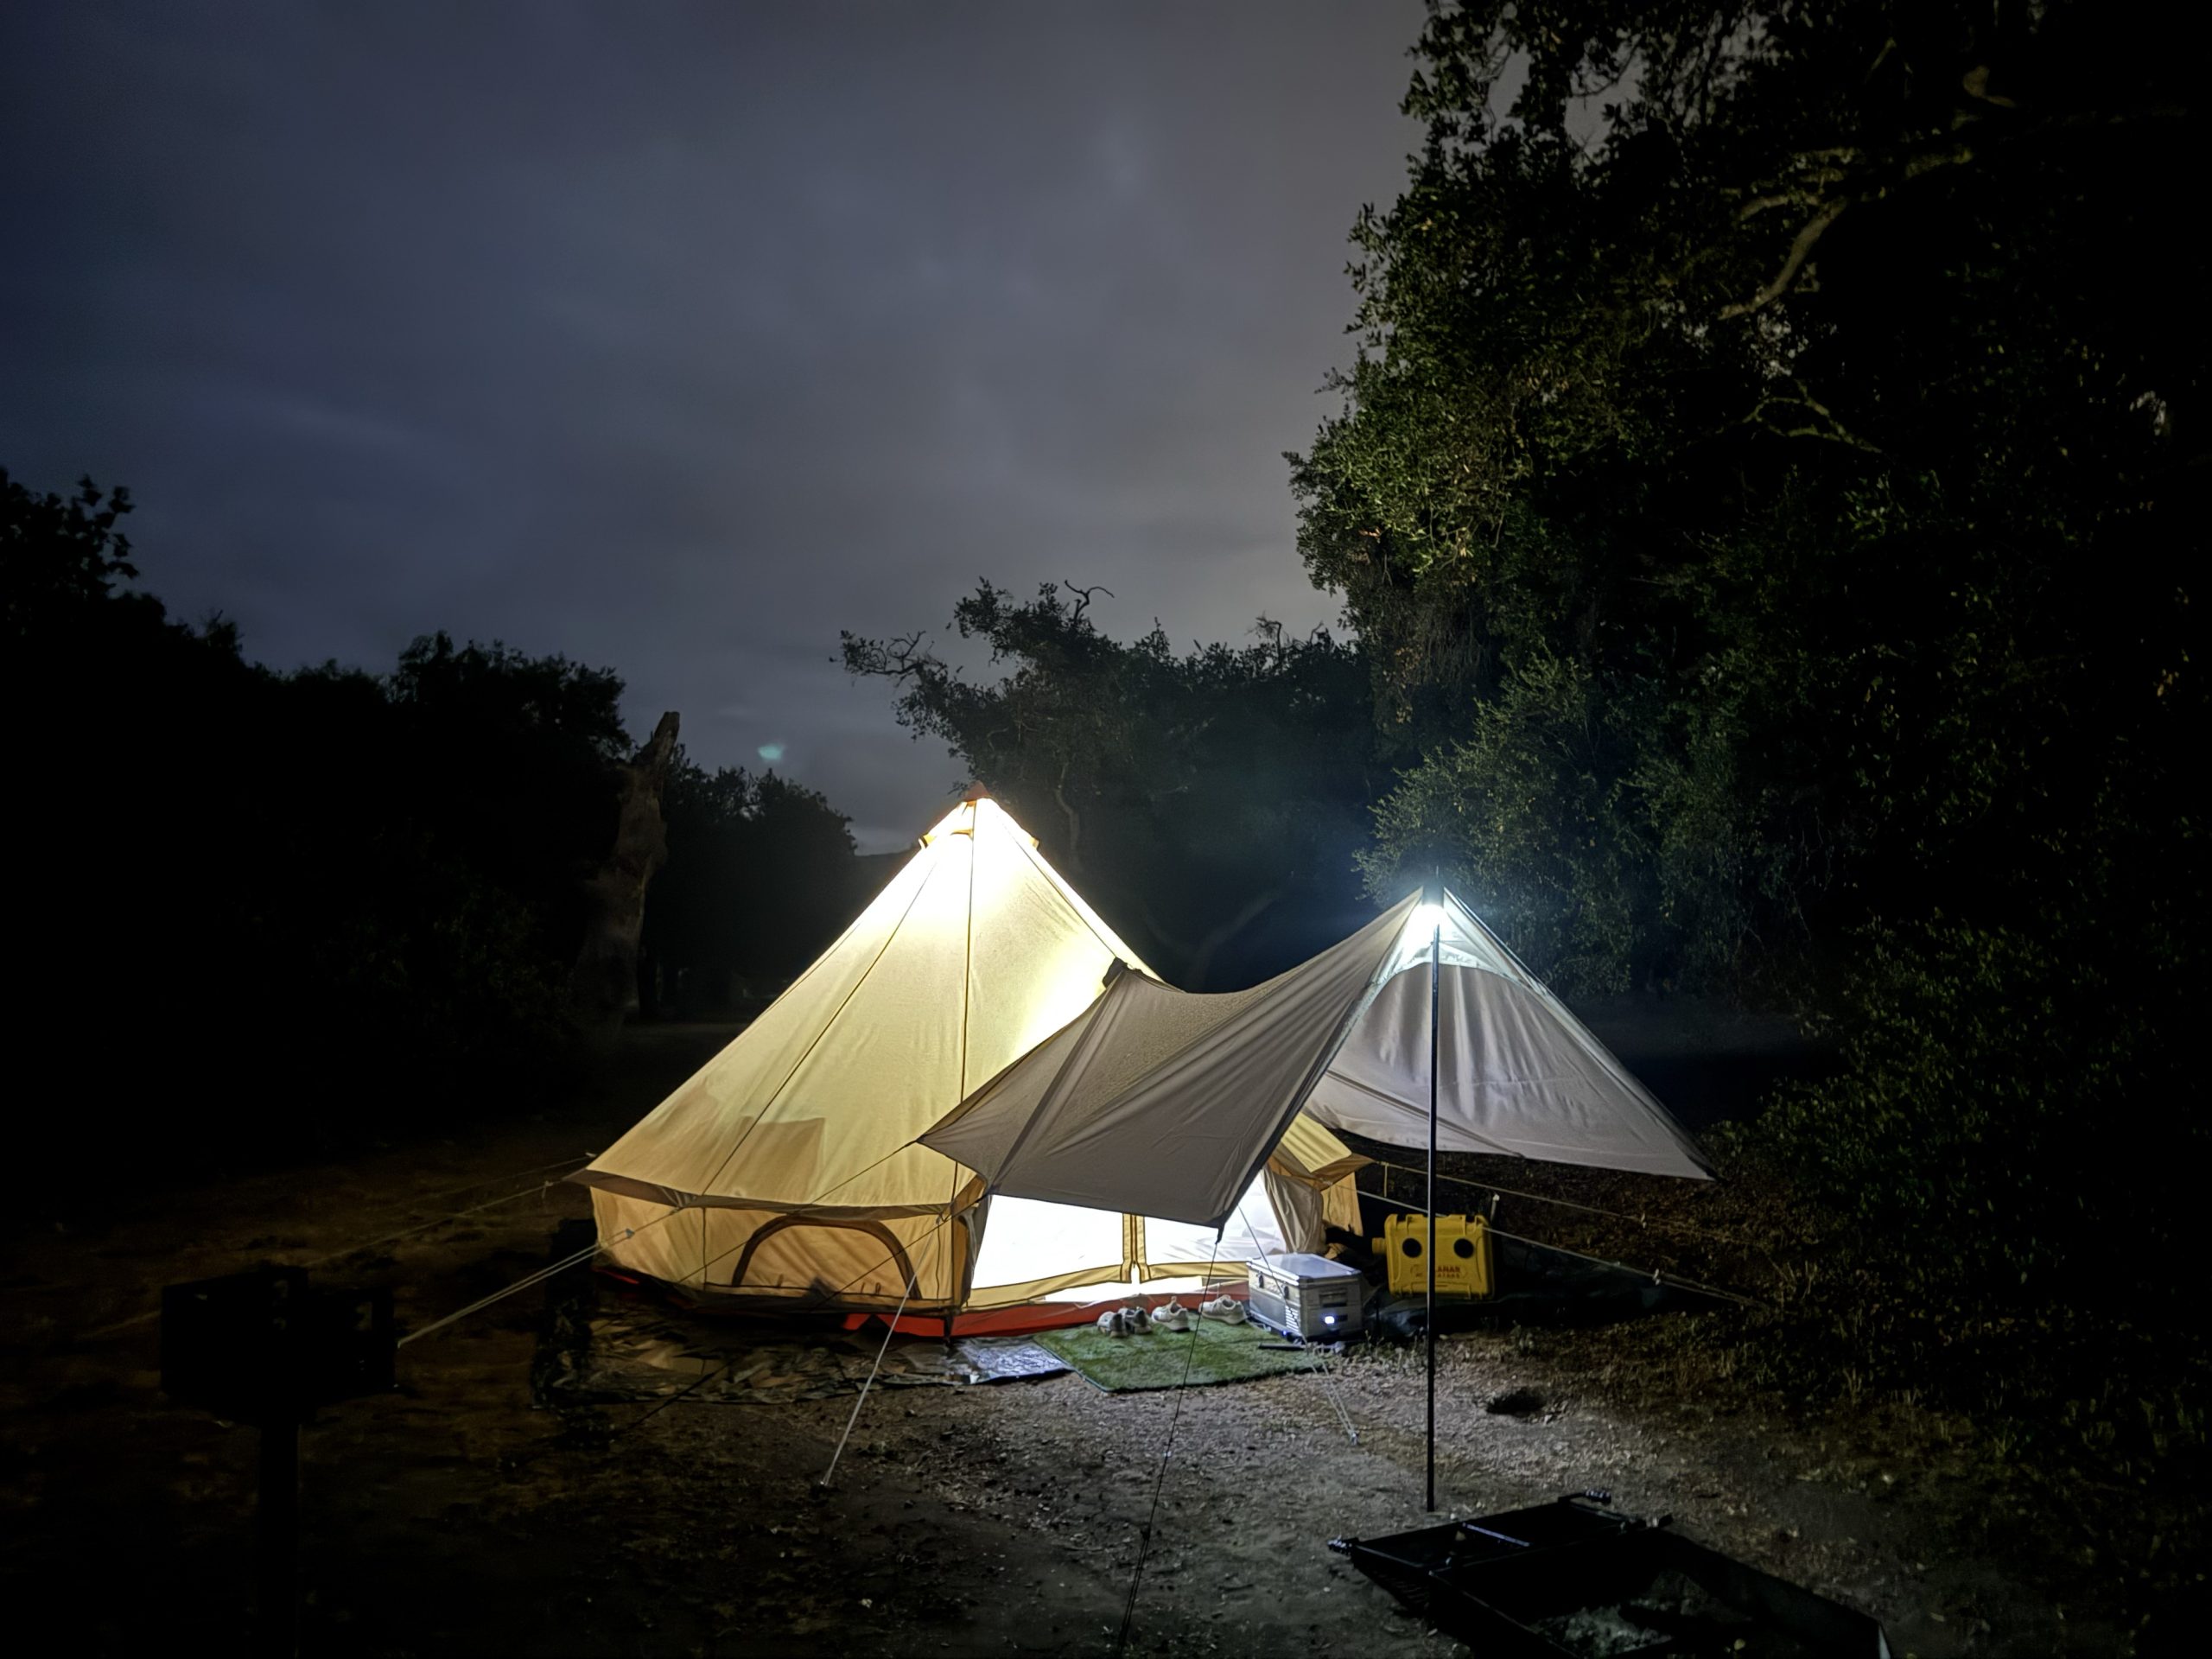
A good campsite layout comes down to sequence: scout the site, place the tent first, then build the kitchen, fire, and gear zones around it. Distance and direction matter more than any single piece of gear. Fire stays 15 feet from canvas. Food stays 100 feet from tents in bear country. Wind determines which way your tent door faces.
The trade-off is time spent scouting instead of immediately setting up. This investment pays off every single night of the trip, not only the first one, since a well-placed camp runs smoother for cooking, sleeping, and moving around after dark.
Tent size changes the layout conversation too. A larger basecamp tent, like the 5M Pro, lets you zone activities indoors as well as outdoors, which helps on multi-day trips or in unpredictable weather. Smaller tents still work well for quick overnight stays where less planning is needed.
For most campers, I recommend walking the full site before unpacking anything. Place the tent on the best ground available, then work outward from there for fire, kitchen, and storage. This one habit prevents most of the common campsite mistakes I still see on the trail today.
Ready to Buy?
Check Today’s Price on the 5M Pro Bell Tent
Stout Tent backs the 5M Pro with a lifetime warranty and free shipping across the contiguous US.
Frequently Asked Questions
How far should a fire pit be from a tent?
Keep any fire pit or ring at least 15 feet from tents, vehicles, and flammable brush. This distance protects canvas and gear from stray sparks, even in windy conditions.
Which direction should my tent door face?
Face the door away from the prevailing wind and away from direct east-facing morning sun if you want to sleep later. West or north-facing doors generally work well in most regions.
How far should food be stored from a tent in bear country?
Store food and scented items at least 100 feet from your tent, ideally in a bear-proof container or hung between two trees away from the sleeping area.
What is the best ground surface for pitching a tent?
Packed dirt or a bed of pine needles drains well and stays even under a tent floor. Loose gravel and thick grass tend to hold moisture and create an uneven sleeping surface.
How much space does a campsite layout need for a larger basecamp tent?
Plan for a flat area at least 20 by 20 feet for a tent in the 200 square foot range, plus additional space nearby for the kitchen, fire, and gear zones.
Should the kitchen area be upwind or downwind of the tent?
Downwind. Positioning the kitchen downwind keeps cooking smells and smoke away from the sleeping area, which also reduces the chance of attracting animals toward the tent.
A quick heads-up: If you snag something through our affiliate links or check out our sponsored content, we might earn a commission at no extra cost to you. But fear not, we’re all about recommending stuff we’re truly stoked about!